

April 1, 2022
Washer Repair
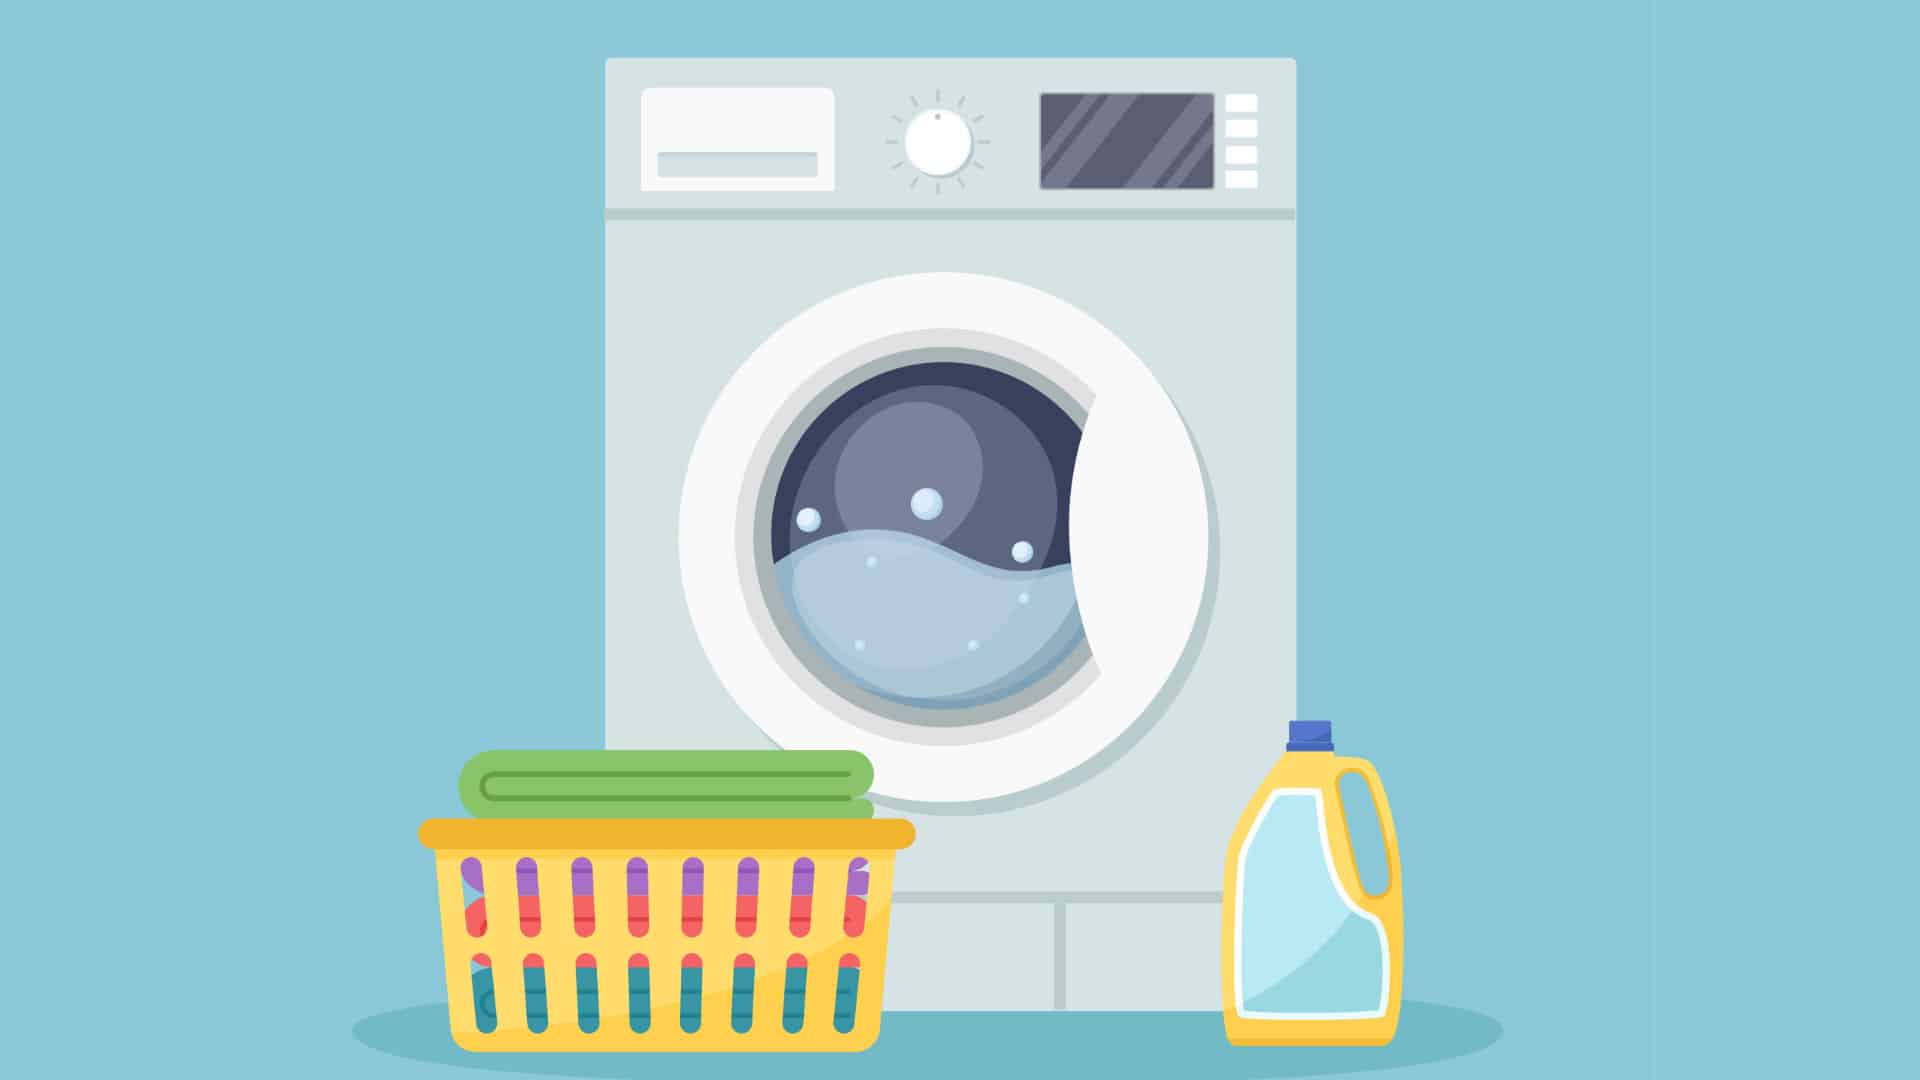
When a washer stops draining, it’s usually due to a faulty component, like the drain hose or the pump. To help you find the cause of the problem and fix it, we’ve put together this step-by-step guide.
Simply start with step one and work your way through the steps until you have fixed your washer and it’s draining correctly again. Please note that this guide isn’t for any specific make or model of washing machine, but most makes are built similarly, so these instructions should apply to your washer.
Let’s get started.
Step One – Check the drain hose
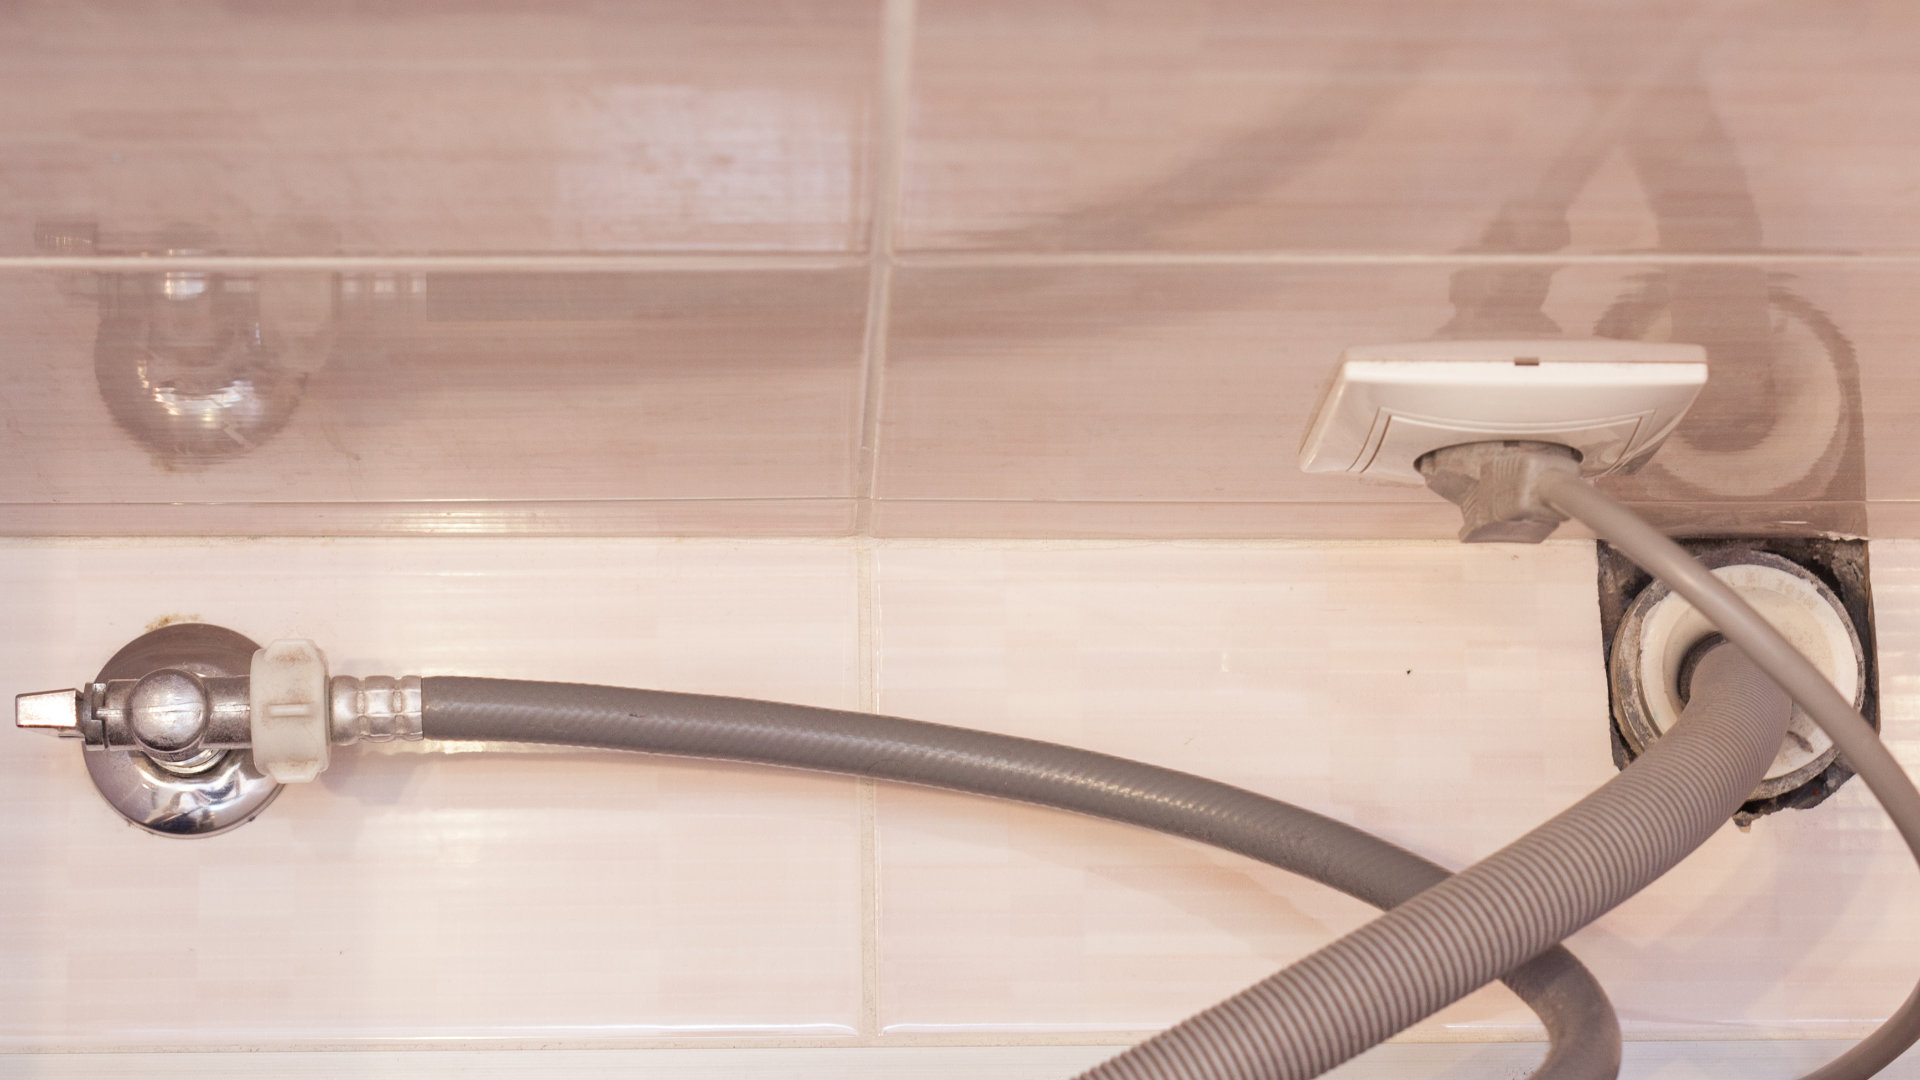
The drain hose is how the water gets out of your washer during and after a wash cycle. If the hose becomes clogged, bent out of shape, or damaged, it will not be able to work correctly, and your washer might stop draining.
Here’s how to check the drain hose and, if defective, repair it:
- To access the drain hose, you will need to pull the washer out from the wall slightly. Just be careful that you don’t break the hose when doing so.
- Check that the drain hose is connected at both ends correctly.
- If the hose is connected correctly, check the drain hose for any signs of damage. If damaged beyond repair, it will need to be replaced.
- If the hose isn’t damaged, make sure the hose isn’t bent out of shape (this can cause the hose to not be able to drain correctly). If bent, try to bend it so water can flow through it correctly, and if this isn’t possible, replace the drain hose.
- To check if the hose is blocked, remove the drain hose and run water through it. If there is a blockage, unblock the hose by running hot, soapy water through it and if something is stuck in it, use a piece of water to remove it.
- Once the hose has been cleaned out, reattach it and check if the washer cannot drain. If not, proceed to step 2.
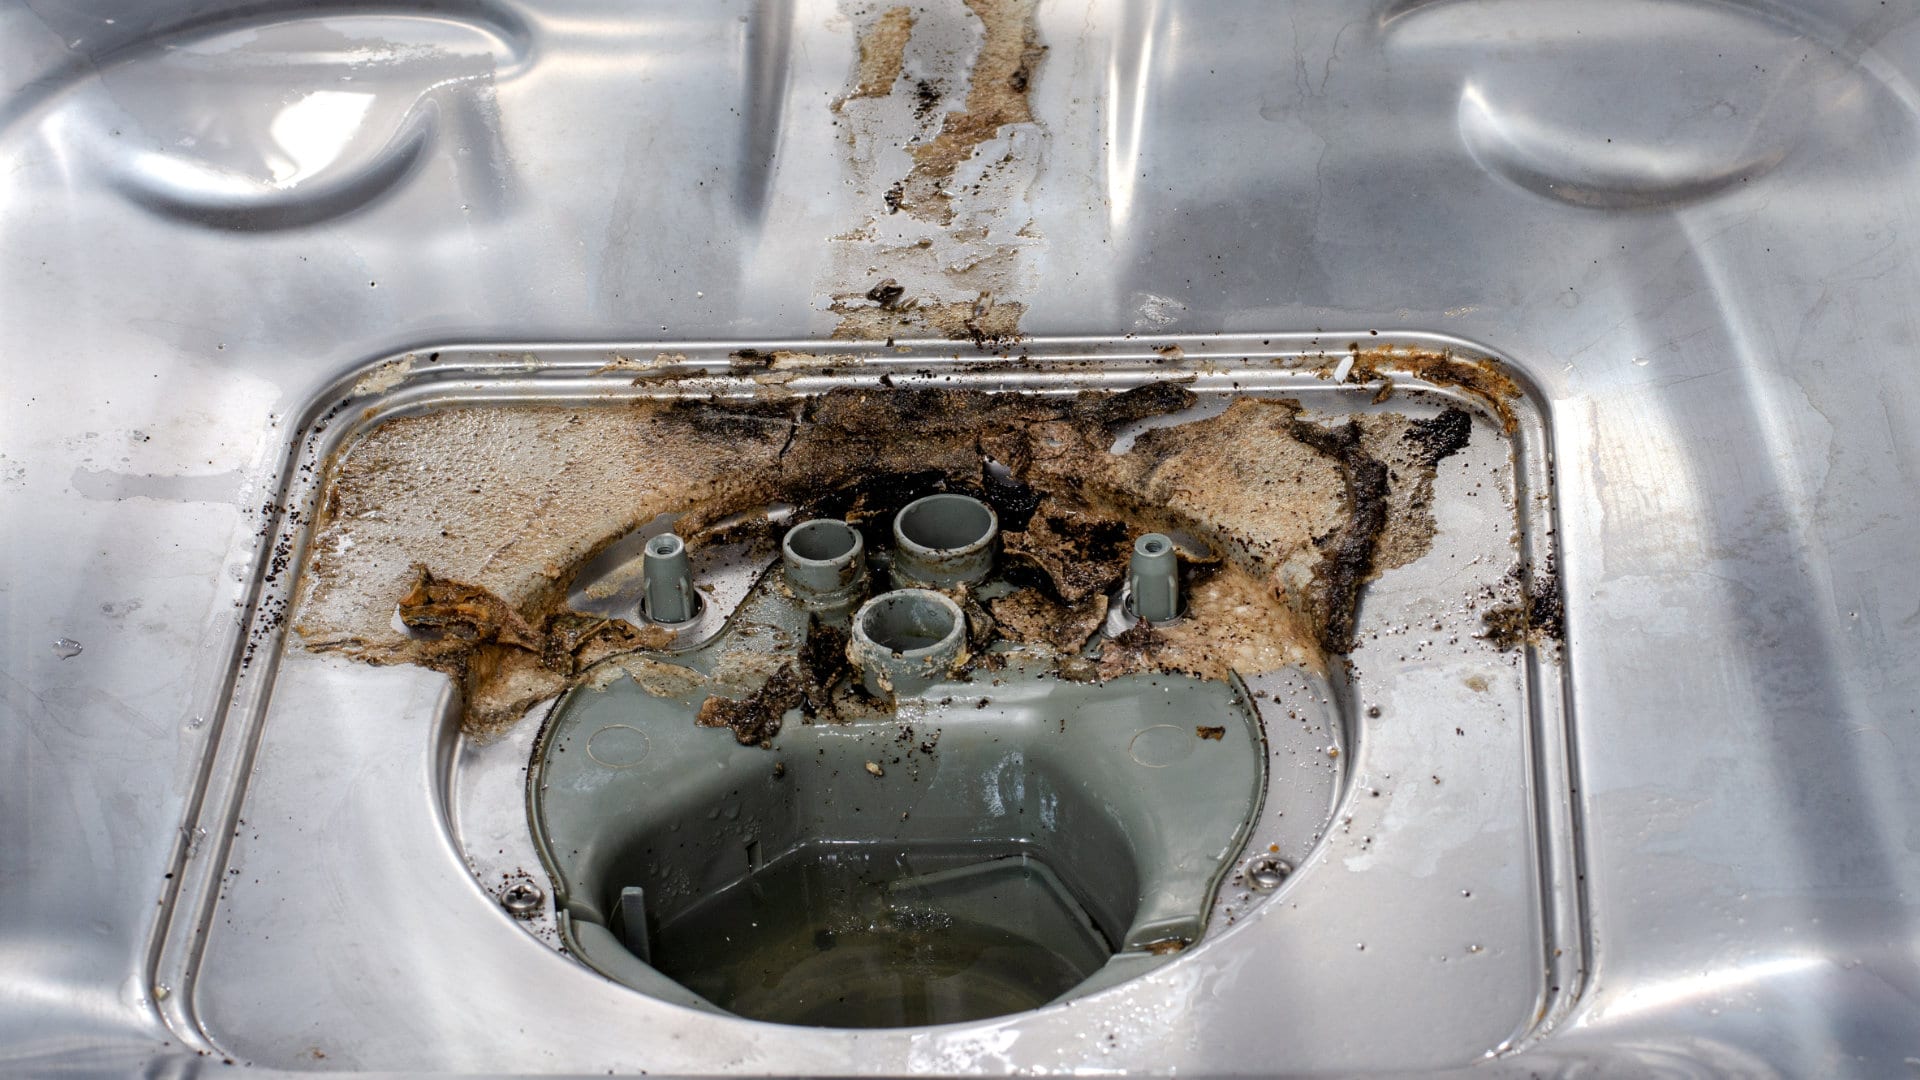
Step 2 – Check the drain filter
The next step is to check the drain filter to ensure it isn’t clogged. When this happens, your washer might not be able to drain. Thankfully, to fix this problem, all you need to do is access the drain filter and clean it out.
Here’s how to remove and clean the drain filter:
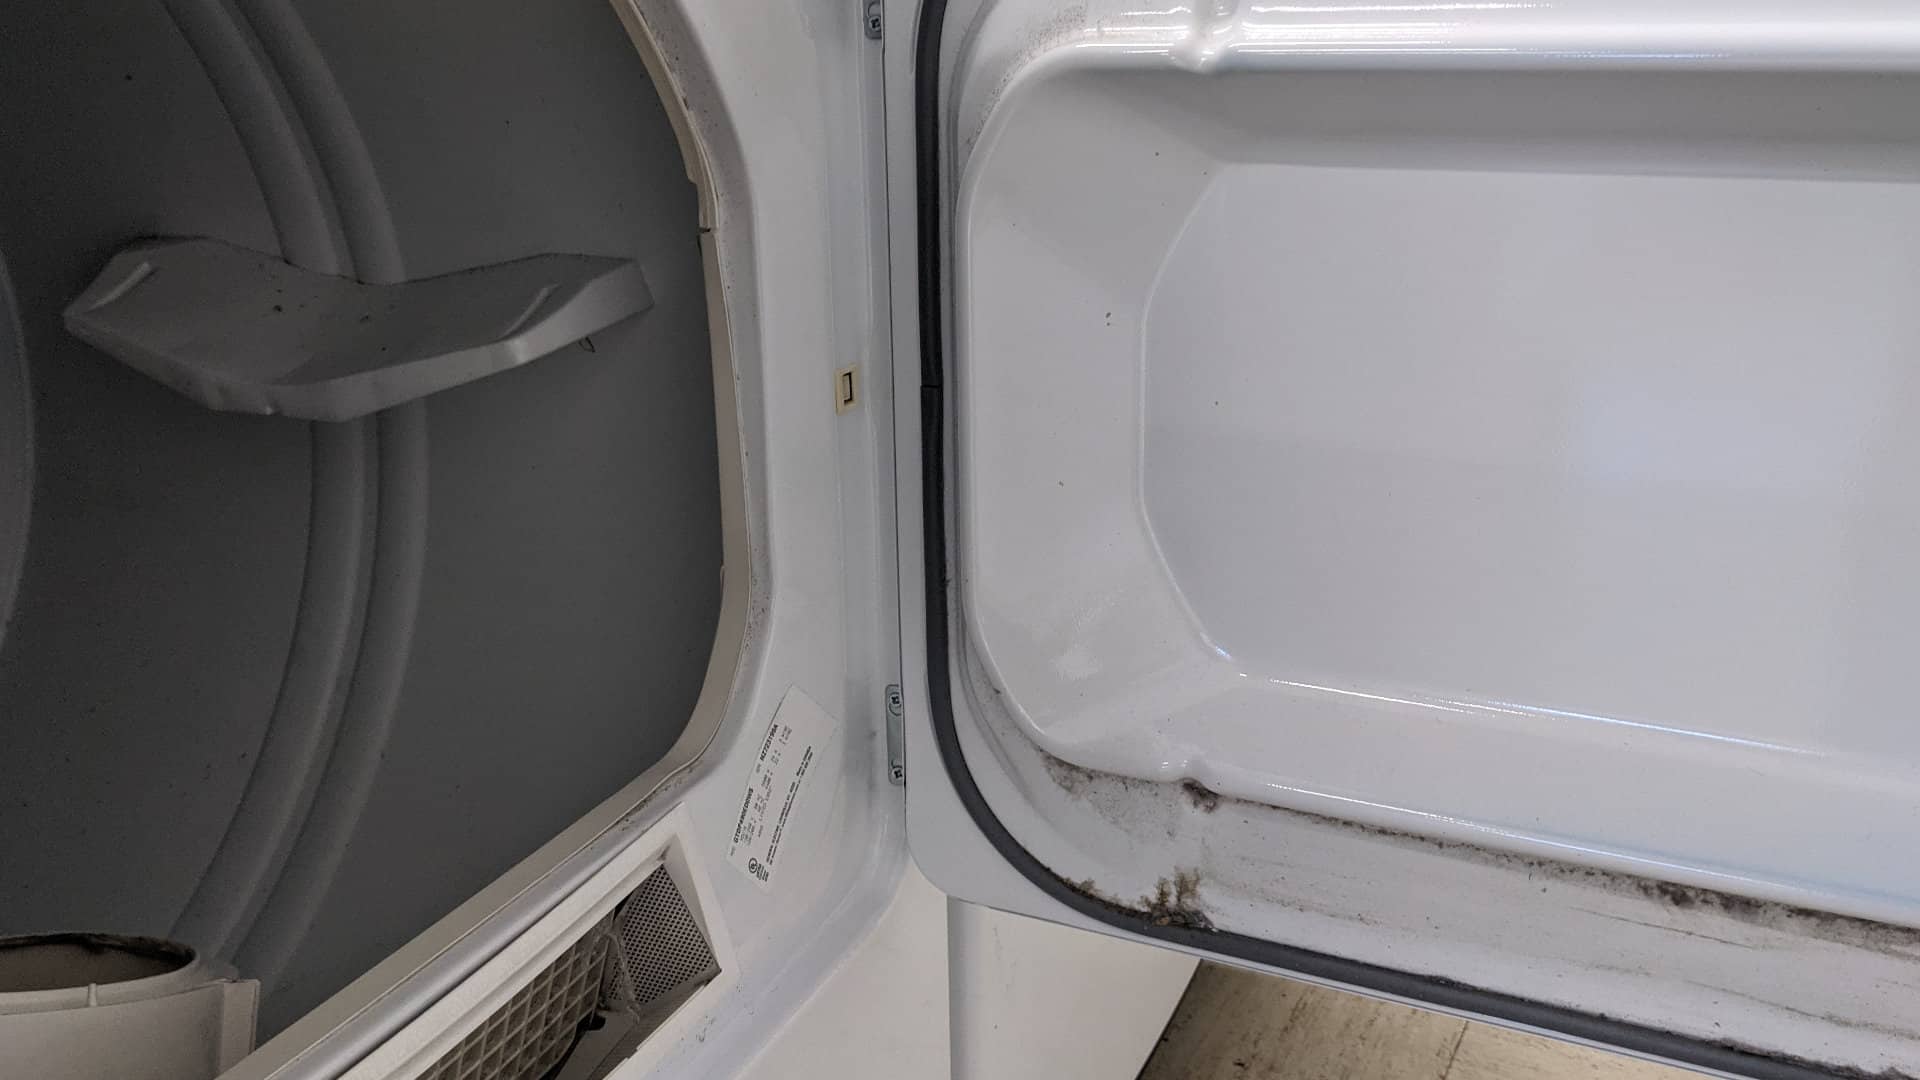
- Open your washer door.
- Locate the drain filter. You can find the drain filter at the bottom of your washing machine.
- Once located, remove the cover from the filter, and disconnect the hose that is connected to it.
- Turn the filter, and it should be able to come out of your washer.
- Give the filter a good clean, and remove any loose debris.
- Once cleaned, place the filter back into your washer, and reattach the hose.
- Place the cover over the filter.
- Turn your washer on, and check if it is now draining. If not, proceed to step 3.
Step 3 – Check the drain pump
If cleaning the drain hose and drain filter didn’t fix the problem, the next step is to test the drain pump and, if it is defective, replace it. Checking the drain pump is as simple as turning your washer on and listening for a humming sound when your washer goes into the draining part of the cycle. If you can hear a humming sound, this is a good indication the pump is defective and will need to be replaced. If you cannot hear a humming sound, the pump motor will need to be checked with a multimeter and, if defective, replaced. If you don’t have a multimeter, you will need to call a technician to come and inspect your washer.
Here’s how to replace the drain pump:
- Switch the power off.
- Place a towel on the floor around your washing machine in case any water leaks out.
- Remove the top panel of your washer. This can be done by unthreading the screws that hold it in place.
- Locate the small door on the side of the washer, open it, locate the drain hose, and remove it. Once the hose has been removed, unthread the screw inside the door so you’re able to remove the clean-out cover.
- Remove the front panel. This can be done by unthreading the screws that hold the panel in place and then taking the band clamps off.
- The boot on the front panel should now be able to be pushed into the tub, and the wire harnesses should be able to be disconnected. Once these two things have been done, the front panel should be able to be fully removed.
- Locate the drain pump motor, and start by disconnecting the wire harnesses from it.
- Unthread the screws that hold the motor in place onto the washer housing, and lift it out of the washer.
- If you have a multimeter, test the motor for continuity. If it doesn’t have continuity, this confirms it is faulty and needs to be replaced. If it does have continuity, call a technician to come and give your washer a thorough check to find the cause of your washer not draining.
- To install the new drain pump, place the pump unit into position, and secure it in place with the screws you removed earlier.
- Attach the wire harnesses to the pump unit.
- Put your washer back together by working your way backward from the steps in this guide you followed to take it apart.
- Once your washer is back together, turn the power back on, and check if the problem has been solved. If not, call a technician to come and inspect your washer.

Apr. 09, 2024
How to Fix the Whirlpool Washer F5 E3 Error Code
Mar. 06, 2024
10 Steps to Clean Your Fridge Water Dispenser

Feb. 05, 2024
How to Replace a Whirlpool Refrigerator Water Filter
Jan. 03, 2024
How to Clean an Oven Glass Door (3 Easy Methods)

Dec. 11, 2023
Why Your Microwave Plate Is Not Spinning
Nov. 06, 2023
Washer Spin Cycle Not Working? Here’s Why

Oct. 02, 2023
How to Fix a Slow Ice Maker
Sep. 08, 2023
Why Does My Dishwasher Smell like Sewage?
Jul. 31, 2023
What Causes a Dryer to Overheat? (and How to Fix It)
Jul. 19, 2023