

March 6, 2024
Refrigerator Repair
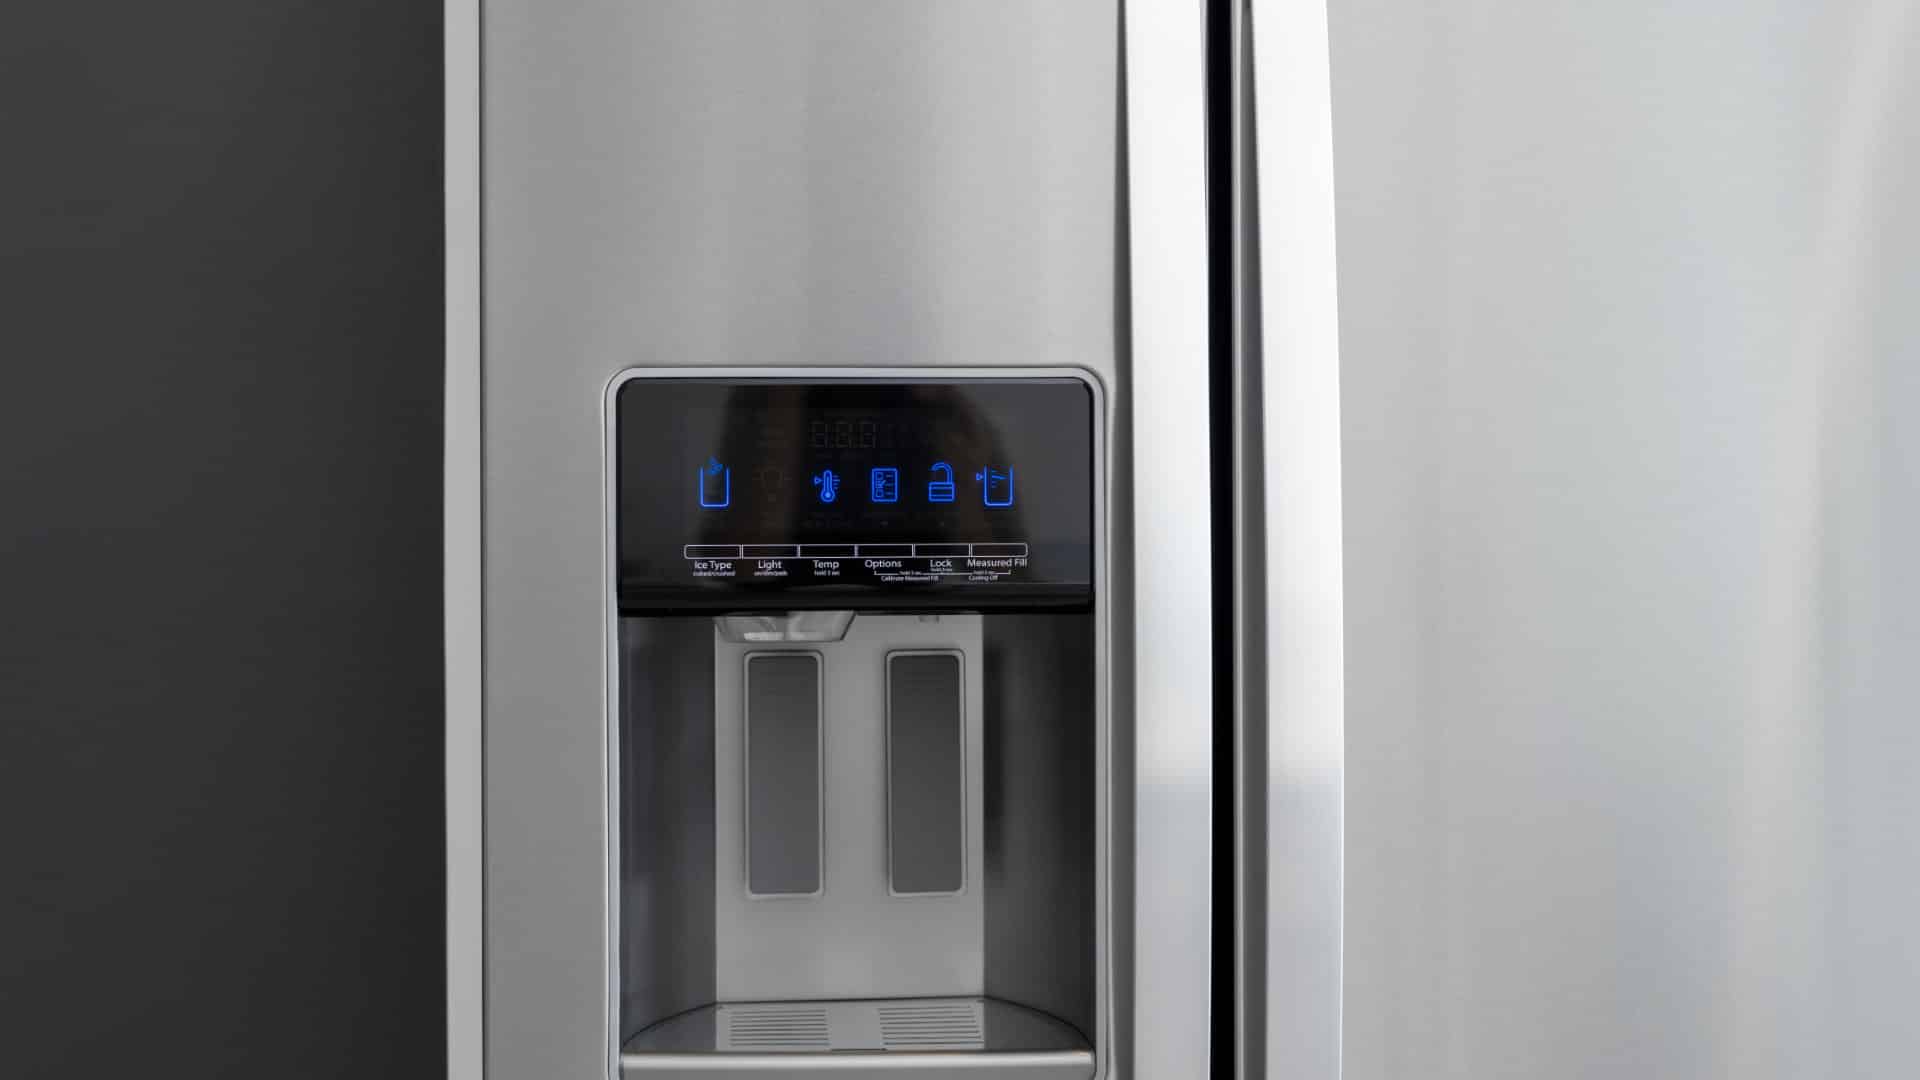
Water dispensers on fridges have to be the height of convenience. Clean, cold, and filtered water, straight from your fridge—it’s perfect! But what if you’ve noticed the water isn’t tasting quite as clean and fresh as it used to? If this applies to you, you’ve come to the right place! This in-depth, step-by-step guide will help you thoroughly clean your refrigerator water dispenser. Your water will soon taste fresher than ever!
Step 1 – Gather supplies
Before you start, make sure you have everything you need. It’s important to ensure that you use natural, food-safe cleaning products, as you don’t want to accidentally ingest chemicals. We recommend the following products:
- White vinegar
- Clean clothes or rags
- Container to catch excess water
- Clean towels
- A small brush for getting into crevices (a soft toothbrush is a good option)
- A replacement filter that is compatible with your water dispenser
- Warm water and mild detergent (for washing loose parts)
Step 2 – Turn off water supply
The next step is to turn off the water supply. This will prevent accidental leaks when you’re cleaning around the dispenser nozzle. If you’re not sure where the water supply switch is, check at the back of your refrigerator, or consult your user manual.
Step 3 – Remove and clean loose parts
If your water dispenser has removable parts, take these out now. This could include the drip tray, the spout, or a cover for the dispenser—it will depend on the model of fridge you have. If you’re unsure which parts can be removed, check your manual.
Once you’ve removed the loose parts, wash them in a sink or bucket of warm water and mild detergent. Rinse them extremely thoroughly to ensure no detergent residue remains, then set them aside to dry while you clean the rest of the water dispenser.
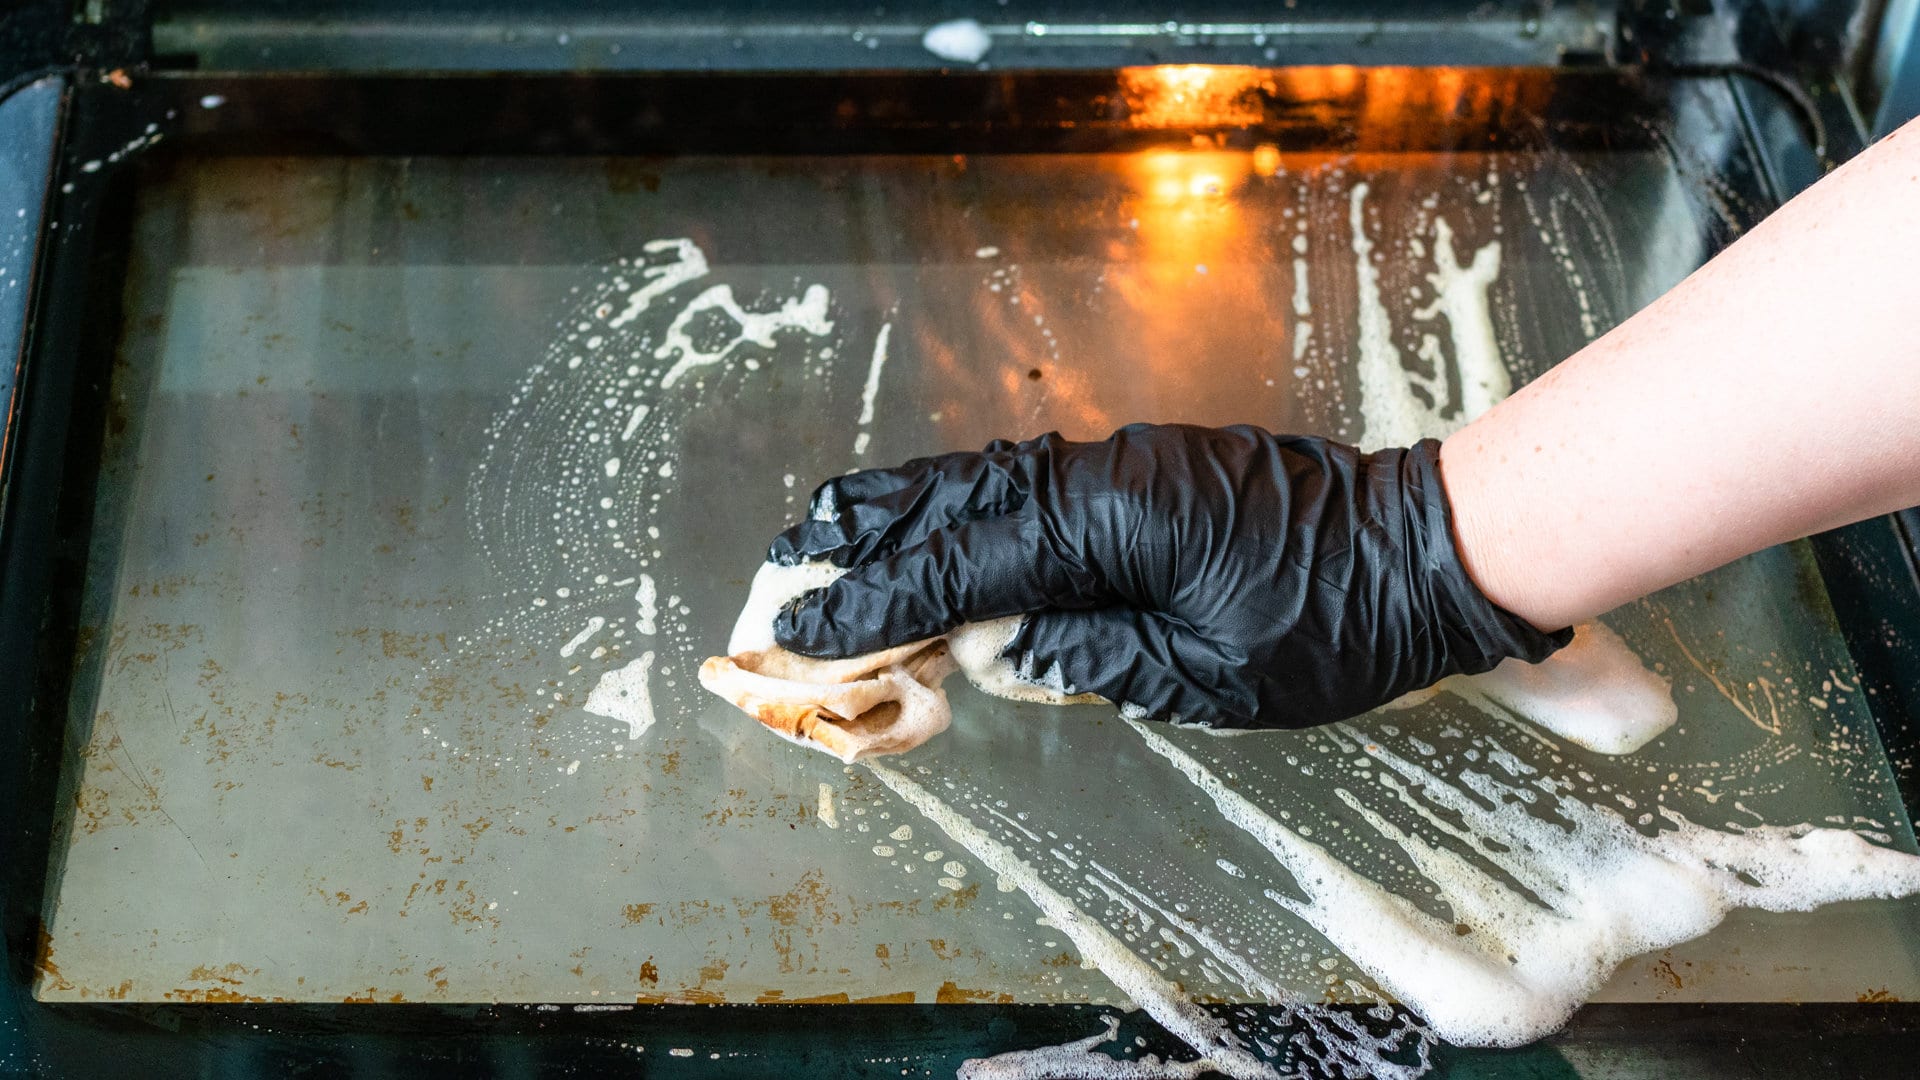
Step 4 – Clean exterior
Now, it’s time to clean all the exterior parts of your water dispenser. Dip a clean cloth in a mixture of half white vinegar, and half water, and wipe down all surfaces. Pay particular attention to any nooks or crannies where mold or mildew could grow. This includes around the buttons or levers. You can use the small brush to get into any cracks that are hard to reach with a cloth.
Step 5 – Clean the nozzle
The nozzle is most likely to have unwanted mildew growth, as it is often wet. Dip a toothbrush in vinegar and scrub carefully inside the nozzle, as well as thoroughly clean the outside. If the nozzle can be removed, soak it in a vinegar solution and then run clean water through the tip to ensure it’s completely clean.
Step 6 – Clean the drip tray
If the drip tray can’t be removed, ensure this is thoroughly cleaned. This part of the dispenser will most likely have water pooling and is, therefore, most prone to mildew. Wipe it down with a vinegar solution and use the toothbrush to carefully clean away any mildew stuck in the cracks.
Step 7 – Replace the filter
This is possibly the most important step of the process! Water filters trap particles such as minerals, bacteria, and chemicals that can affect the taste and smell of your water. While instructions may vary depending on your fridge model, in most cases, it’s recommended to change your water filter once every six months. A blocked filter won’t be able to effectively filter out unwanted particles, and it can even affect the pressure of your water dispenser.
To replace the filter, you’ll need to source a replacement that is compatible with the make or model of your fridge. If you’re not sure, check your user manual or look at the filter itself. We highly recommend buying a replacement part that is suggested by your fridge manufacturer rather than buying a knockoff, as that way, you can ensure it meets safety standards.
To replace it, check your user manual for instructions on how to remove the old filter and put the new one in its place. Discard the old one, and make a note of when you changed the filter so you know when to change it again.
Step 8 – Flush the system
Once the filter has been replaced, it’s time to flush the system. Reconnect the water supply, put the dispenser back together, and run water through your dispenser for at least three minutes. This will ensure that all remaining vinegar residue in the nozzle is flushed out and that your water is ready to drink.
Step 9 – Wipe and dry area
After you’ve finished flushing, give the area a last wipe and dry with a clean, dry cloth. This will ensure that there is no chance for mildew to grow.
Step 10 – Maintain cleanliness
Going forward, ensure you maintain a clean water dispenser to help prevent mildew growth. We recommend you do the following for optimal performance:
- Always replace the filter according to the manufacturer’s instructions. When you do, take this chance to do a deep clean of the dispenser area.
- At least once a week, clean and wipe down the drip tray.
- Try to avoid having water pooling in the drip tray for too long. If you’re going to be away from home, turn off the water supply before you leave.
- If you ever notice even a speck of mildew, immediately do a deep clean with white vinegar to avoid it spreading.

Apr. 09, 2024
How to Fix the Whirlpool Washer F5 E3 Error Code
Mar. 06, 2024
10 Steps to Clean Your Fridge Water Dispenser

Feb. 05, 2024
How to Replace a Whirlpool Refrigerator Water Filter
Jan. 03, 2024
How to Clean an Oven Glass Door (3 Easy Methods)
Dec. 11, 2023
Why Your Microwave Plate Is Not Spinning
Nov. 06, 2023
Washer Spin Cycle Not Working? Here’s Why

Oct. 02, 2023
How to Fix a Slow Ice Maker
Sep. 08, 2023
Why Does My Dishwasher Smell like Sewage?
Jul. 31, 2023
What Causes a Dryer to Overheat? (and How to Fix It)
Jul. 19, 2023