

October 2, 2023
Refrigerator Repair
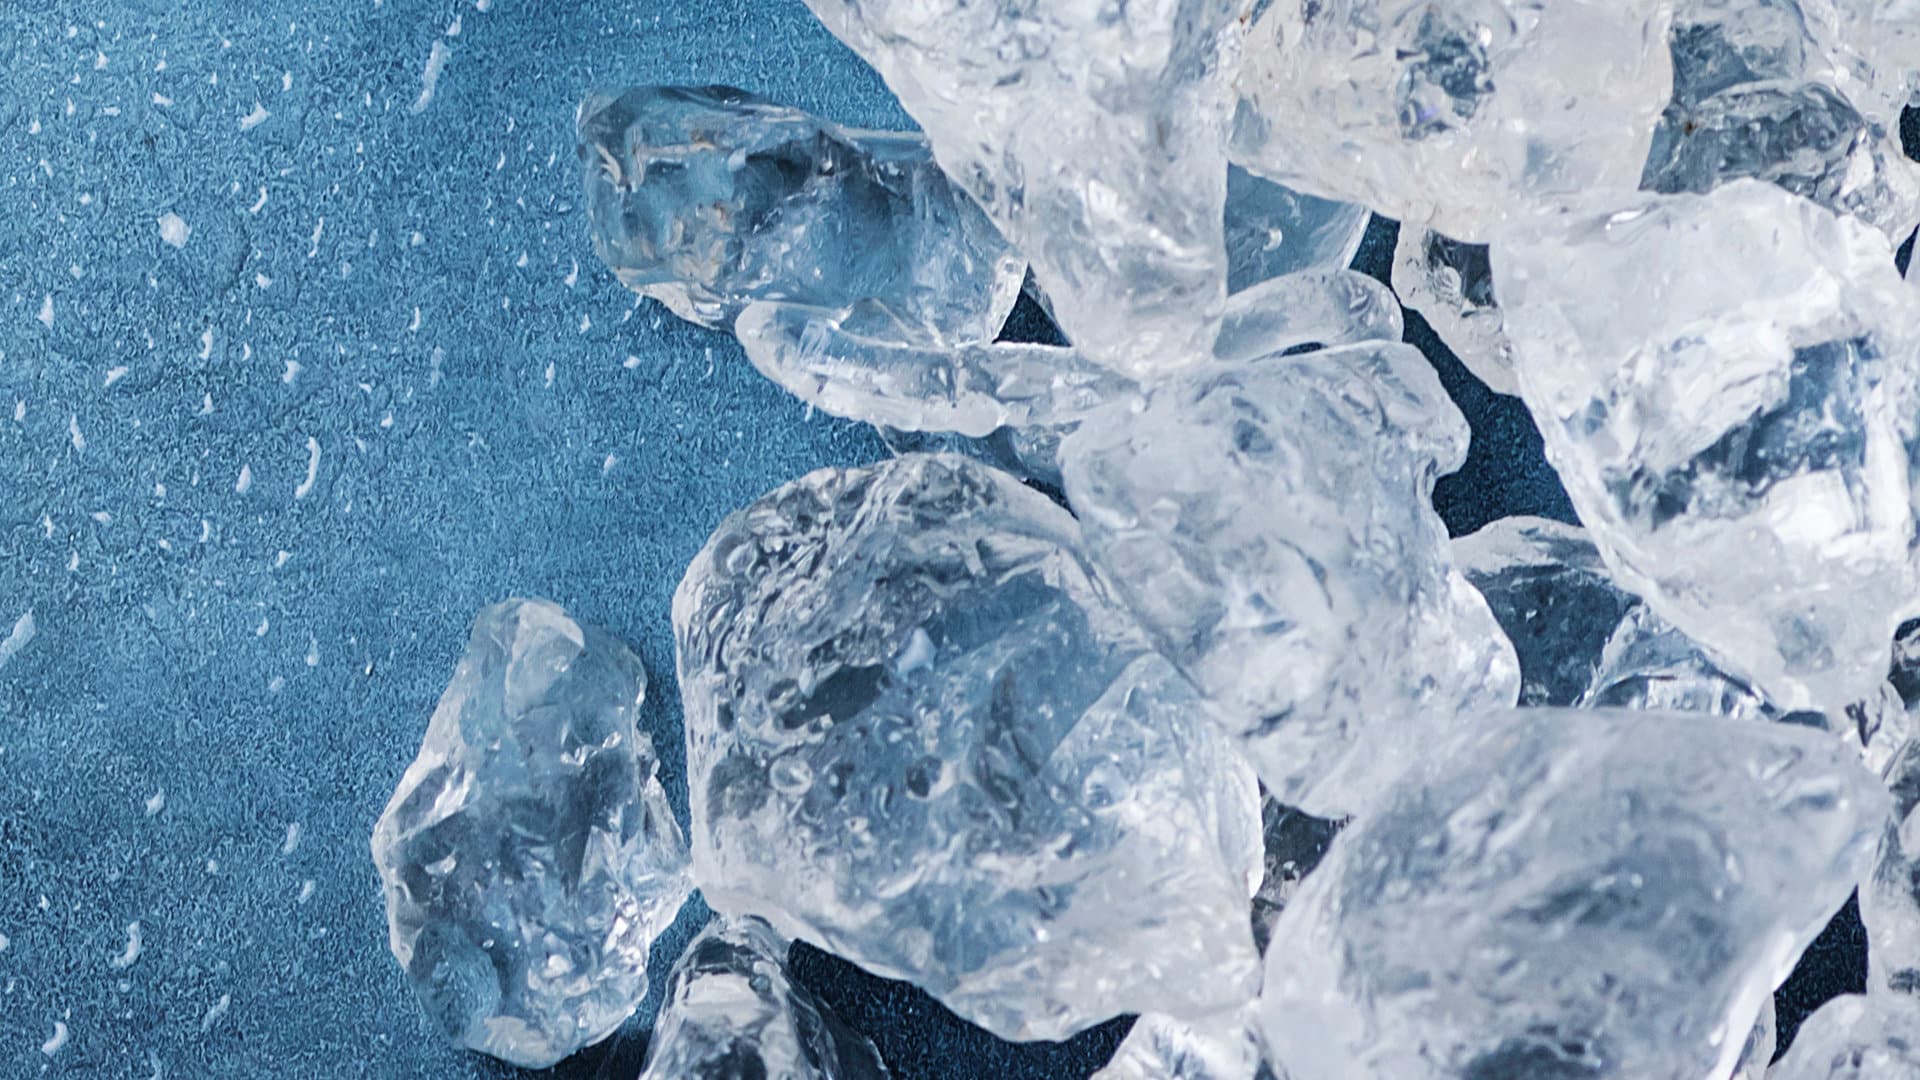
If your fridge has an ice maker, you know just how great they are! Endless amounts of cold ice, delivered straight to your drink whenever you want it! So it’s particularly annoying when your once quick and efficient ice maker starts working slowly. What’s causing it, and what can you do to fix it? We have the answers! Read on to find out the most common causes and solutions.
Temperature settings too high
If your freezer temperature settings are too high, it’s going to take longer for your ice maker to create ice. Ideally, your freezer should be set to 0°F (-18°C). To fix this:
- Check the temperature settings on your freezer thermostat.
- Use an external thermometer to check whether the internal temperature matches the temperature on the thermostat.
- Adjust the thermostat until the freezer reaches the recommended level.
Note that if the freezer door is being opened too frequently, it may also cause your ice maker to work slowly as the temperature inside the freezer cavity will be too high. Ensure you only open your freezer when necessary and that you don’t let it stand open.
Ice maker needs defrosting
Ice buildup around your ice maker can cause the moving parts to seize. This can lead to slow ice production.
To check this:
- Check the ice maker to see if there appears to be ice buildup on any of the moving parts
- Also check to see if there is frost buildup in the freezer compartment surrounding the ice maker, which might be impeding its movements.
- If you find ice buildup, manually defrost the freezer. You can either remove the contents, unplug the fridge, and wait for all the ice to melt, or you can remove the contents and use a hairdryer on a medium setting to speed up the defrosting process.
- Once the ice has melted, dry the interior of the freezer and the ice maker parts thoroughly—any residual moisture could cause seizing again as soon as it freezes.
- Plug your fridge back in and see if your ice maker is working correctly. If not, move on to the next fix!
Freezer door seals need to be replaced
Freezer door seals ensure that cold air stays inside the freezer compartment and that warm air is kept out. However, if the door seals are old, faulty, or even dirty, they may not work properly. This not only means your freezer struggles to maintain the correct temperature, but it can also cause condensation and frost to build up inside of the freezer compartment.
To fix this:
- Inspect the seals to see if they appear cracked, loose, or dirty.
- If they appear dirty, try giving them a thorough clean with a soapy cloth, then make sure they’re completely dry. This should improve the seal.
- You can test the seal by placing a piece of paper in the freezer door, shutting the door on it, and trying to pull it out. There should be quite a lot of resistance when you do so. If the paper can be pulled out easily, the seal is not working correctly.
- If the seals are faulty, they’ll need to be replaced. Order replacement seals online, from either your freezer manufacturer or from Amazon or eBay.
- Remove the old seals and put the new ones in place, according to the manufacturer’s instructions.
- Test to see if your ice maker is now making ice quickly again!
Water filter needs to be replaced
If your water filter is partially blocked, it will slow the flow of water into your ice maker. This can lead to either hollow ice cubes or slow filling of the ice cube tray. In most cases, water filters should be replaced every six months, but this can differ depending on your specific brand.
To fix this:
- Order a replacement water filter from your fridge manufacturer.
- Replace the water filter according to the manufacturer’s instructions.
- Time your ice maker to see if it’s filling at the correct rate.
Clog in the water line
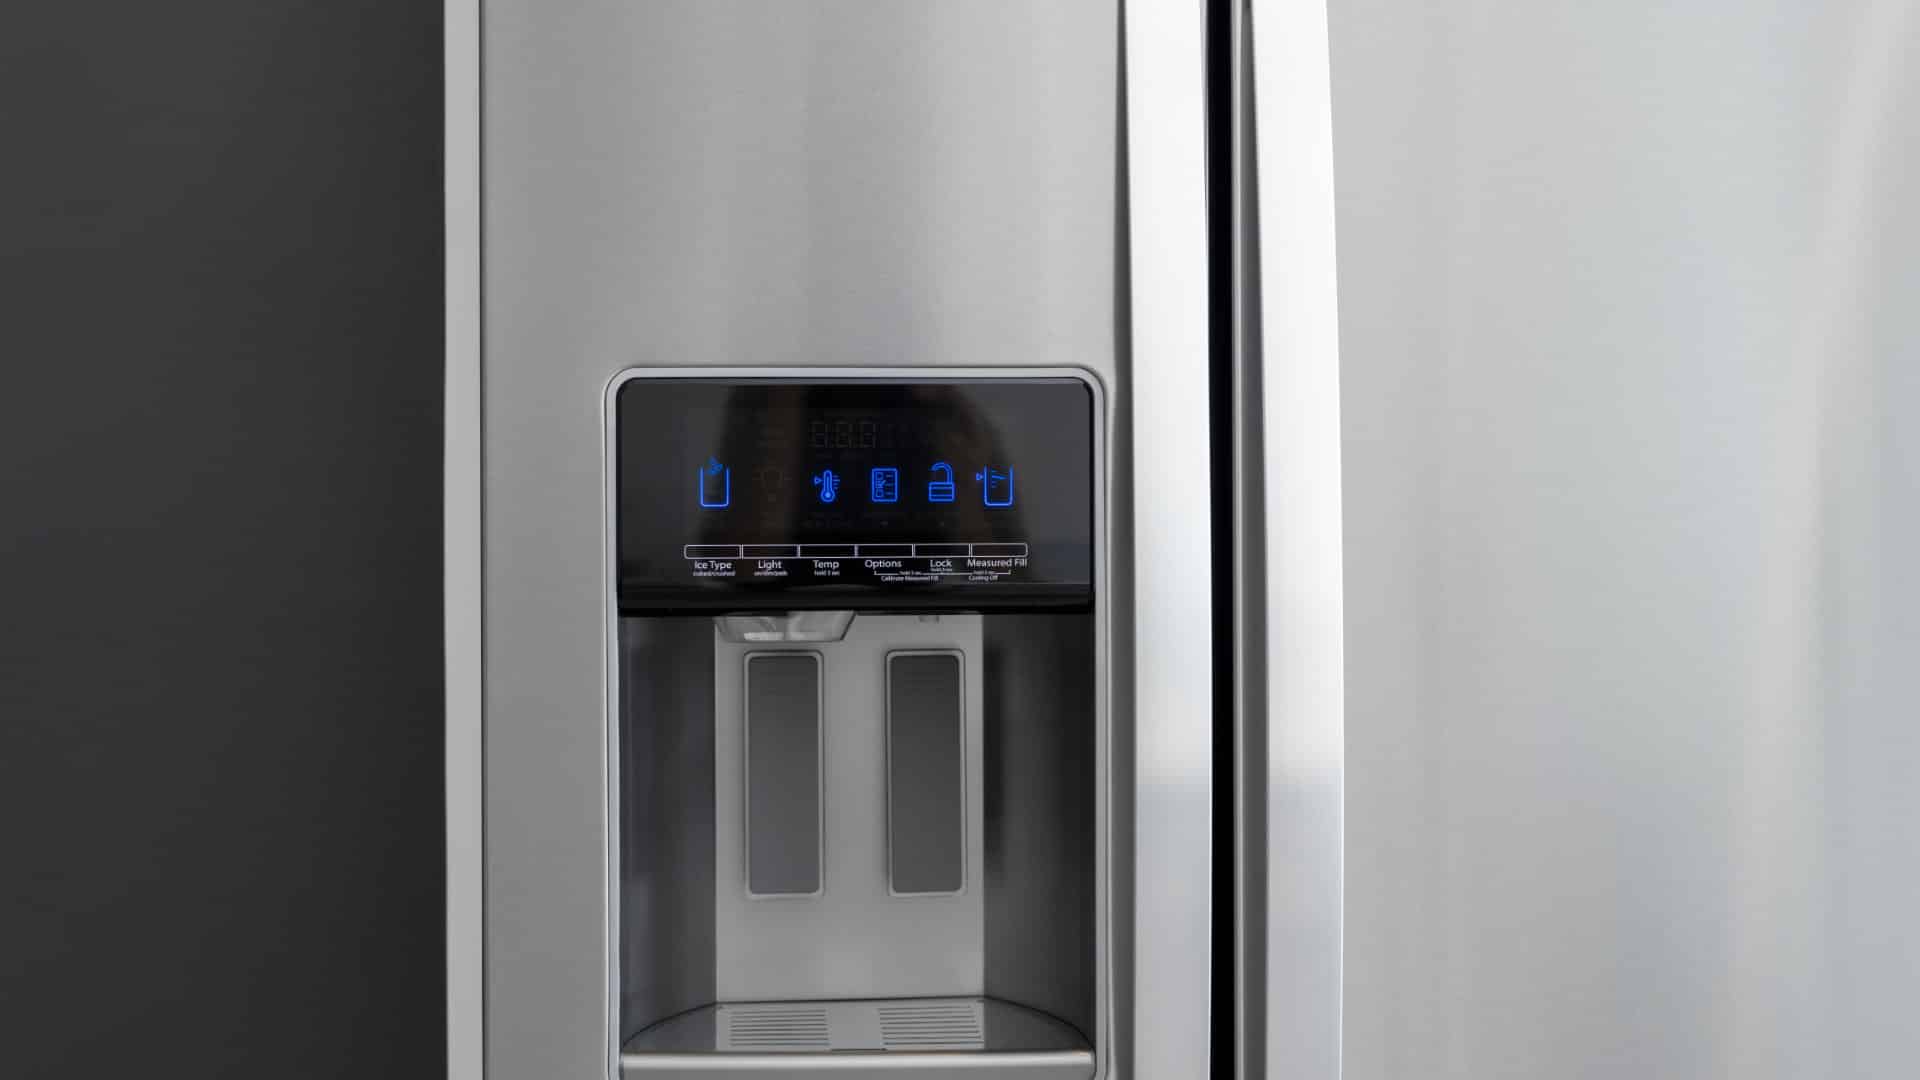
A clogged water line can also cause your ice maker tray to fill more slowly than usual, leading to slower production of ice overall. It can also create hollow ice cubes. It’s easy to tell if the water line is not flowing properly—simply press the button on the water dispenser and assess the stream of water. If it’s thinner than you remember, there’s an issue with the water line.
To fix this:
- Check the water line for any kinks. If it appears kinked, straighten it. This could be enough to solve the issue!
- If there are no obvious kinks, feel the water line for blockages. Sometimes if the fridge temperature settings are too low, there can be an ice blockage in the water line.
- If you feel what appears to be an ice blockage, try turning off your fridge for half an hour to see if the blockage melts, then check to see if the water dispenser is flowing properly once again.
- If the blockage doesn’t seem to be melting or if you’re not sure what the issue is, try removing the water line from the fridge end and the water supply end and running warm water through it. This should be enough to clear any residual blockages or melt any ice.
- Replace the water line and turn the fridge back on. Test to ensure that the water dispenser has the correct pressure. Your ice maker should now be working again at its normal speed

Apr. 09, 2024
How to Fix the Whirlpool Washer F5 E3 Error Code
Mar. 06, 2024
10 Steps to Clean Your Fridge Water Dispenser

Feb. 05, 2024
How to Replace a Whirlpool Refrigerator Water Filter
Jan. 03, 2024
How to Clean an Oven Glass Door (3 Easy Methods)
Dec. 11, 2023
Why Your Microwave Plate Is Not Spinning
Nov. 06, 2023
Washer Spin Cycle Not Working? Here’s Why
Oct. 02, 2023
How to Fix a Slow Ice Maker
Sep. 08, 2023
Why Does My Dishwasher Smell like Sewage?
Jul. 31, 2023
What Causes a Dryer to Overheat? (and How to Fix It)
Jul. 19, 2023