
February 5, 2024
Refrigerator Repair
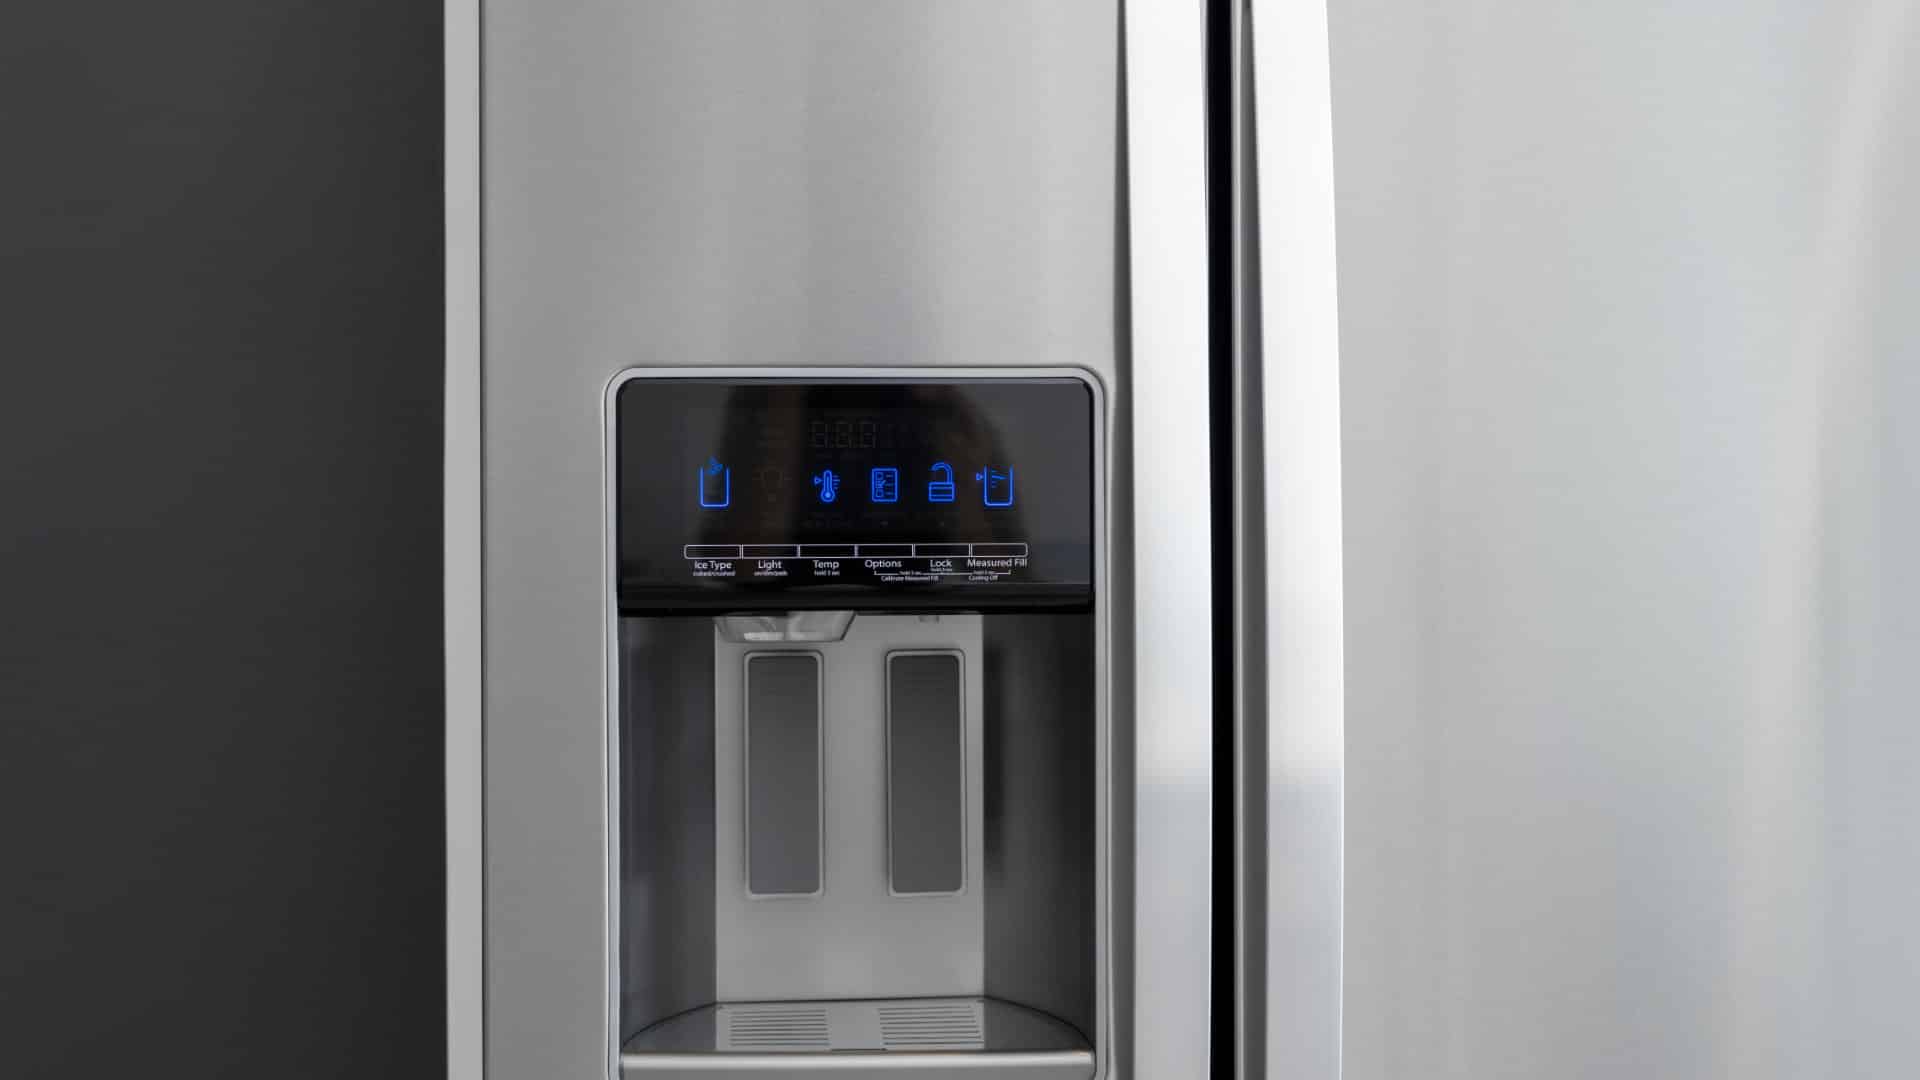
Have you noticed that the water in your Whirlpool refrigerator dispenser is not flowing as freely as it once was? Perhaps the taste is a little off, too, or maybe you’ve noticed a light on your display telling you the filter needs replacing. Whirlpool recommends you replace the filter every six months to keep your drinking water clean and fresh. Luckily,replacing the filter is a breeze! If you’ve never done it before, we’re here to help. Just follow our simple, step-by-step guide.
This article applies to all popular brands of Whirlpool refrigerators, including:
1ET25DKXGW00
2-A Y
3EAD19XMWR1
3ECKMF10
3ECKMF8
3ECKMF86
ED5FVGXWS07
WRB322DMBM00
WRF535SMBM00
WRF560SEHZ00
WRF560SEYM05
WRF736SDAM11
WRF736SDAM12
WRF736SDAM13
WRF736SDAM14
WRS322FDAM04
WRS325FDAM02
WRS325FDAM04
WRS571CIDM01
WRS571CIHZ01
WRX735SDBM00
How Does a Refrigerator Water Filter Work?
Whirlpool prides itself on its filtration technology, and the company makes sure they’re highly efficient when it comes to cleaning and filtering your water. Their filters use activated carbon, derived from coconut shells, to trap and absorb impurities in the water supply so they don’t end up in your water bottle.
The filters work in three phases—the particle filtration phase, the microfiltration phase, and the absorption phase. Let’s break down how each of these phases work.
Particle Filtration
This phase works by trapping larger particles like sand, silt, and minerals. Depending on the quality of your water supply, there may be plenty of large particles or almost none.
Microfiltration
This phase captures smaller particles, including harmful parasites that may be in your water supply.
Absorption
This phase is what gives your water that clean, fresh taste. It removes microscopic pollutants, including trace amounts of pesticides, leaving you with clean, fresh, and healthy water.
How Often Do Filters Really Need Replacing?
The recommendation is to replace these filters once every six months, but just how necessary is it to follow this to the letter? If you want to be completely confident that your filter is removing all harmful particles from your water, then stick to the recommendations. However, there are a few factors that can influence how often your filter gets clogged.
- Water quality: If you live in an area where the tap water has high levels of minerals and sediment, then your filter may get clogged more quickly. Conversely, if your area has soft water, you might be able to go longer than six months.
- Frequency of use: If you have a large household and you’re all frequently drinking water from the Whirlpool water dispenser, you may clog the filter more quickly. A single-person household that uses the dispenser infrequently can probably get away with waiting a bit longer between replacements.
Overall, replacing every six months is the safest bet, but you can also watch out for some signs that the filter is getting near the end of its life span. A slowed water flow is probably the most obvious sign, but you might also notice changes to the flavor of your water that suggest the filter is no longer doing its job properly.
How to Choose the Right Replacement Filter?
First of all, we highly recommend that you get an official Whirlpool filter and that you don’t purchase an off-brand knockoff. There is no regulation over the efficacy of off-brand filters, so you have no way of knowing if they’re actually doing what they say they do.
Before you can replace your filter, you need to know what type of filter your Whirlpool fridge uses. Whirlpool has 4 types of filters, and each one is clearly labeled. Check your user manual to find out if your refrigerator uses type 1, 2, 3, or 4, then move on to our step-by-step guide.
Replacing Your Whirlpool Water Filter
Once you’ve purchased the correct replacement filter, you’re ready to install it! Below, we’ve outlined the method for installing the four types of filters. For each type of filter, finish the installation by running four gallons of water through the filter to flush it, then reset the filter light.
For Filter 1
- Find the water filter cover. Depending on your model, it will likely be in the upper-right corner of your refrigerator, or inside the base grille.
- After lifting the filter door, remove and dispose of the filter.
- Take out your new filter and get rid of the O-rings’ protective coverings.
- Making sure the arrow is pointing up, fit the new filter into the slot.
- Close the filter door over until you hear it click into place.
For Filter 2
- As above, find the water filter cover and open the door.
- Pull the filter until it’s angled down, then twist it to the left and pull until it comes out. As before, throw the old filter away.
- Take out your new filter and get rid of the O-rings’ protective coverings.
- Making sure the arrow is pointing up, fit the new filter into the slot. The filter should start to rotate.
- Turn the filter clockwise until it locks.
- Push the filter door closed until it snaps into place.
For Filter 3
- Find the water filter cover. It should be on the left side of your refrigerator’s base grille.
- Push the “eject” button to release the filter.
- Take out your new filter and get rid of the O-rings’ protective coverings.
- Making sure the ridges are aligned, fit the filter cap on the new cartridge, then rotate the cap clockwise to lock it into place. Make sure the arrow points to the left.
- Firmly press the filter in until the eject button pops back out.
For Filter 4
- Open your refrigerator and find the water filter cover. It should be in the upper right-hand corner.
- Before continuing, take a look at the filter tab. If it’s facing outward, make sure to give it a push and pull down the cover. If the tab is on the bottom of the cover, pull the small lever forward and down to open it.
- Turn the filter to the left and remove it.
- Now take your new filter. Ensure that it aligns with the grooves before inserting. Turn it to the right, then push up to secure it in place.
- Firmly close the filter door by pushing it up until it snaps into place.

Apr. 09, 2024
How to Fix the Whirlpool Washer F5 E3 Error Code
Mar. 06, 2024
10 Steps to Clean Your Fridge Water Dispenser
Feb. 05, 2024
How to Replace a Whirlpool Refrigerator Water Filter
Jan. 03, 2024
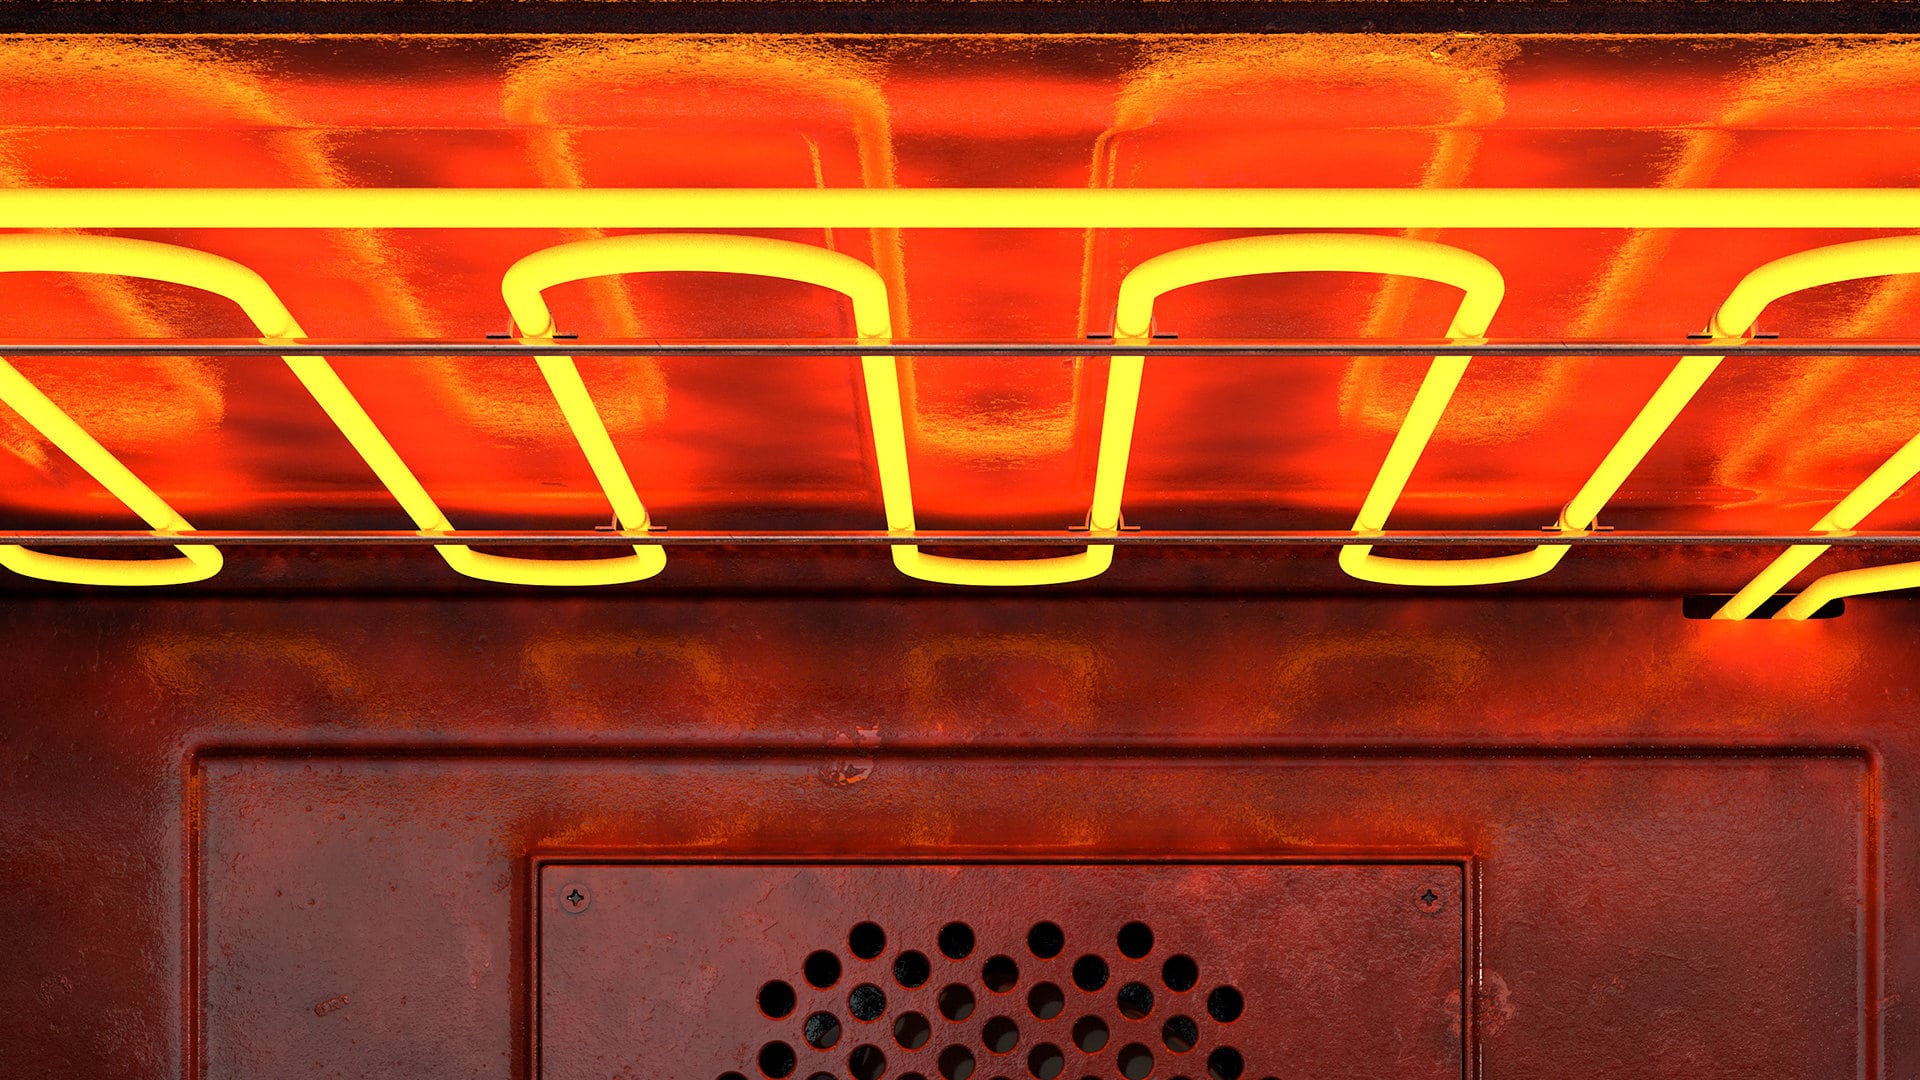
How to Clean an Oven Glass Door (3 Easy Methods)
Dec. 11, 2023
Why Your Microwave Plate Is Not Spinning
Nov. 06, 2023
Washer Spin Cycle Not Working? Here’s Why
Oct. 02, 2023
How to Fix a Slow Ice Maker
Sep. 08, 2023
Why Does My Dishwasher Smell like Sewage?
Jul. 31, 2023
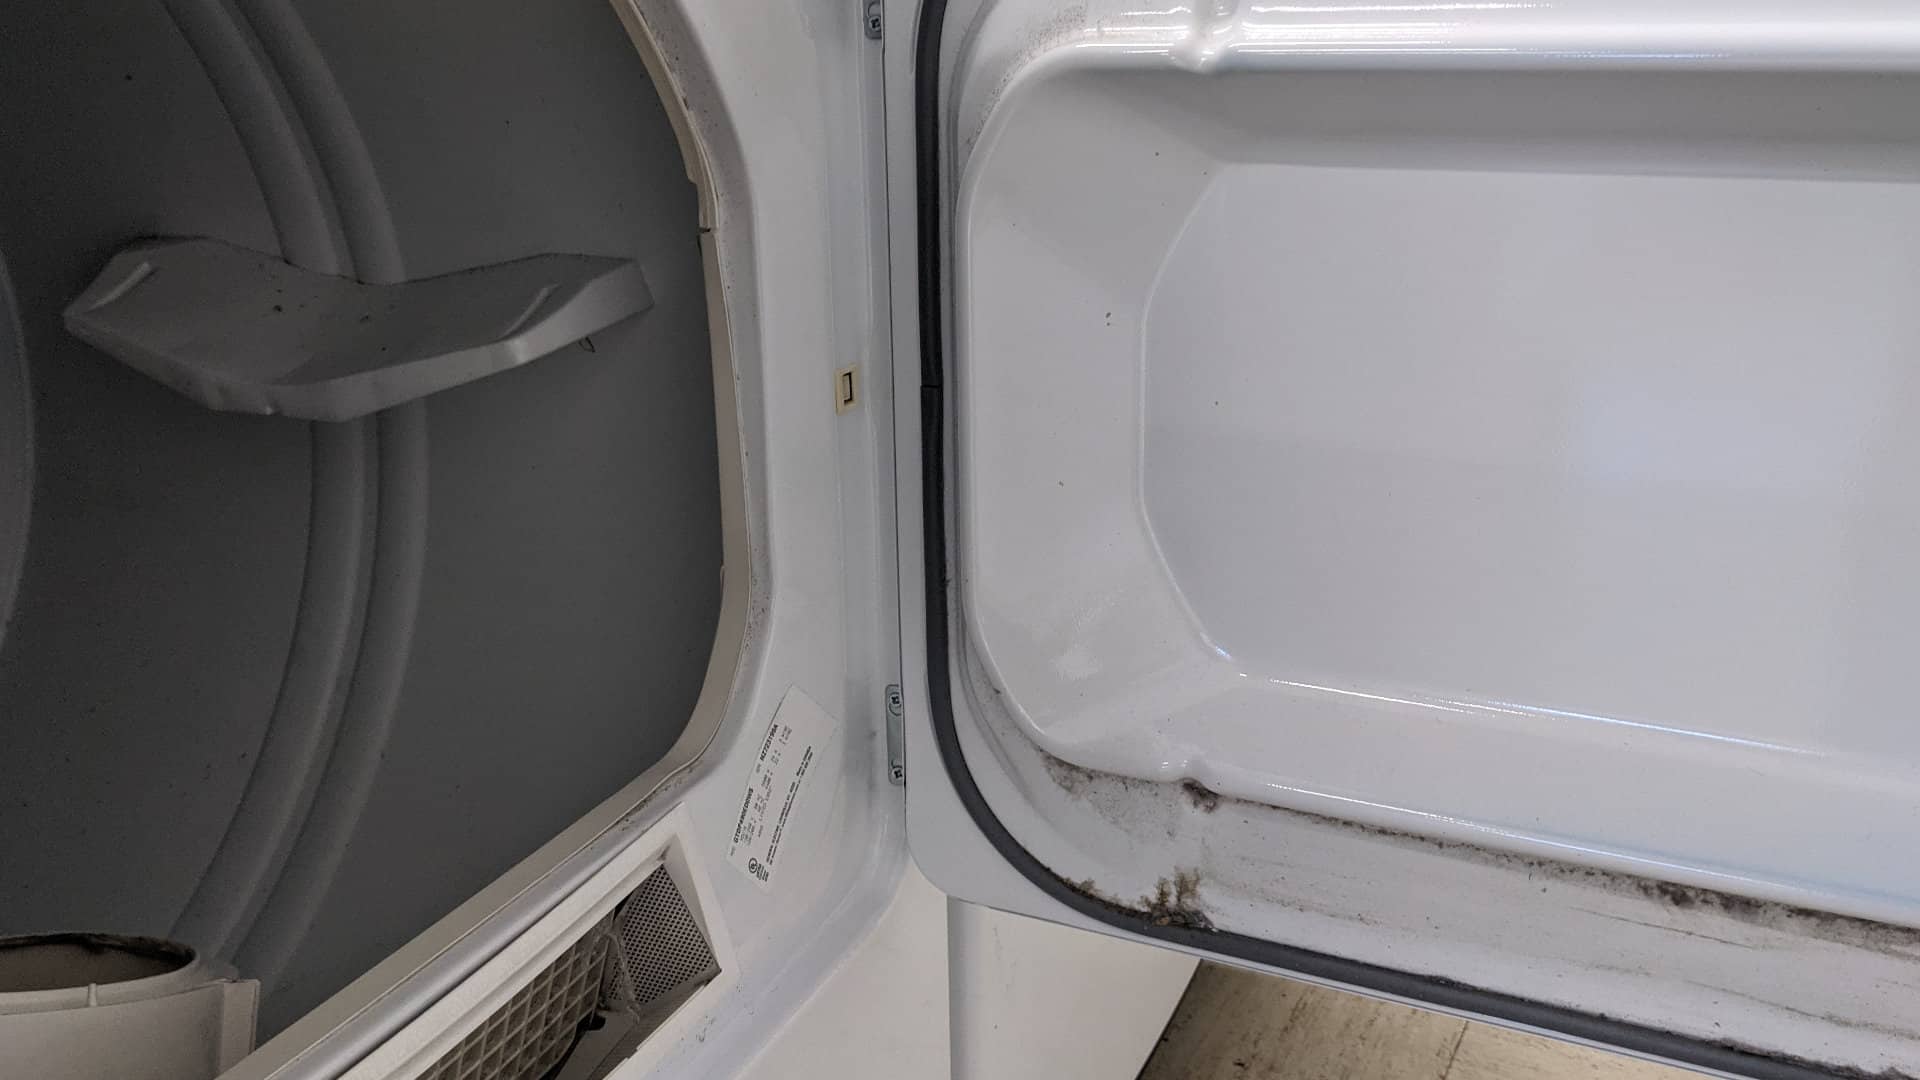
What Causes a Dryer to Overheat? (and How to Fix It)
Jul. 19, 2023