

October 1, 2018
Refrigerator Repair
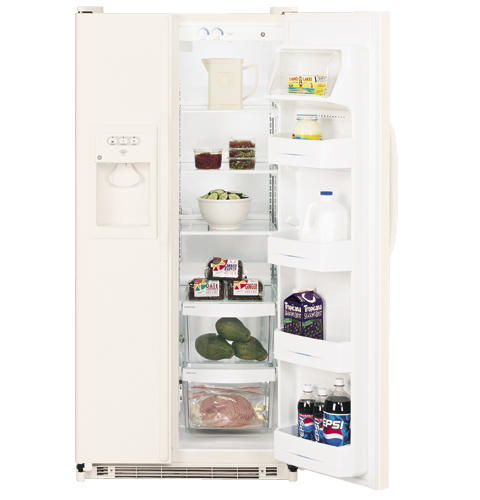
The evaporator fan motor in your GE refrigerator model GSS20IEMCC is found near the evaporator in the freezer compartment. When the compressor is running, the fan motor circulates cold air throughout your refrigerator. A faulty motor stops the distribution of chilled air, which causes the temperature in the freezer and fresh food compartment to increase. If you believe the fan motor in your GE refrigerator is defective, you can replace the part by following the repair guide below, however, if you are not confident in your repair skills, contact your local appliance repair technician to get the job done right.
How to Replace the Evaporator fan motor in Your GE Refrigerator
Before attempting any repair, unplug your appliance. Work gloves and safety goggles should be worn to protect your hands and eyes.
-
Start your repair by opening up the freezer door and pulling out the ice bucket. Then, remove all the shelving and bins from the compartment. Now that the freezer is empty, you’ll need to take out the rails that held the bins. To do so, unthread the screws securing the rails to the freezer walls and pull the rails out of the compartment. Next, the mounting clips, which hold up the shelving, will need to be removed from the freezer walls.
-
You have finally gained access to the freezer’s rear panel. Before you can remove the panel, you’ll need to uninstall the light cover and light bulb located at the top of the panel. Squeezing both sides of the cover and pulling down should disengage the locking tabs holding it in place. Once the cover is out of the way, unscrew the light bulb and place it somewhere safe.
-
Unthread the screws securing the rear panel to the freezer and take the panel out of the compartment. The evaporator fan motor is now visible. Start the removal process by prying the evaporator fan off the motor. Before detaching any wires, take a picture of the connections to make reattaching them easy. Disconnect the wires from the motor and take off the bracket holding the evaporator motor in place. Now pull the motor out of the mounting bracket and get rid of it.
-
Grab your new evaporator motor and insert the motor shaft into the small hole in the mounting bracket. Reattach the bracket to secure the motor and reconnect the wires after consulting the picture you took. Finally, put the fan back on the motor.
-
Now you can start the reassembly process. Reattach the back panel, and use the screws you took out earlier to secure it. Next, screw in the light bulb and reinstall the light cover. Snap the mounting clips into the freezer walls and reattach the rails. Slide the bins into the freezer, replace the shelving and reinsert the ice bucket.
-
Close the freezer door and plug-in your refrigerator.
If you have questions about your appliance, or you would like to schedule an appliance repair, please contact us today and we’ll be happy to assist you.

Apr. 09, 2024
How to Fix the Whirlpool Washer F5 E3 Error Code
Mar. 06, 2024
10 Steps to Clean Your Fridge Water Dispenser

Feb. 05, 2024
How to Replace a Whirlpool Refrigerator Water Filter
Jan. 03, 2024
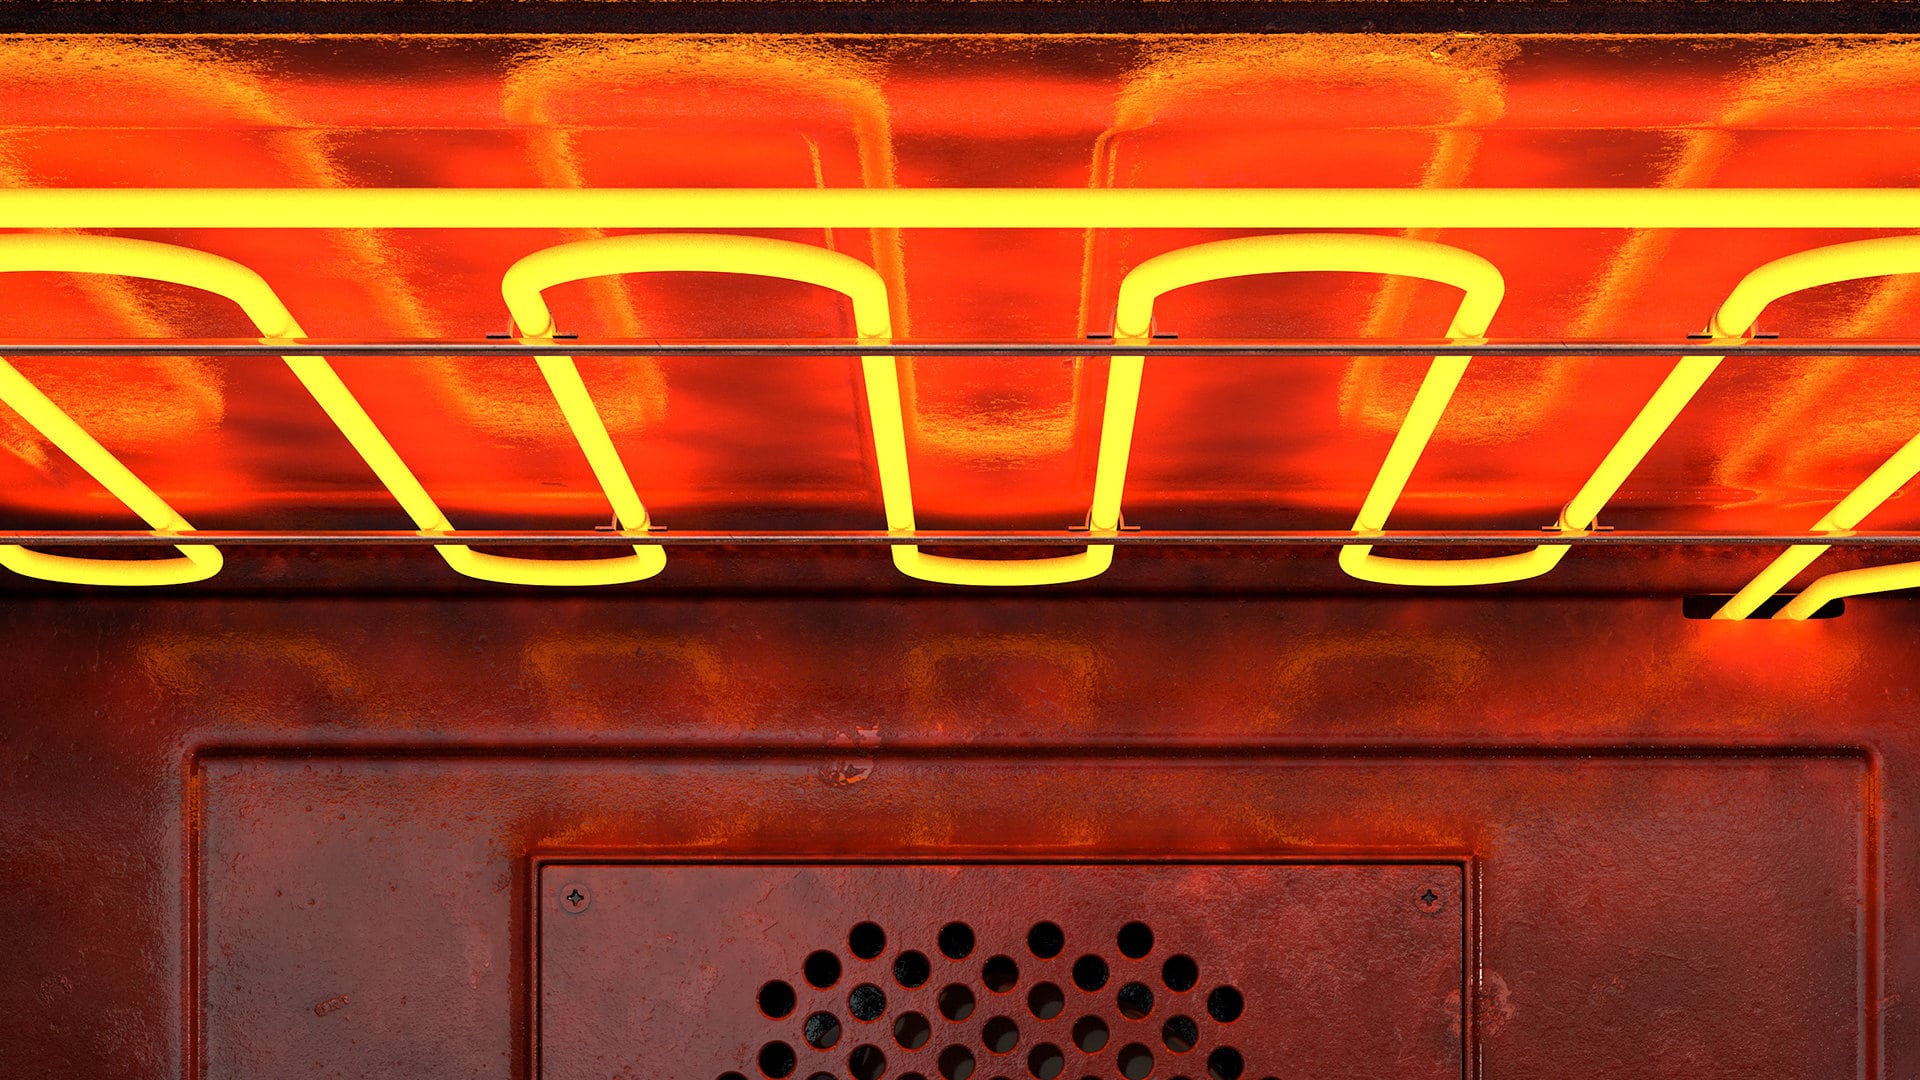
How to Clean an Oven Glass Door (3 Easy Methods)

Dec. 11, 2023
Why Your Microwave Plate Is Not Spinning
Nov. 06, 2023
Washer Spin Cycle Not Working? Here’s Why

Oct. 02, 2023
How to Fix a Slow Ice Maker
Sep. 08, 2023
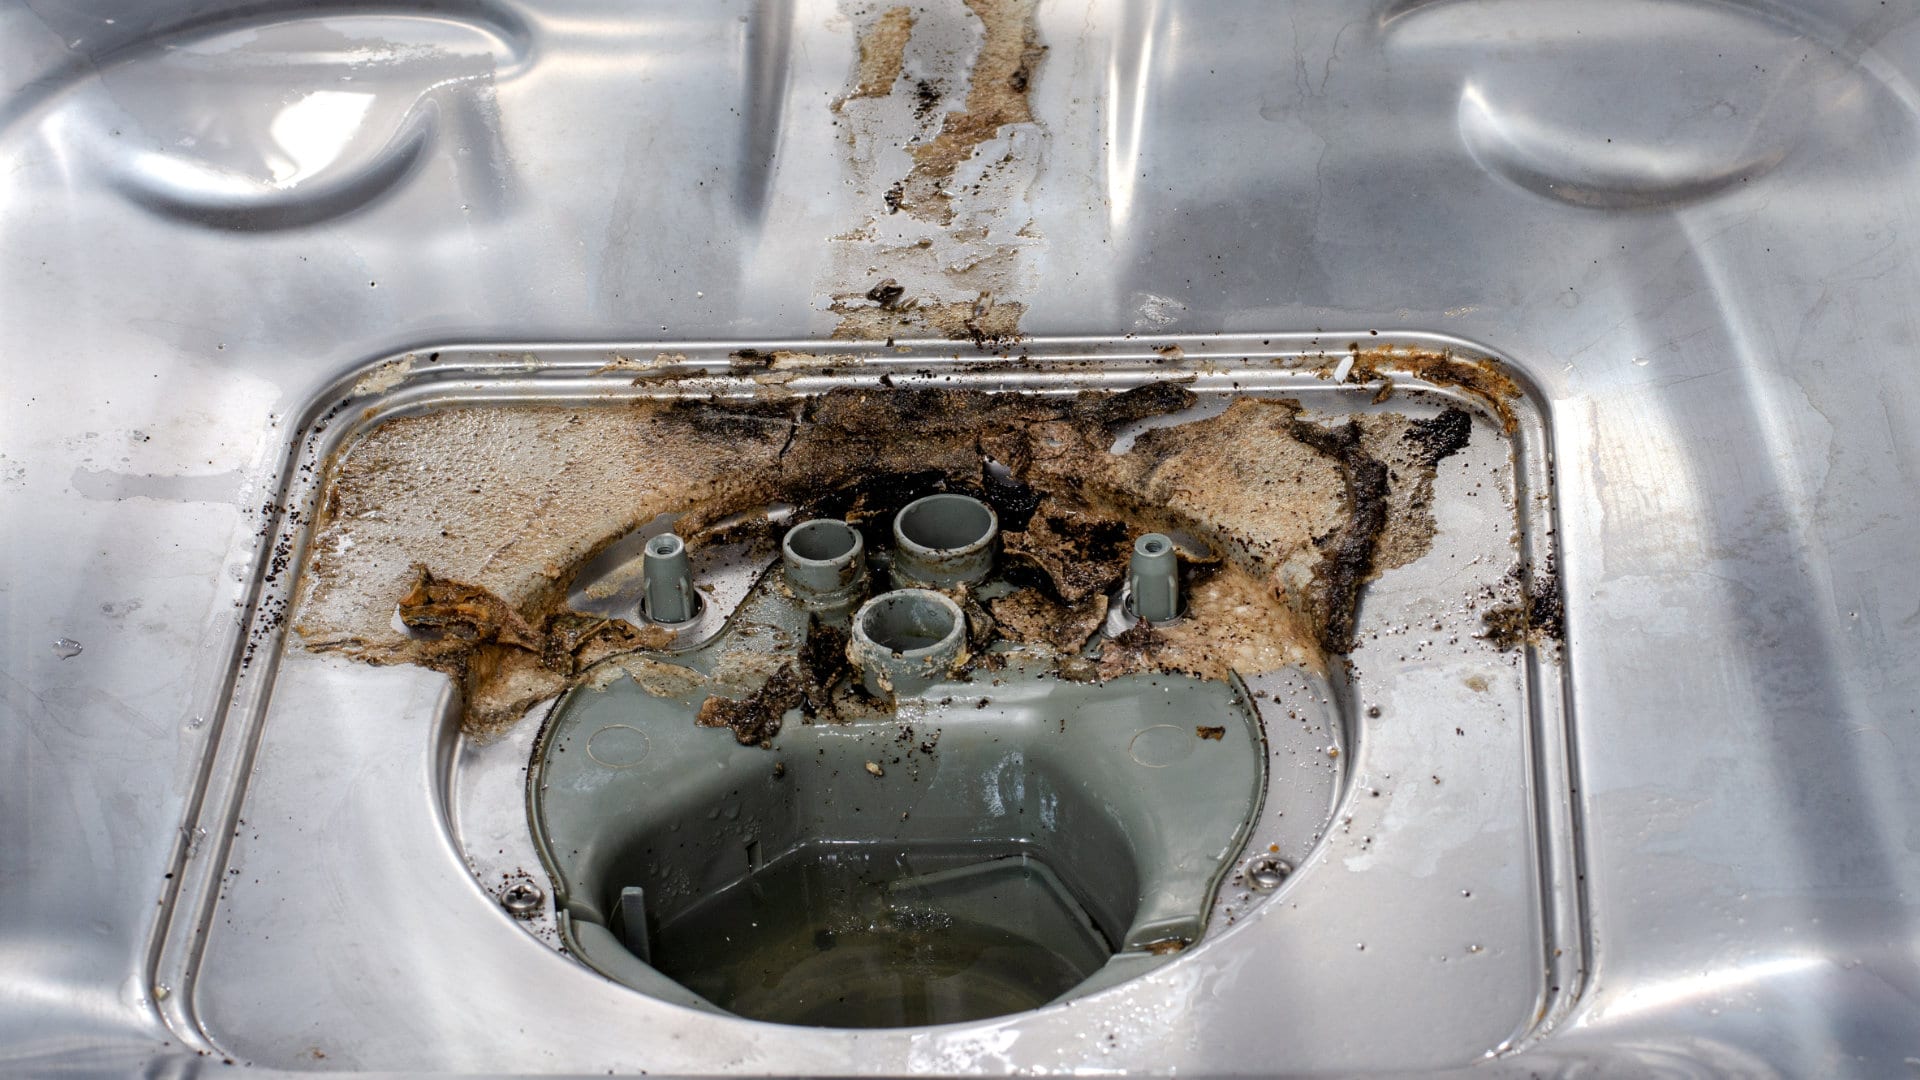
Why Does My Dishwasher Smell like Sewage?
Jul. 31, 2023
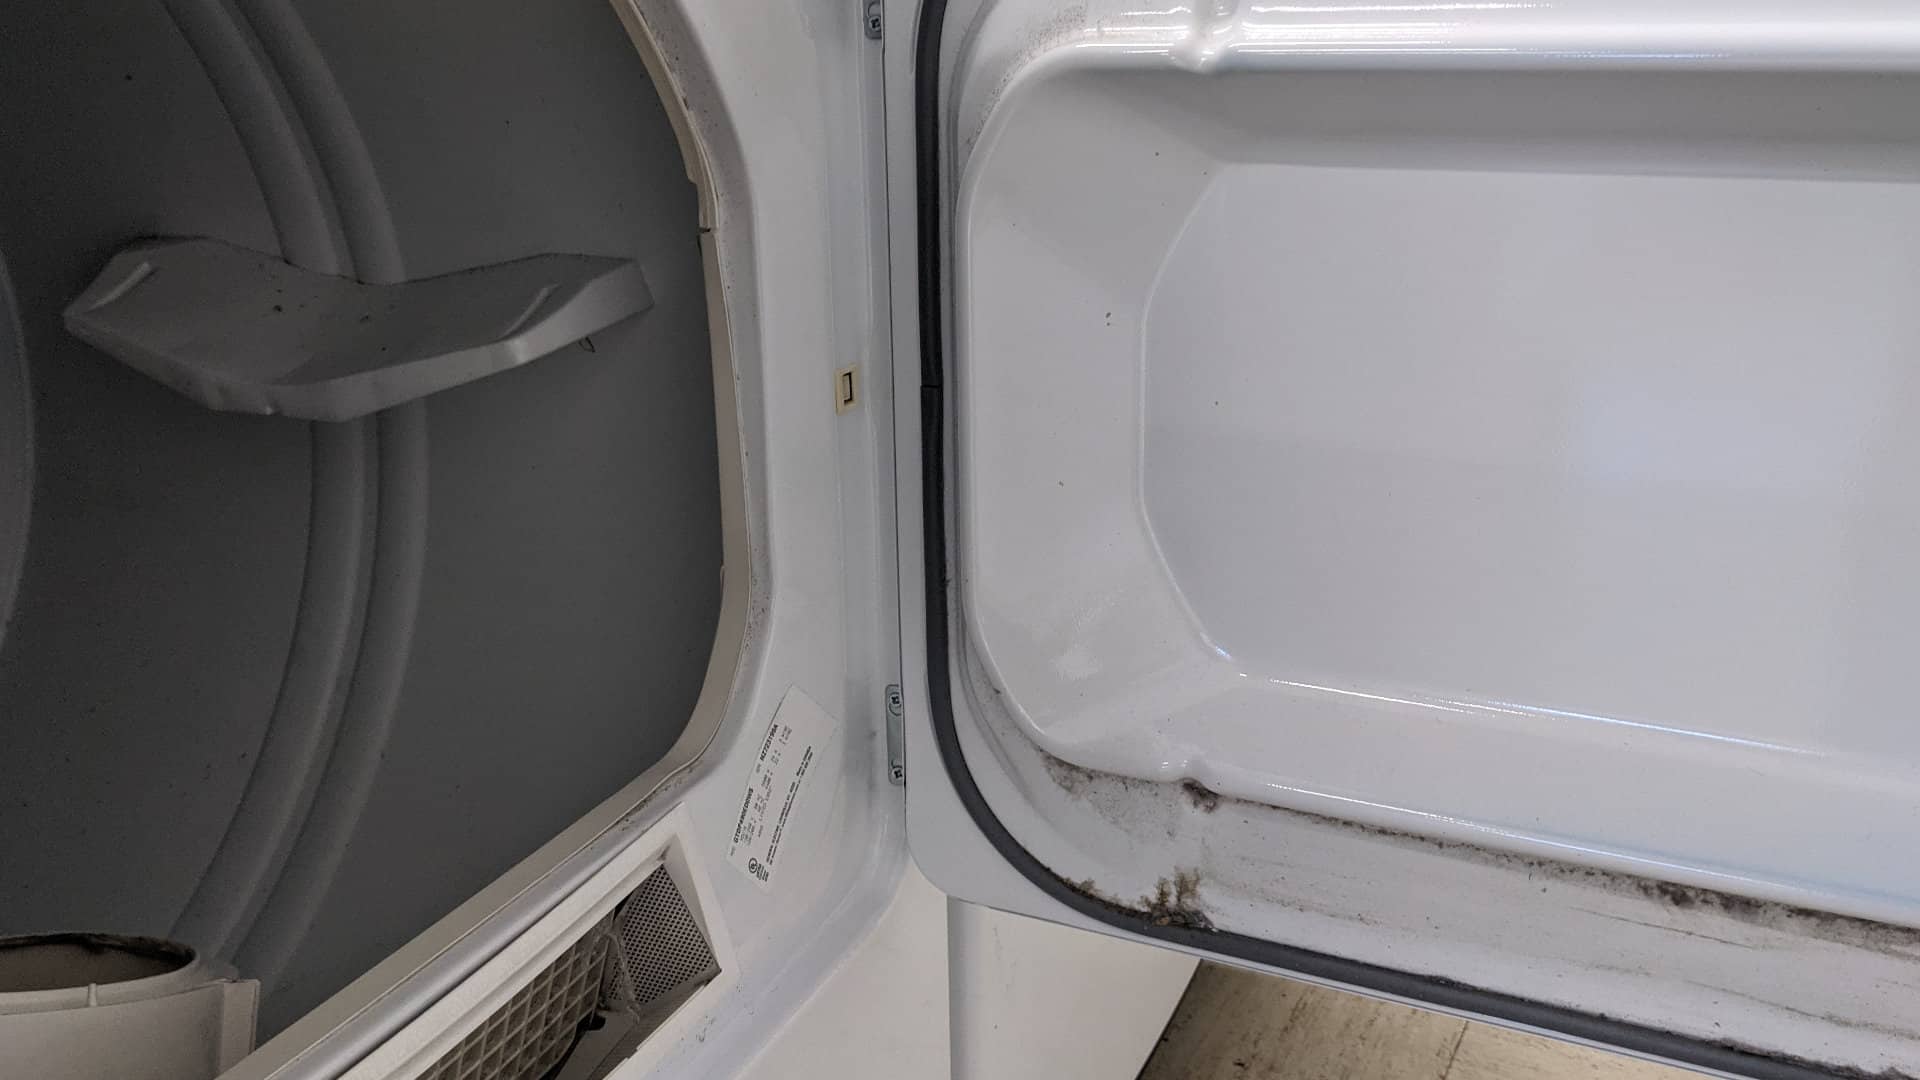
What Causes a Dryer to Overheat? (and How to Fix It)
Jul. 19, 2023