


February 4, 2022
Refrigerator Repair
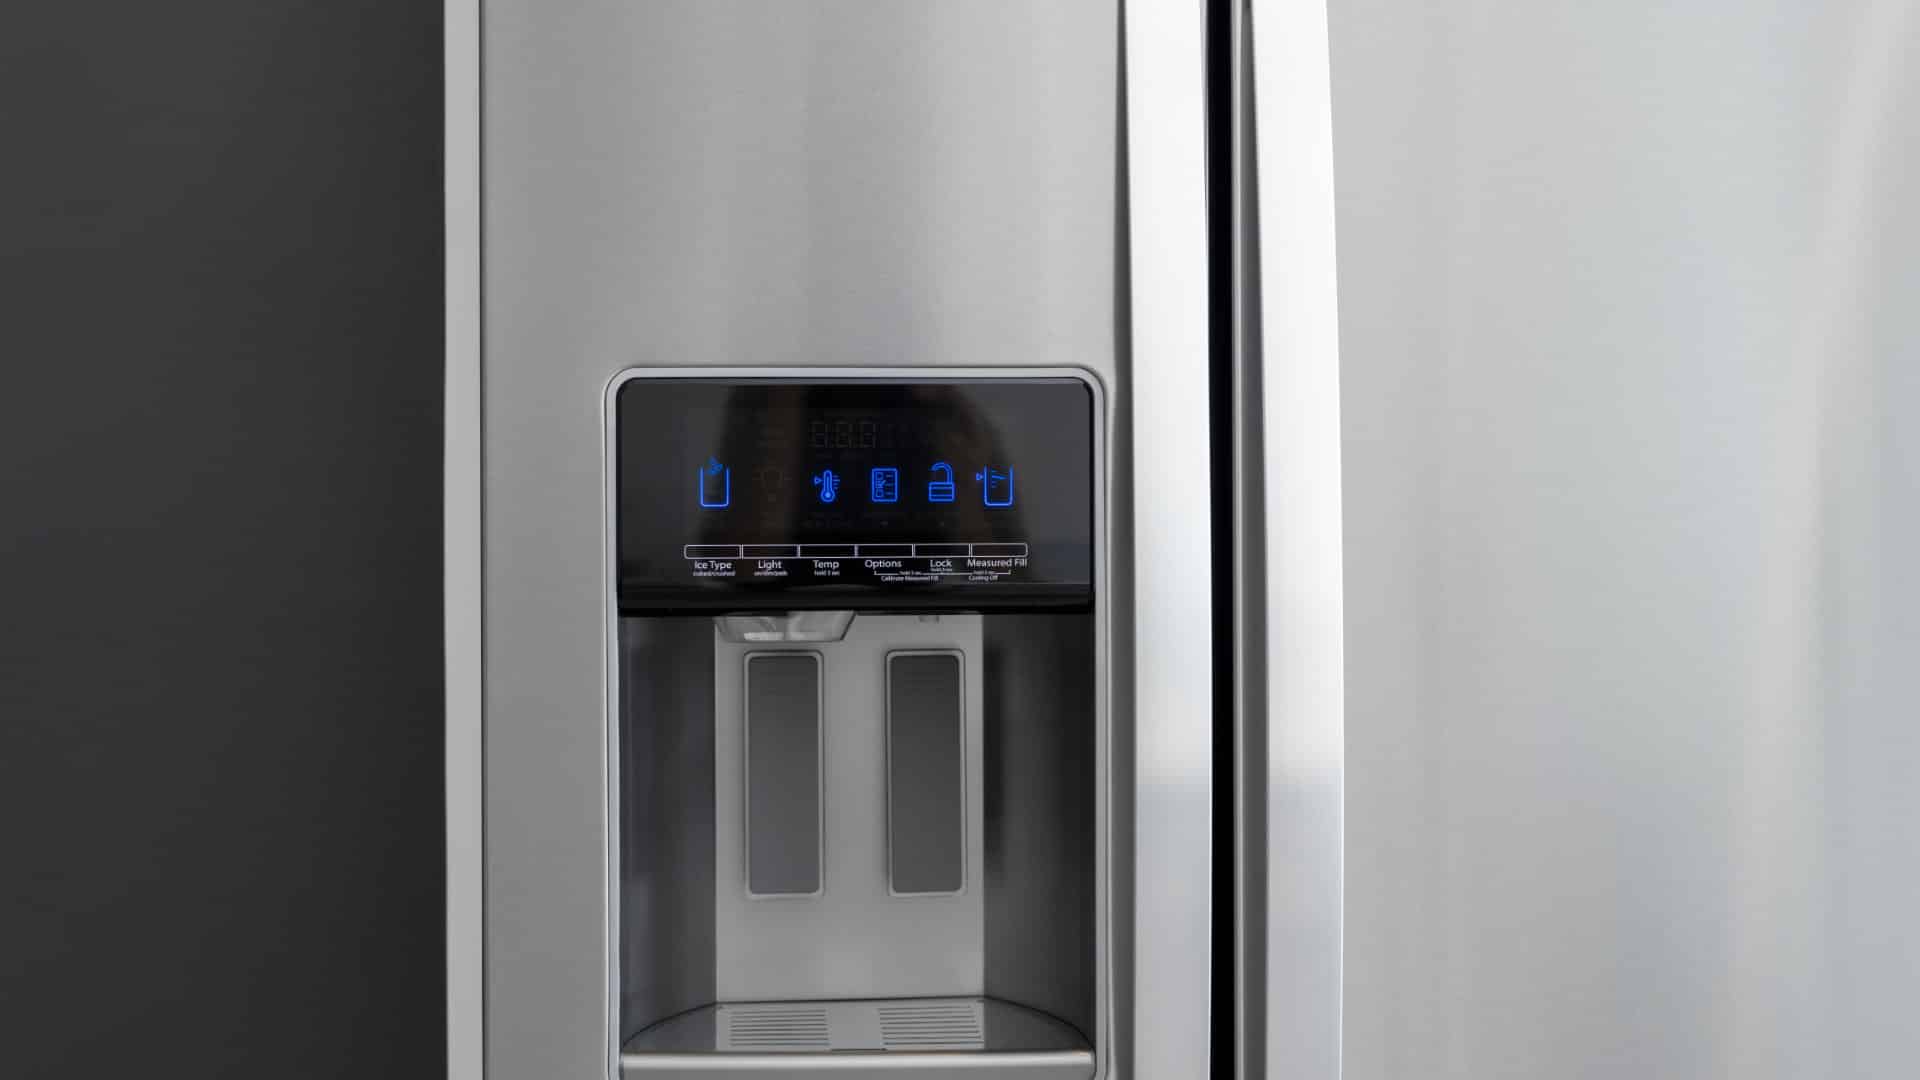
Ice makers are extremely useful when you want to get ice from your freezer quickly and without having to constantly refill the ice trays. Most modern Maytag fridges have a built-in ice maker that automatically.
Even though Maytag makes high-quality appliances, sometimes components within their fridges need to be repaired or replaced – including ice makers.
Thankfully, replacing your ice maker unit with a new one is a relatively easy repair. In fact, the main thing to get right is to purchase the correct replacement part!
In this guide, we give you step-by-step instructions for how to remove the old ice maker and install the new one.
This guide works for most Maytag fridge models, including:
12001294
12001302
ERCQ24-001A/P55420-3C
ERCQ30-001A/P55420-4C
ERCQ36-001A/P55420-5C
ERCQ42-001A/P55420-6C
MFD2560HES
MFD2561HES
MFI2269VEM10
MFI2568AEB
MFI2568AES
MFI2568AEW
MFI2569VEM1
MFI2569VEM2
MFI2569VEM4
MFI2569YEM0
MFI2570FEZ06
MSD2454GRW
MZD2766GEB
MZD2766GES
MZD2766GEW
Step 1 – Get prepared
Before removing the old ice maker, you can do a few things to get prepared, which will make removing the old ice maker easier.
Here are a few good tips:
- Unplug your fridge. Alternatively, you can turn off the circuit breaker that supplies power to your fridge.
- Next, turn off the water supply to the ice maker so that water can’t leak out when you’re removing the old ice maker and installing the new one.
- Next, make sure that you have a Phillips head screwdriver, a flat head screwdriver, and a hex head tool, also known as an Allen wrench.
- Place some towels on the floor to catch any water that leaks out while you’re removing the old ice maker and installing the new one.
- Remove any removable parts from your freezer compartments, such as shelves and the ice bucket. Once removed, place them out of the way.
Step 2 – Remove the old ice maker
- The first thing you need to do to remove the old ice maker from your Maytag fridge is to take off the ice maker unit’s front panel. You can do this by removing any screws that hold it in place. It should slip out of position and be able to be removed.
- Once the front panel has been removed, disconnect the wire harness plug that connects the ice maker unit to the freezer.
- The ice maker unit is just one complete unit, so you don’t have to take it apart bit by bit. If the ice maker is still held in place by any mounting brackets, remove the remaining screws and then take the old ice maker unit completely out of your freezer.
Step 3 – Install the new ice maker
- Start by taking the new ice maker out of its box. Then get the wire harness plug ready to be plugged in and make sure you have all of the screws to reattach the new ice maker.
- Place the new ice maker unit in the freezer in the correct position. Then reconnect the wire harness and return it to the correct slot in the freezer.
- Next, secure the new ice maker in place by reattaching the screws in the mounting brackets.
- Once the ice maker unit has been installed correctly, the next step is to reattach the front panel. Make sure you secure the front panel in position with the screws that you removed earlier.
- Your new ice maker should now be installed. Before testing that it works, return all of the freezer trays and shelves to your freezer unit.
Step 4 – Test the new ice maker
- Now that the new ice maker has been installed, the final step is to make sure it’s working correctly. Start by plugging your fridge back in or turning the circuit breaker back on.
- Next, turn the water supply to the ice maker back on.
- Let your fridge run for 1 hour or so and then check if the ice maker is working correctly. If so, your new ice maker has been successfully installed.

Apr. 09, 2024
How to Fix the Whirlpool Washer F5 E3 Error Code
Mar. 06, 2024
10 Steps to Clean Your Fridge Water Dispenser

Feb. 05, 2024
How to Replace a Whirlpool Refrigerator Water Filter

Jan. 03, 2024
How to Clean an Oven Glass Door (3 Easy Methods)

Dec. 11, 2023
Why Your Microwave Plate Is Not Spinning
Nov. 06, 2023
Washer Spin Cycle Not Working? Here’s Why

Oct. 02, 2023
How to Fix a Slow Ice Maker
Sep. 08, 2023
Why Does My Dishwasher Smell like Sewage?
Jul. 31, 2023
What Causes a Dryer to Overheat? (and How to Fix It)

Jul. 19, 2023