February 24, 2019
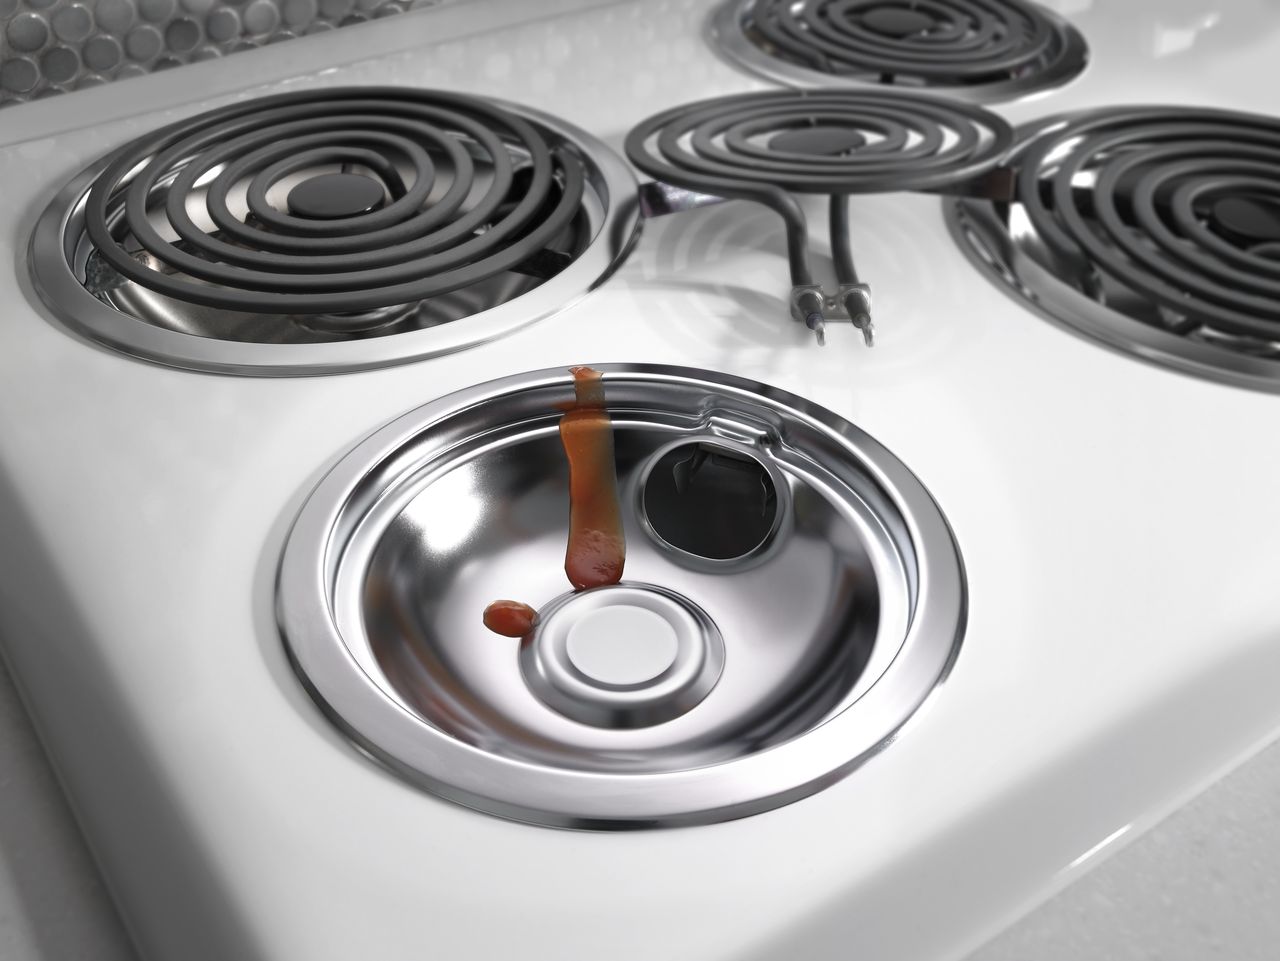
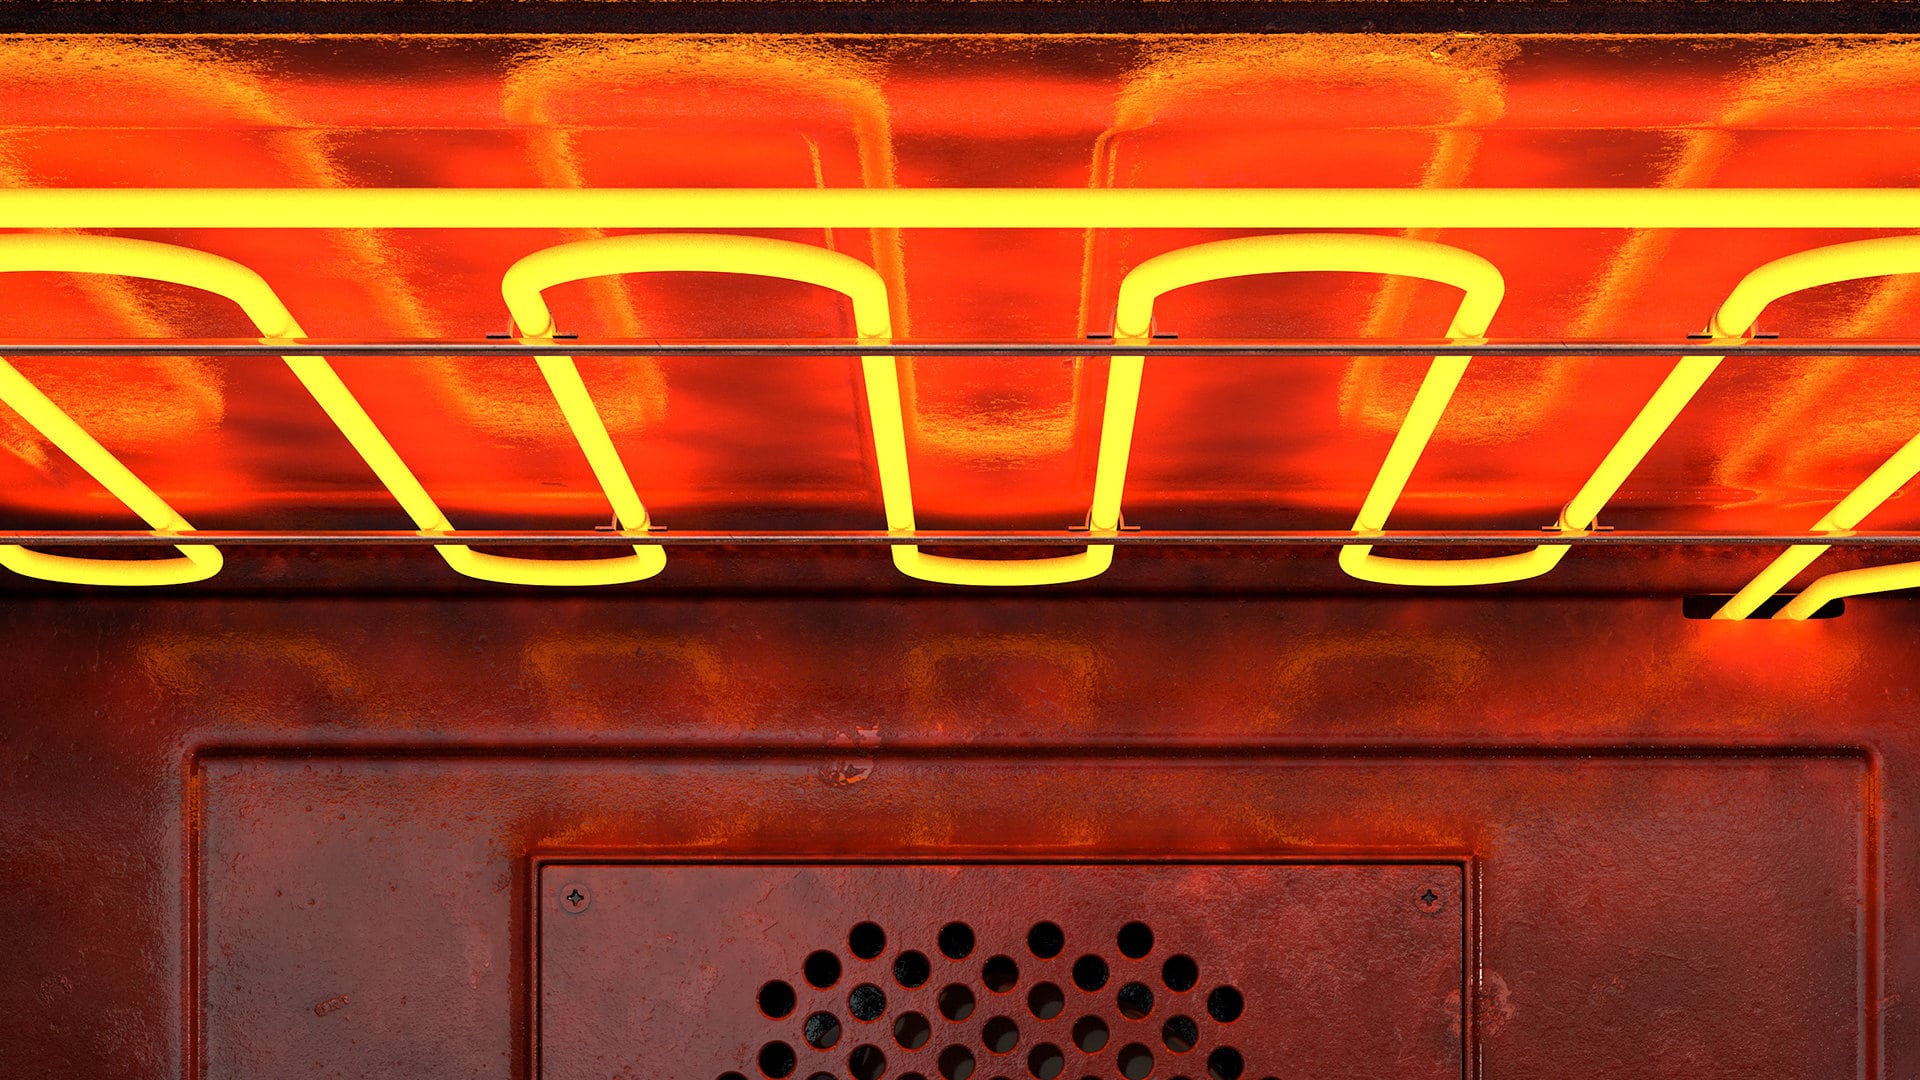
Oven Repair
While it will not be an everyday occurrence, your oven’s burners will sometimes stop working and need to be replaced. Unfortunately, replacing these elements on an electric stove is not very obvious. This guide should help give you a good idea of where to start with replacing these elements if and when it becomes necessary.
Step 1: Obtain the correct replacement parts
Before you can even start considering the replacement of your dead stove elements, you will need to get your hands on parts to replace them with. Until you have the parts to replace your dead element(s) with, the rest of the process is largely irrelevant. The best places to look for this sort of thing are the stove manufacturer’s website although, depending on the make and model, you may be able to find parts at Walmart or another similar location.
Step 2: Unplug the Stove
If you are going to be fiddling around with your stove’s various components during this replacement procedure then it is essential that you ensure the stove has been turned off first or you risk inadvertently injuring yourself in the process.
Step 3: Remove the stove top
The elements you actually need to replace are nested underneath the visible stove top. So, in order to start the removal process, you need to remove the stove top to get at those elements before you can actually replace them. Once this top has been removed, you can start taking out the dead element and replace it with a functional one.
Step 3: Uninstall the failed component(s)
Once you have all of the required components, it’s time to grab a few tools from the toolbox and get started. First, take a screwdriver and remove all of the screws holding down the failed terminal block, in some
Step 4: Install the new element
Now that the old component is out, it is time for you to take the new one and place it where the old one used to rest. Once that is done, retrieve the screws you took out in the last step and screw the element in.
Step 5: Finish up
Once the new element is in place, it’s time for you to replace the stove top back on top of the stove. When this is done, you can plug the stove back in and slide it back into the place where it is normally kept and you are done!

Apr. 09, 2024
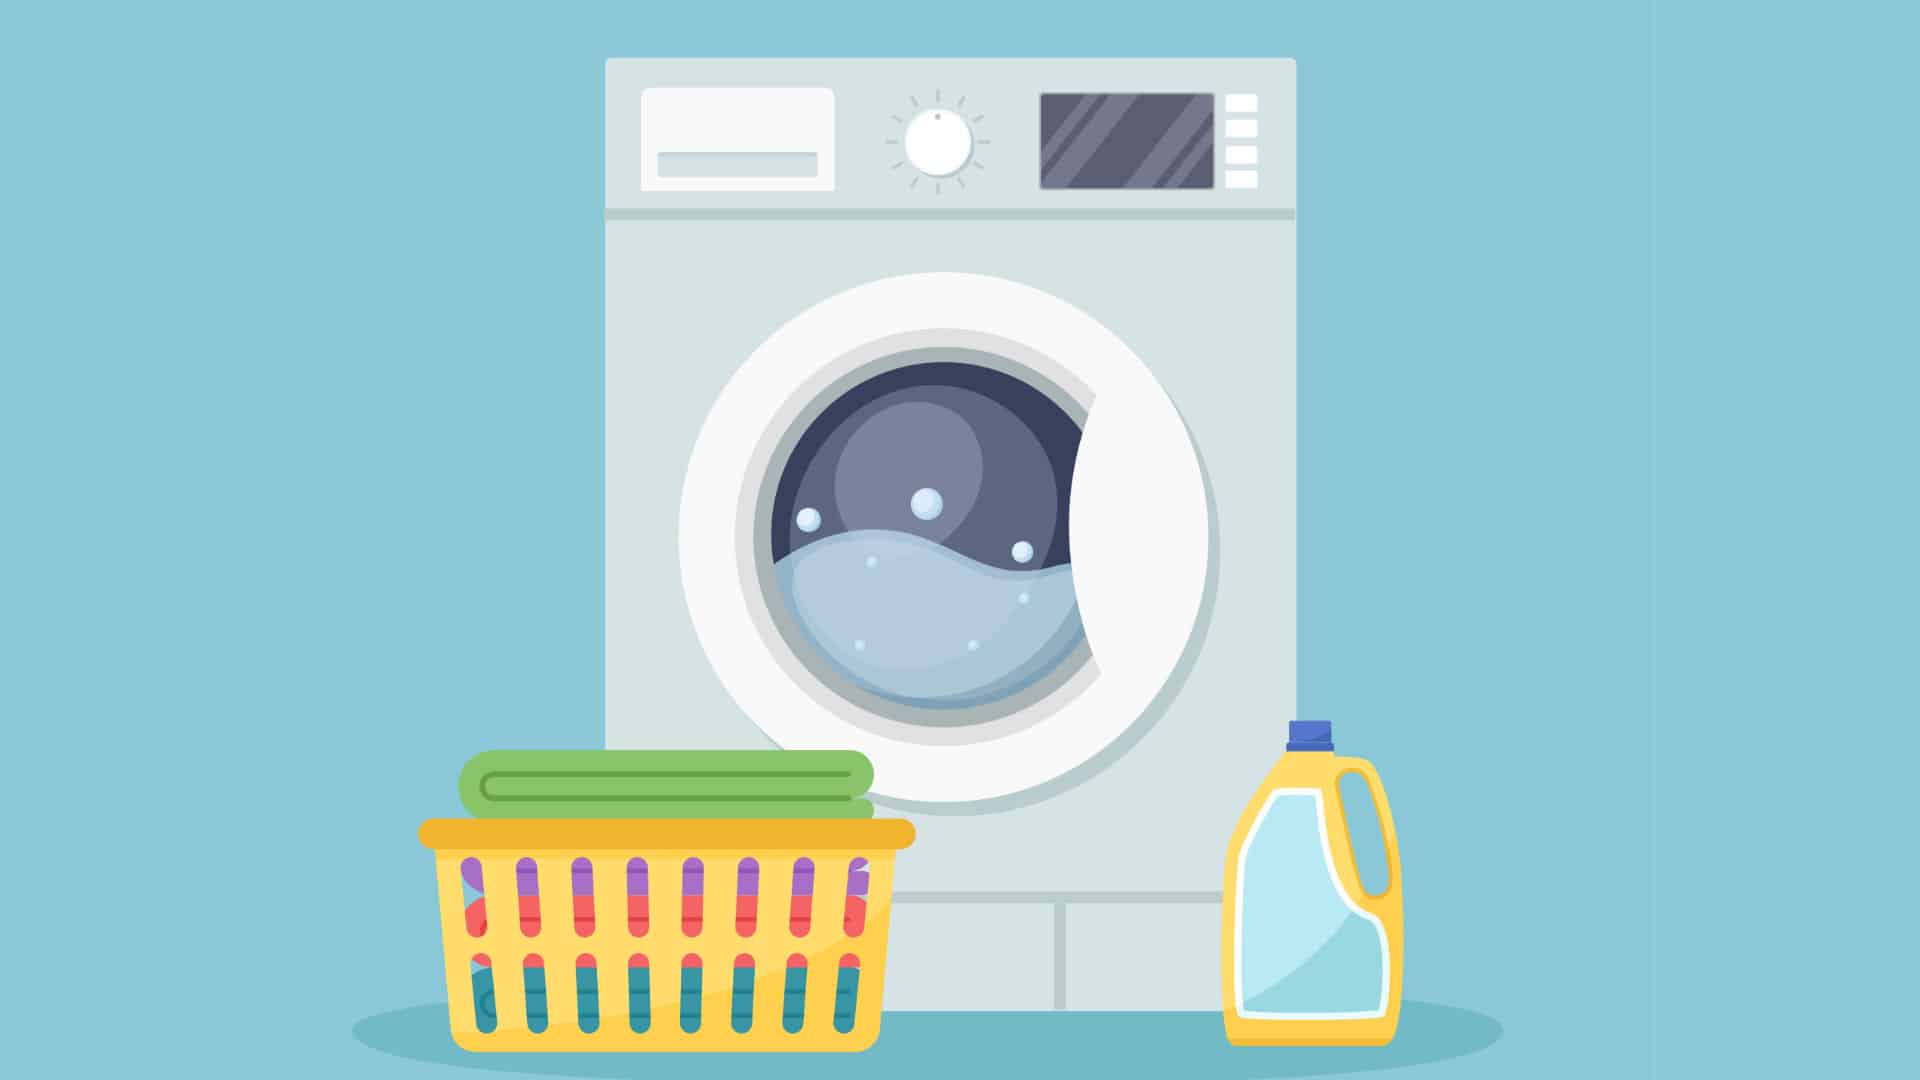
How to Fix the Whirlpool Washer F5 E3 Error Code
Mar. 06, 2024
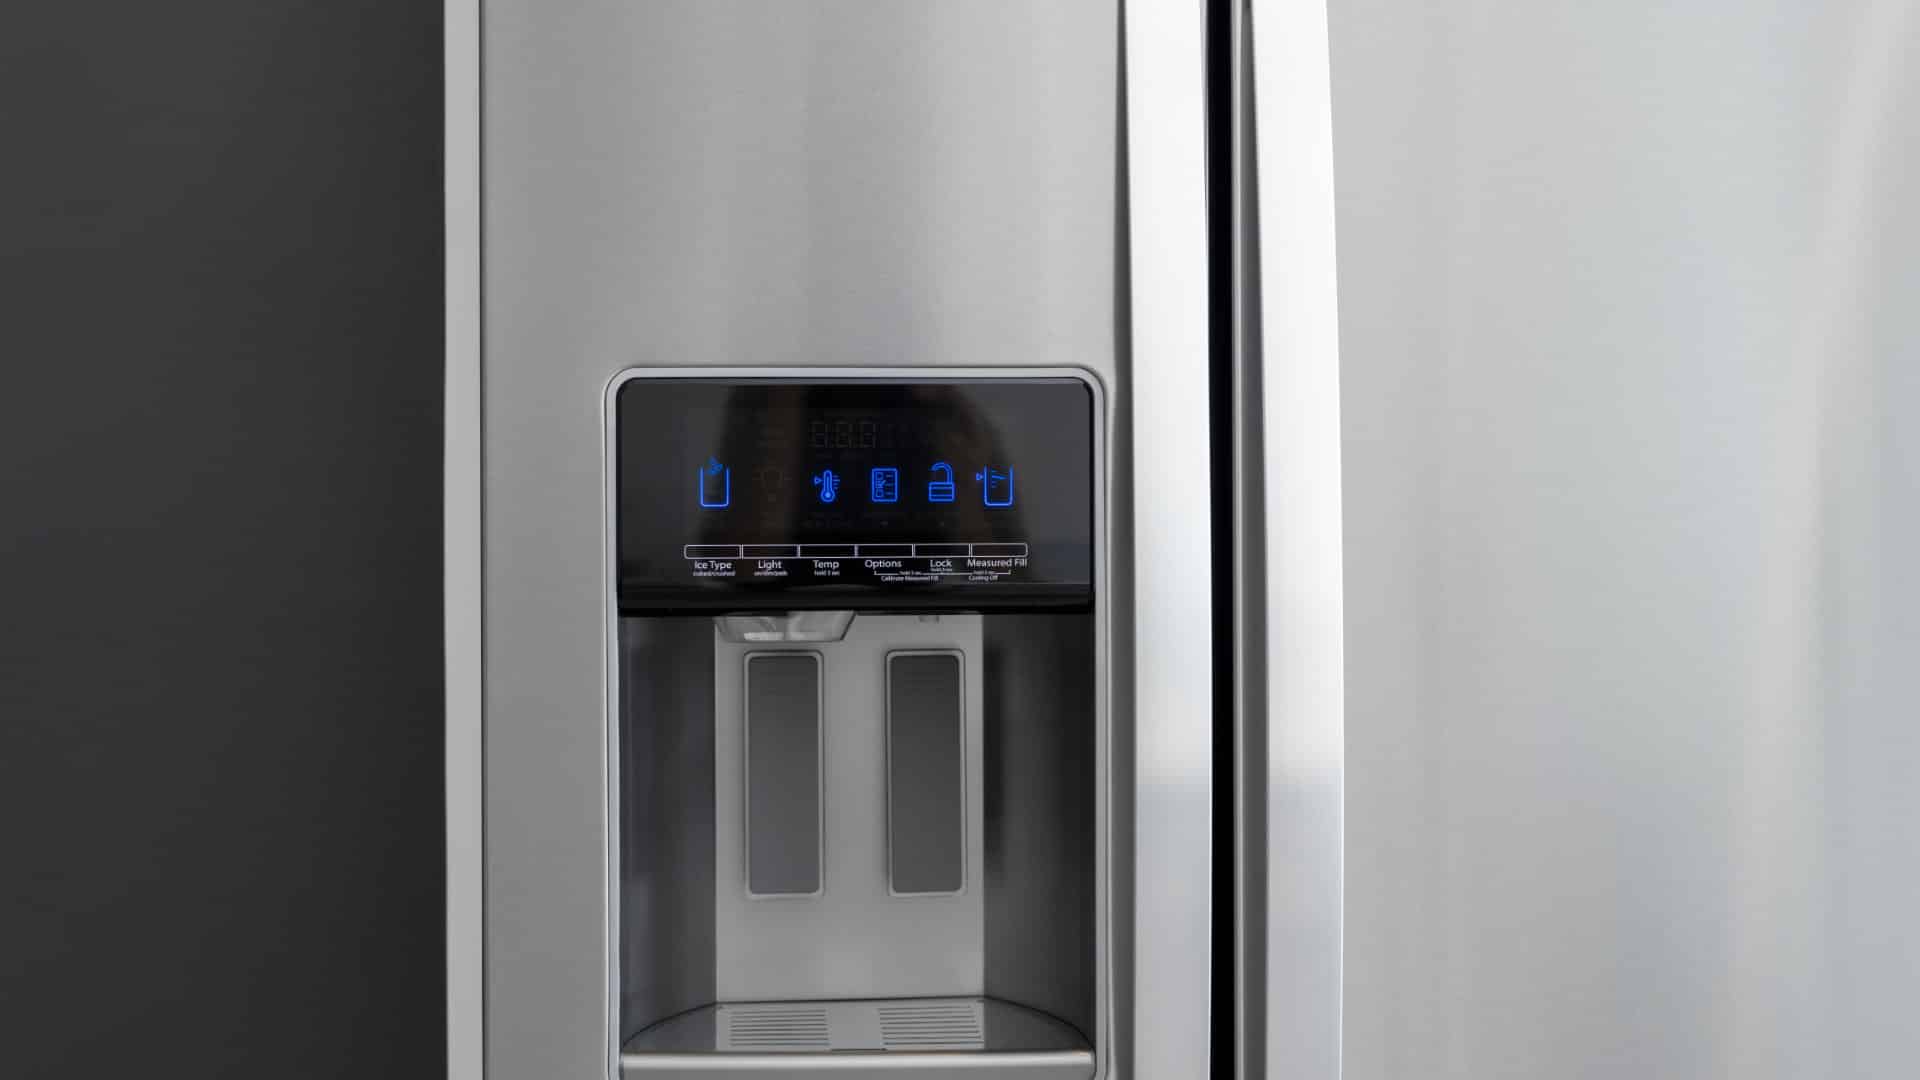
10 Steps to Clean Your Fridge Water Dispenser

Feb. 05, 2024
How to Replace a Whirlpool Refrigerator Water Filter
Jan. 03, 2024
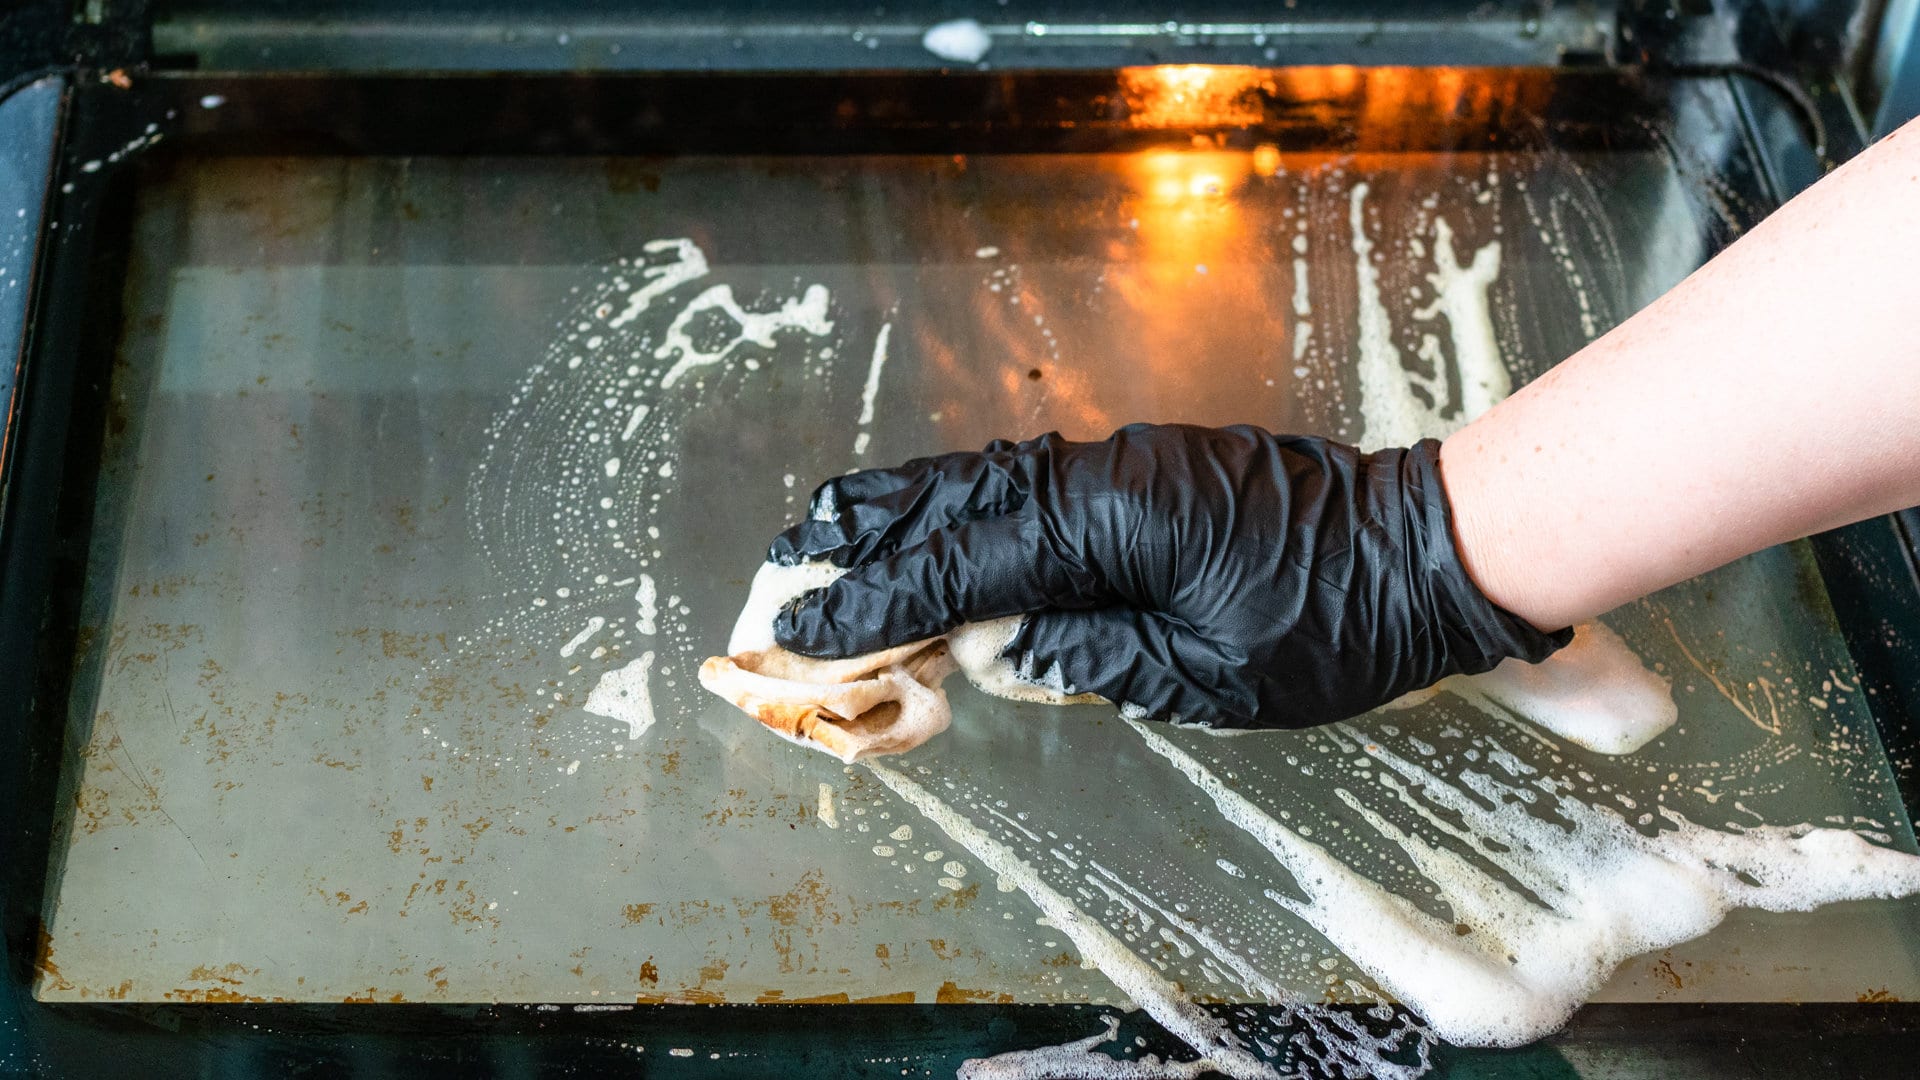
How to Clean an Oven Glass Door (3 Easy Methods)
Dec. 11, 2023
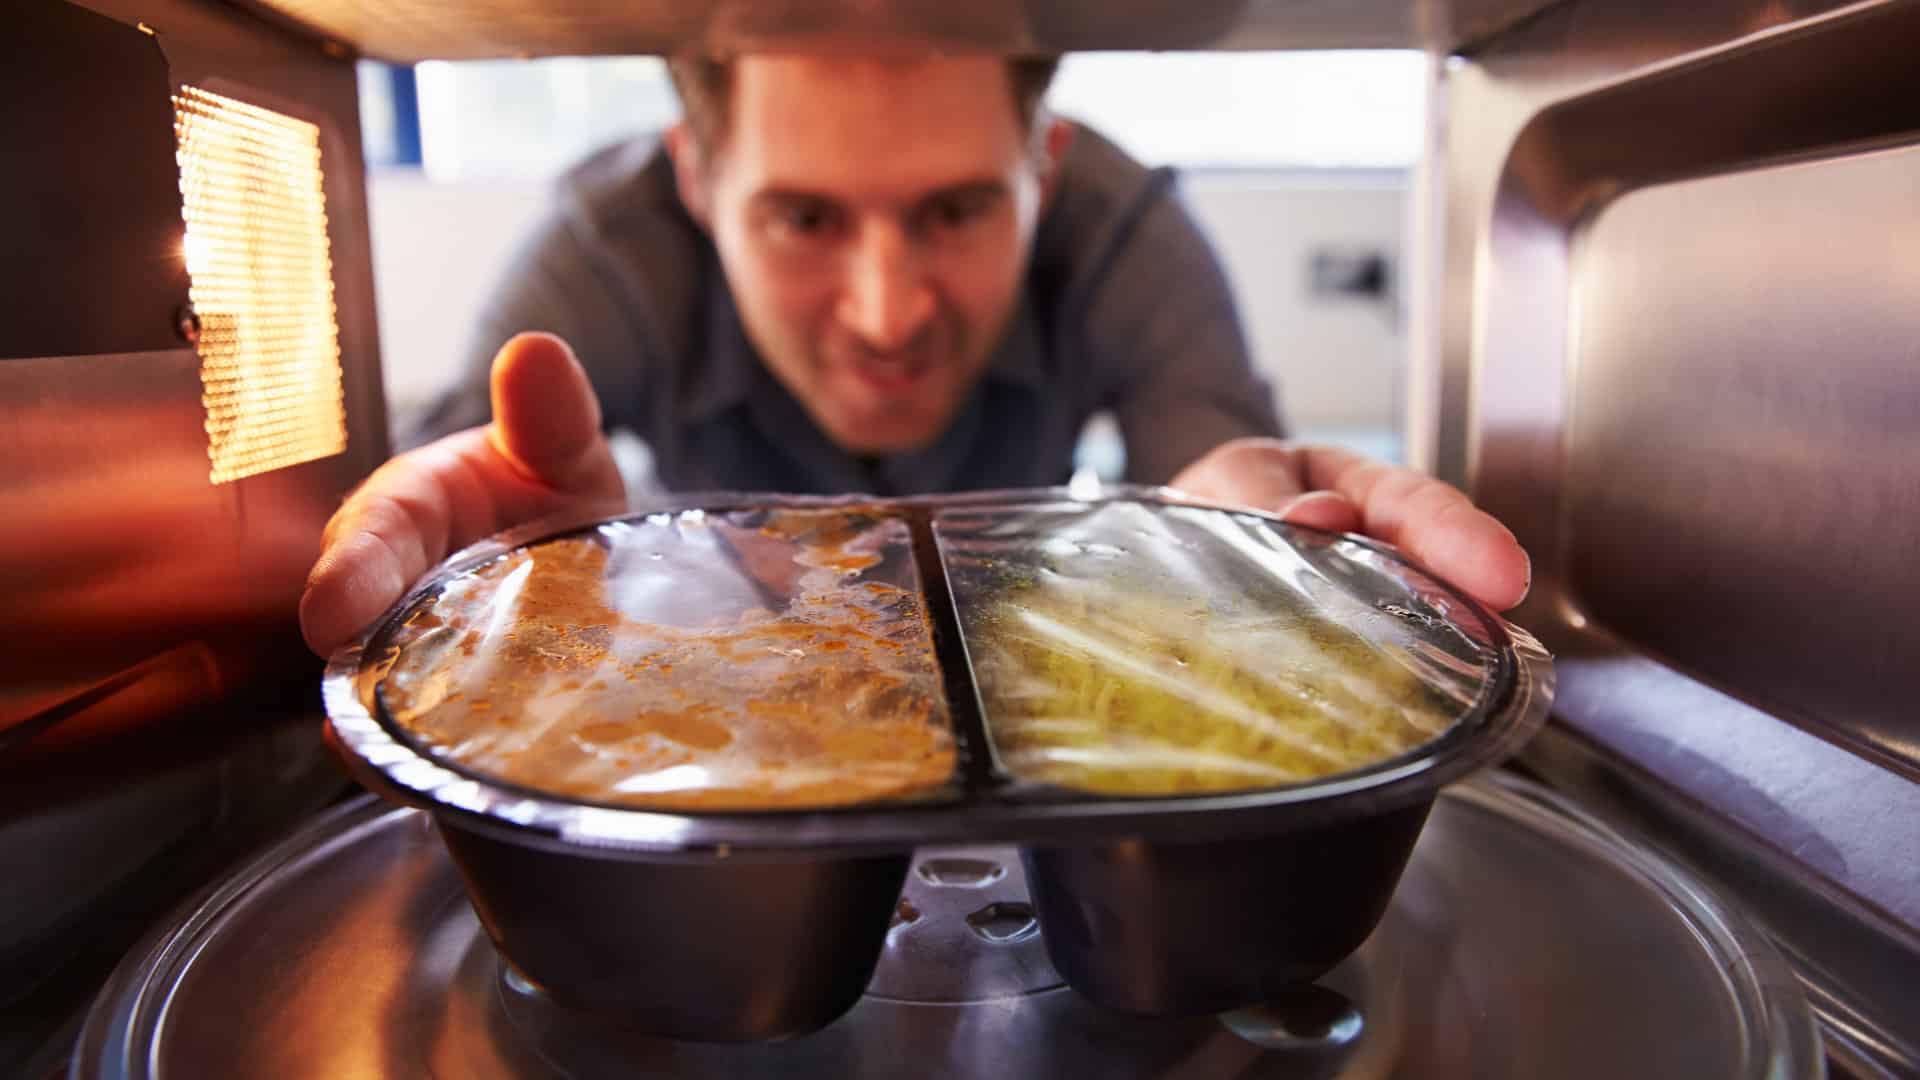
Why Your Microwave Plate Is Not Spinning
Nov. 06, 2023
Washer Spin Cycle Not Working? Here’s Why
Oct. 02, 2023
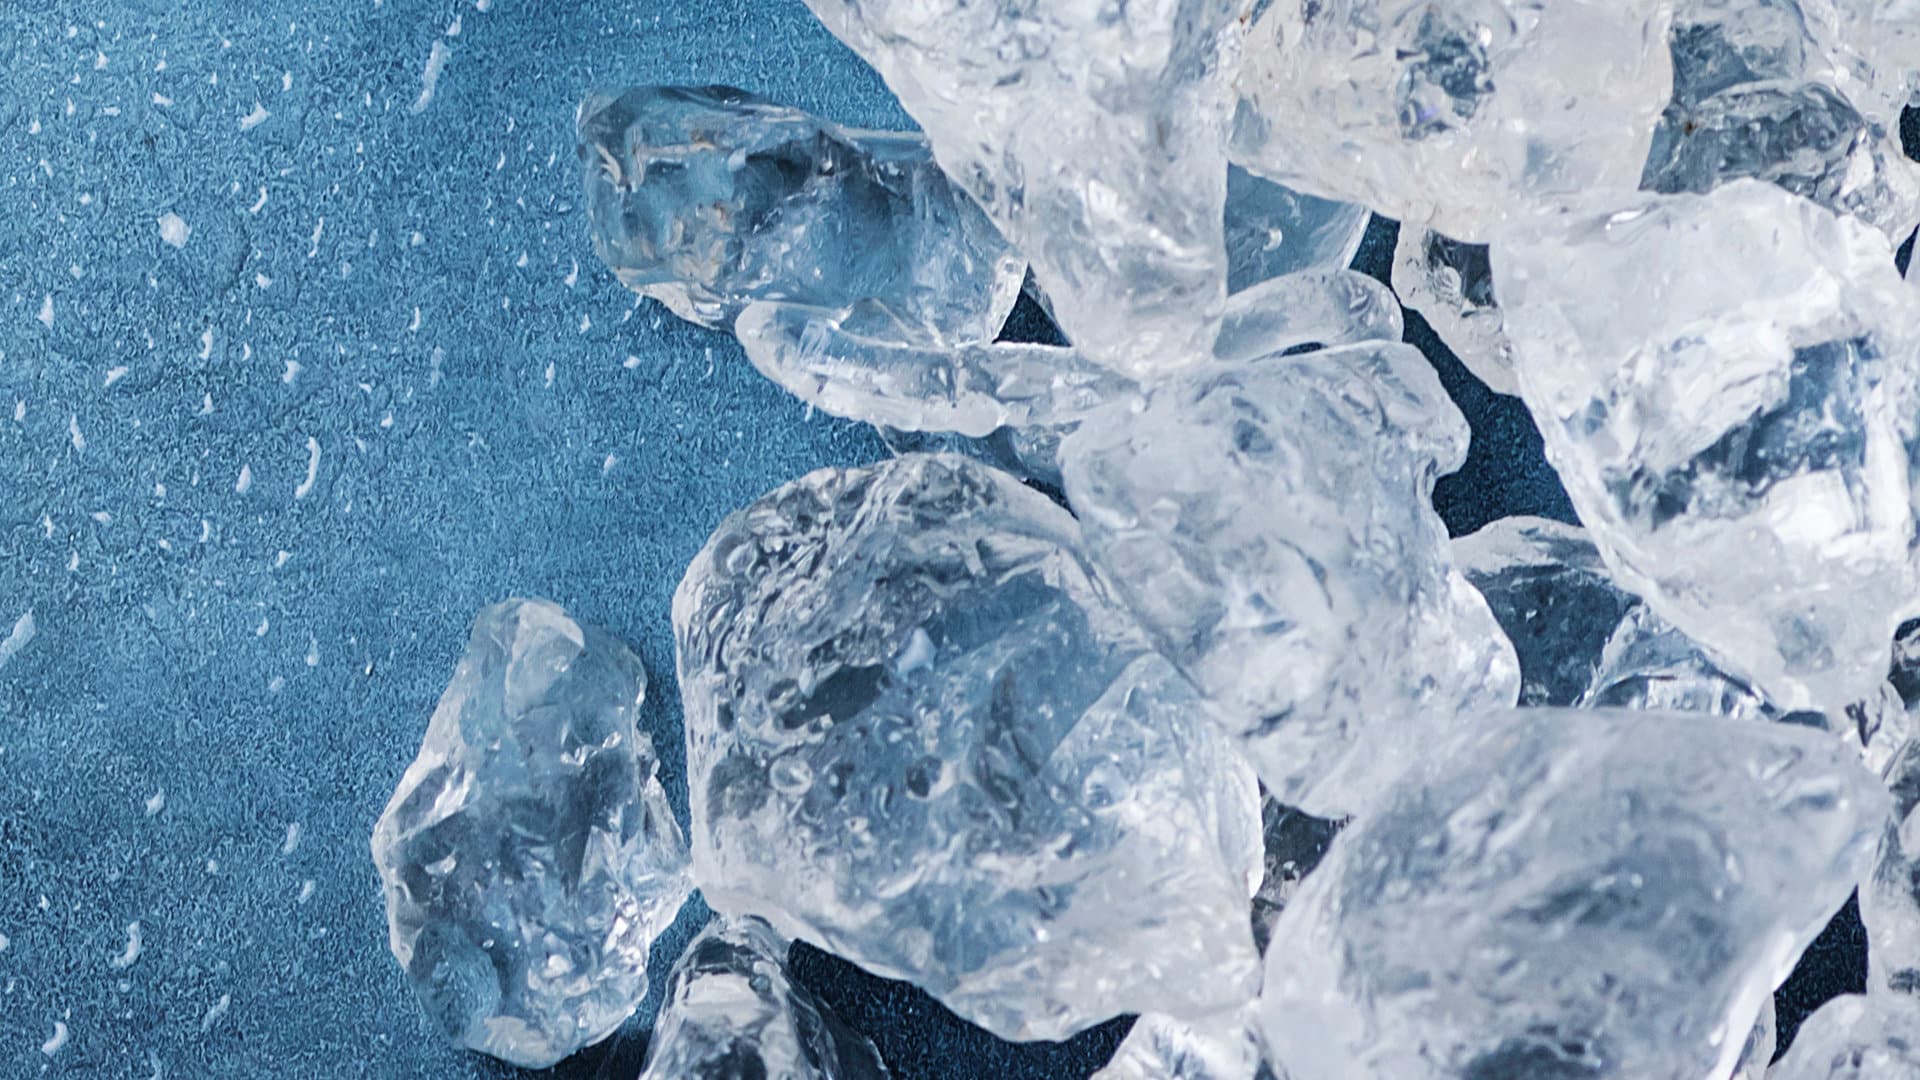
How to Fix a Slow Ice Maker
Sep. 08, 2023
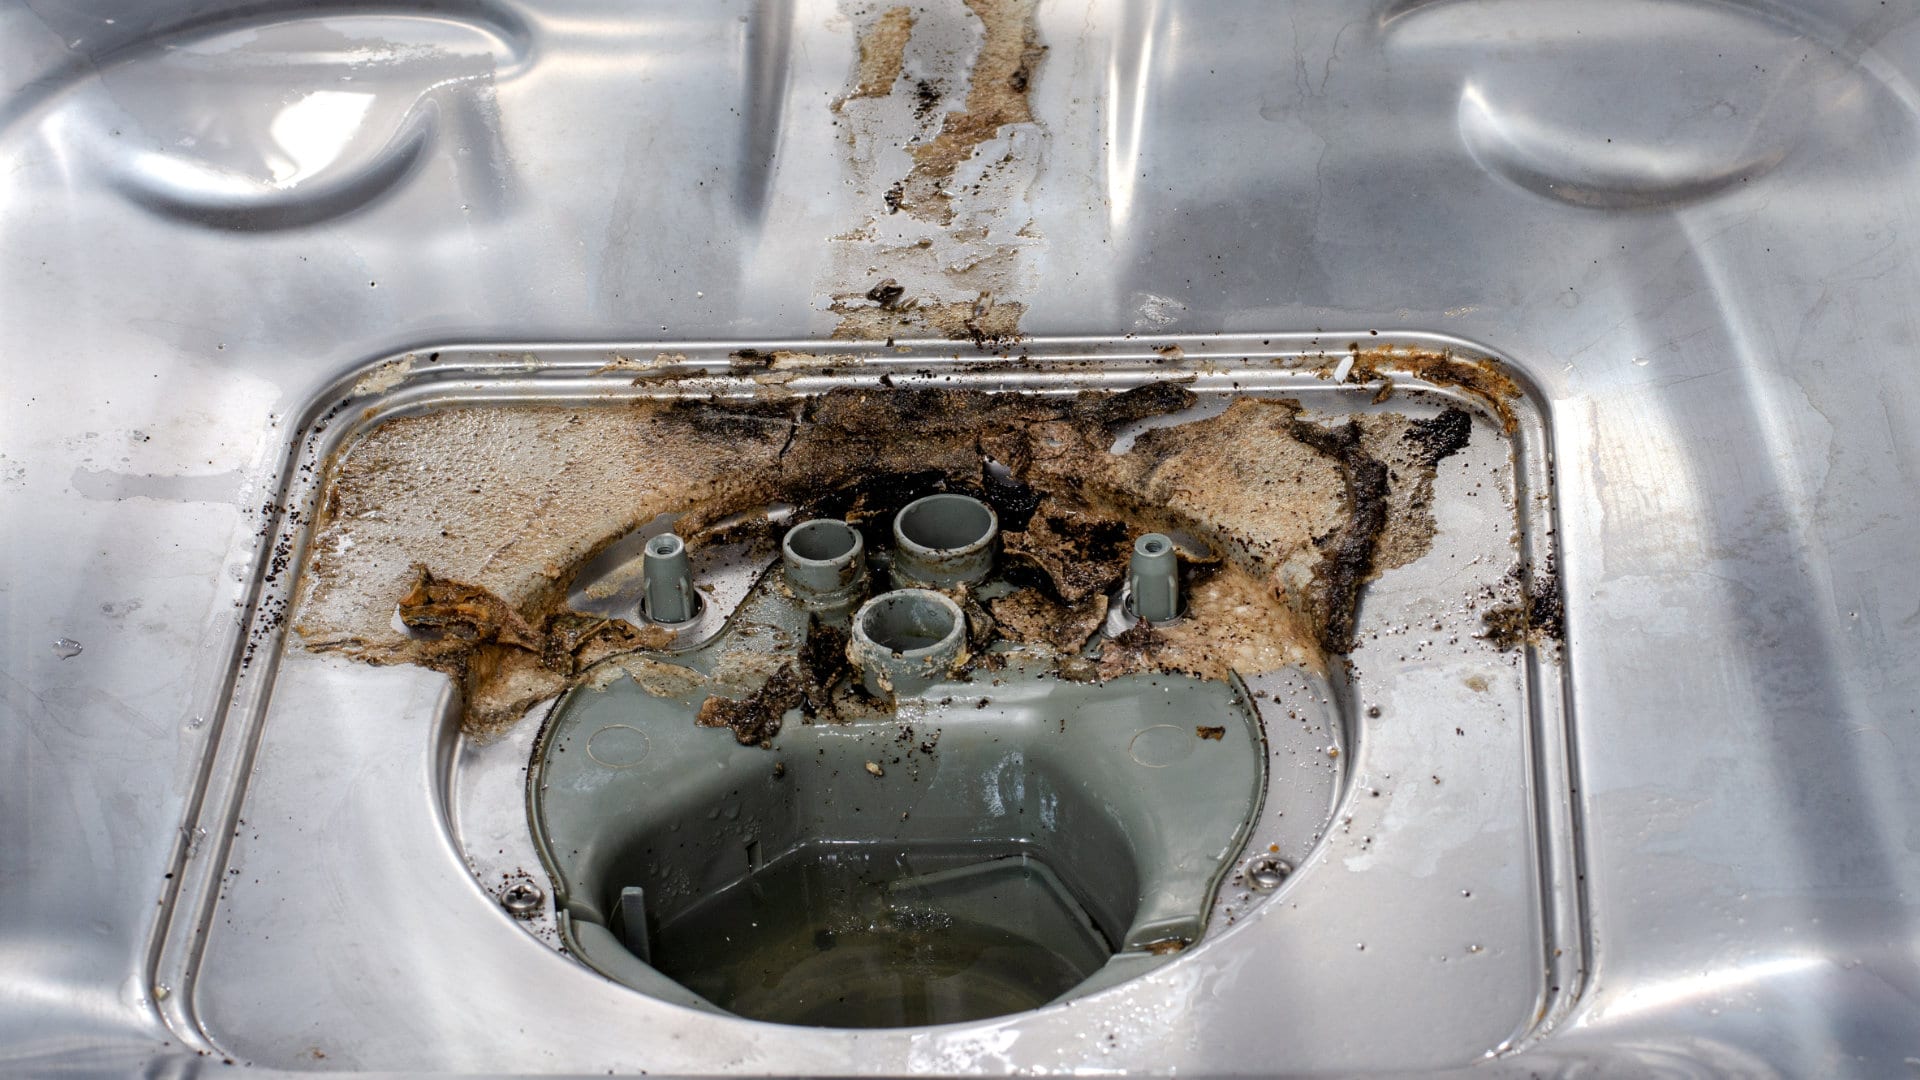
Why Does My Dishwasher Smell like Sewage?
Jul. 31, 2023
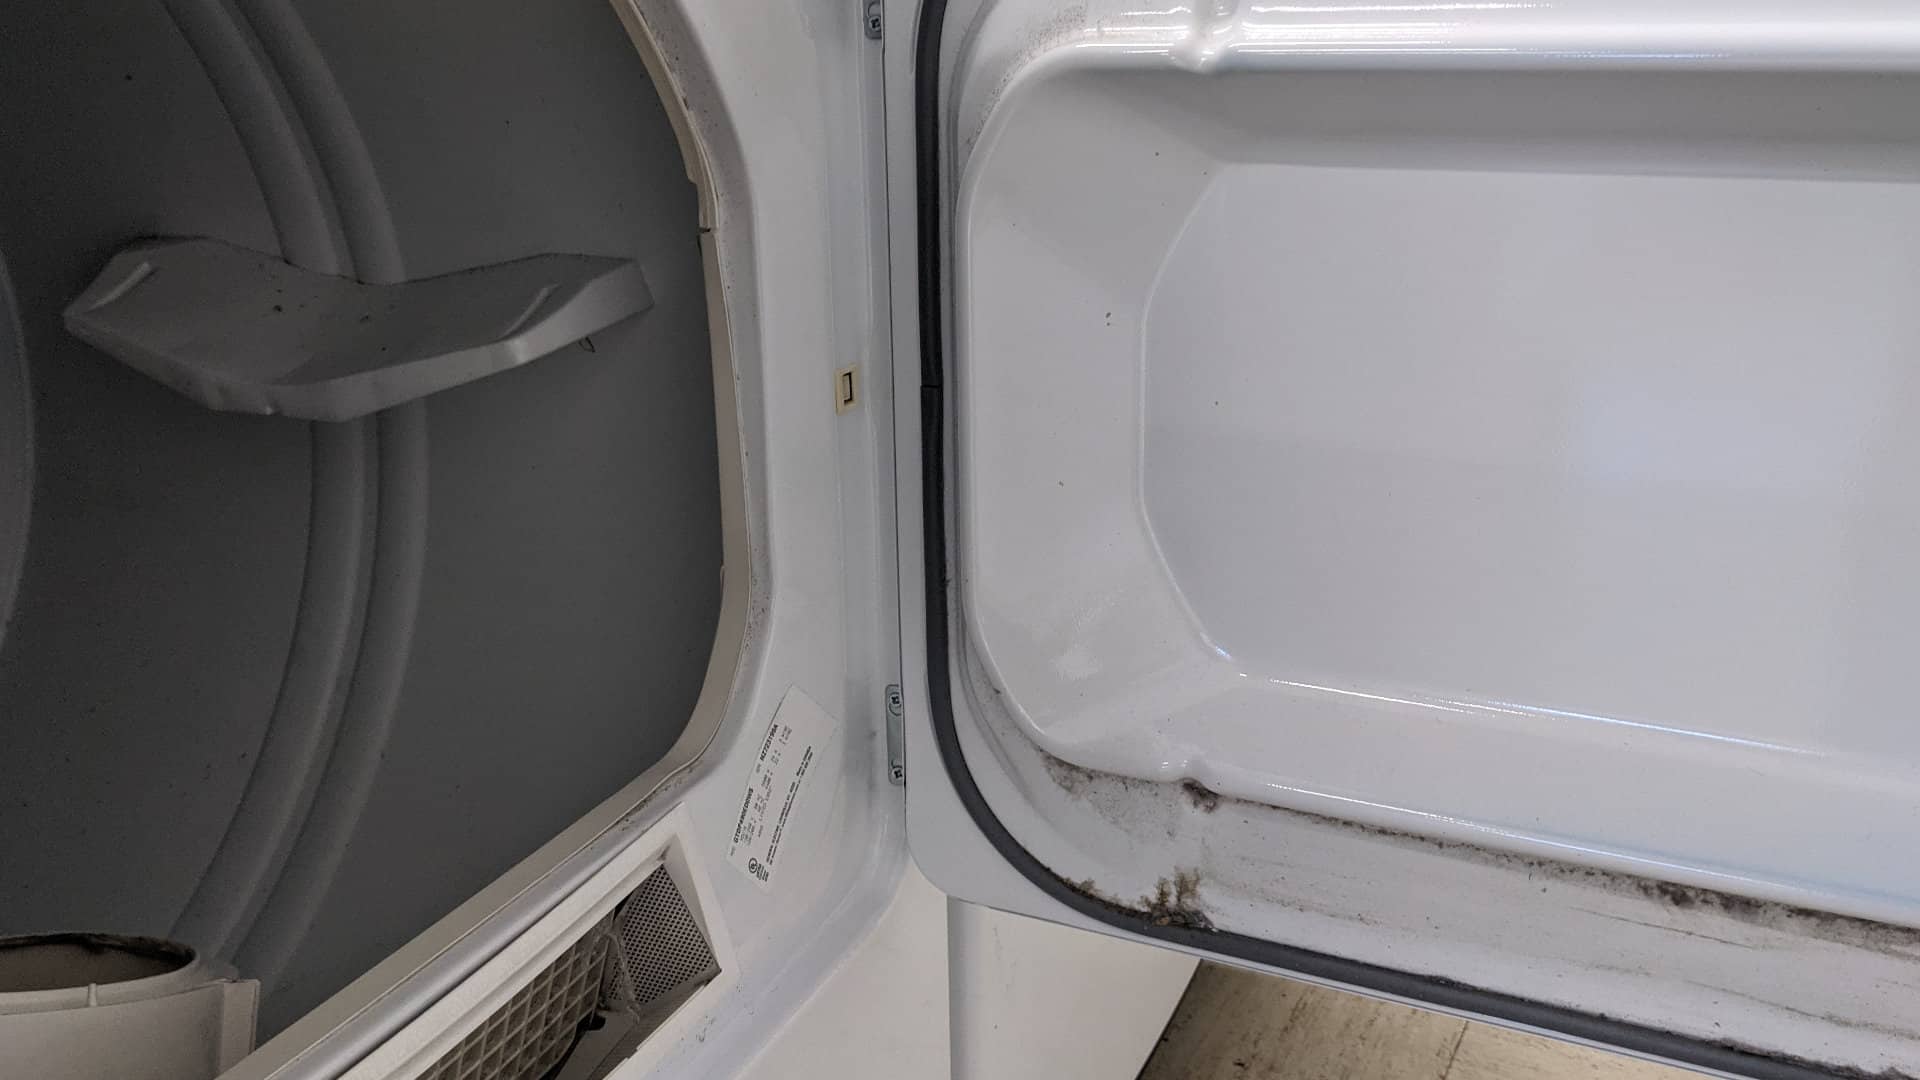
What Causes a Dryer to Overheat? (and How to Fix It)
Jul. 19, 2023