


September 10, 2018
Washer Repair
The door boot in your LG front load washer model WM2050CW is the main seal between the door and the tub of your appliance. Water leaking from the front of your washer usually indicates the door boot has a hole or tear somewhere in it. If you need to replace your washer’s door boot, follow the step-by-step directions provided below.
How to Replace the Door Boot Seal in Your LG Washer
Unplug your appliance or switch it off at the circuit breaker. To protect your hands and eyes, wear work gloves and safety goggles during the repair.
-
Open the washer’s door and pry the spring clamp off the door boot with a flat head screwdriver. If you happen to have a spring expansion tool, use it instead of a screwdriver. After the clamp is out of the way, peel the door boot seal from the lip of the front panel. Push the seal into the washer’s tub, and reach behind the door to disconnect the wire harness from the door latch.
-
Move to the back of your appliance and remove the screws securing the main top panel to the rear panel. Pull the main top back about an inch and lift it off the washer.
-
At the front of your washer, open the access panel to the pump filter. Pull the drainage tube out of the clip holding it in place, and unthread the filter housing mounting screw. Remove the housing and take out the lower front panel screw.
-
Pull out the dispenser drawer and press down on the locking tab to remove the drawer from the washer. Unthread the control panel mounting screws, which are now visible. Also, take out the rear control panel mounting screw. Pull the control panel off the washer, and swing it up to the top of the appliance so it is out of the way.
-
Remove the upper front panel mounting screws and take the front panel off the frame of your washer.
-
Loosen the clamp securing the door boot’s drain port to the drain tube. Pull the drain port off the drain tube. With either your flat head screwdriver or your spring expansion tool, remove the rear spring clamp from the door boot seal. Take the damaged door boot off the outer tub.
-
Now it’s time to install the new door boot seal. Before you start make sure the indicator on the seal is pointing upward. Insert the grooved edge of the door boot over the lip of the washer’s tub, and work your way around the entire door. Once the door boot is in place, put the rear spring clamp back on to secure the seal. Place the clamp you took off the drain port earlier back onto to the port and reconnect the drain tube to the port. Tighten the clamp.
-
Place the front panel back on your washer. Reinstall the mounting screws and snap the control panel back on the appliance. Secure the control panel with the front and the rear mounting screws. Slide the dispenser drawer into its housing. Move to the bottom of the washer, and put the pump filter back together.
-
Reattach the wire harness to the door latch, and align the new door boot to the lip of the washer. Replace the spring clamp to secure the seal.
-
Head to the back of your appliance and replace the main top panel. Reinstall the screws that hold the top and rear panel together.
-
Plug-in your appliance, and test out the new door boot seal by washing a load of clothes.
If you have other questions about your washer’s performance or a different appliance in your home is malfunctioning, please contact us today and we’ll be happy to help you.

Apr. 09, 2024
How to Fix the Whirlpool Washer F5 E3 Error Code
Mar. 06, 2024
10 Steps to Clean Your Fridge Water Dispenser

Feb. 05, 2024
How to Replace a Whirlpool Refrigerator Water Filter
Jan. 03, 2024
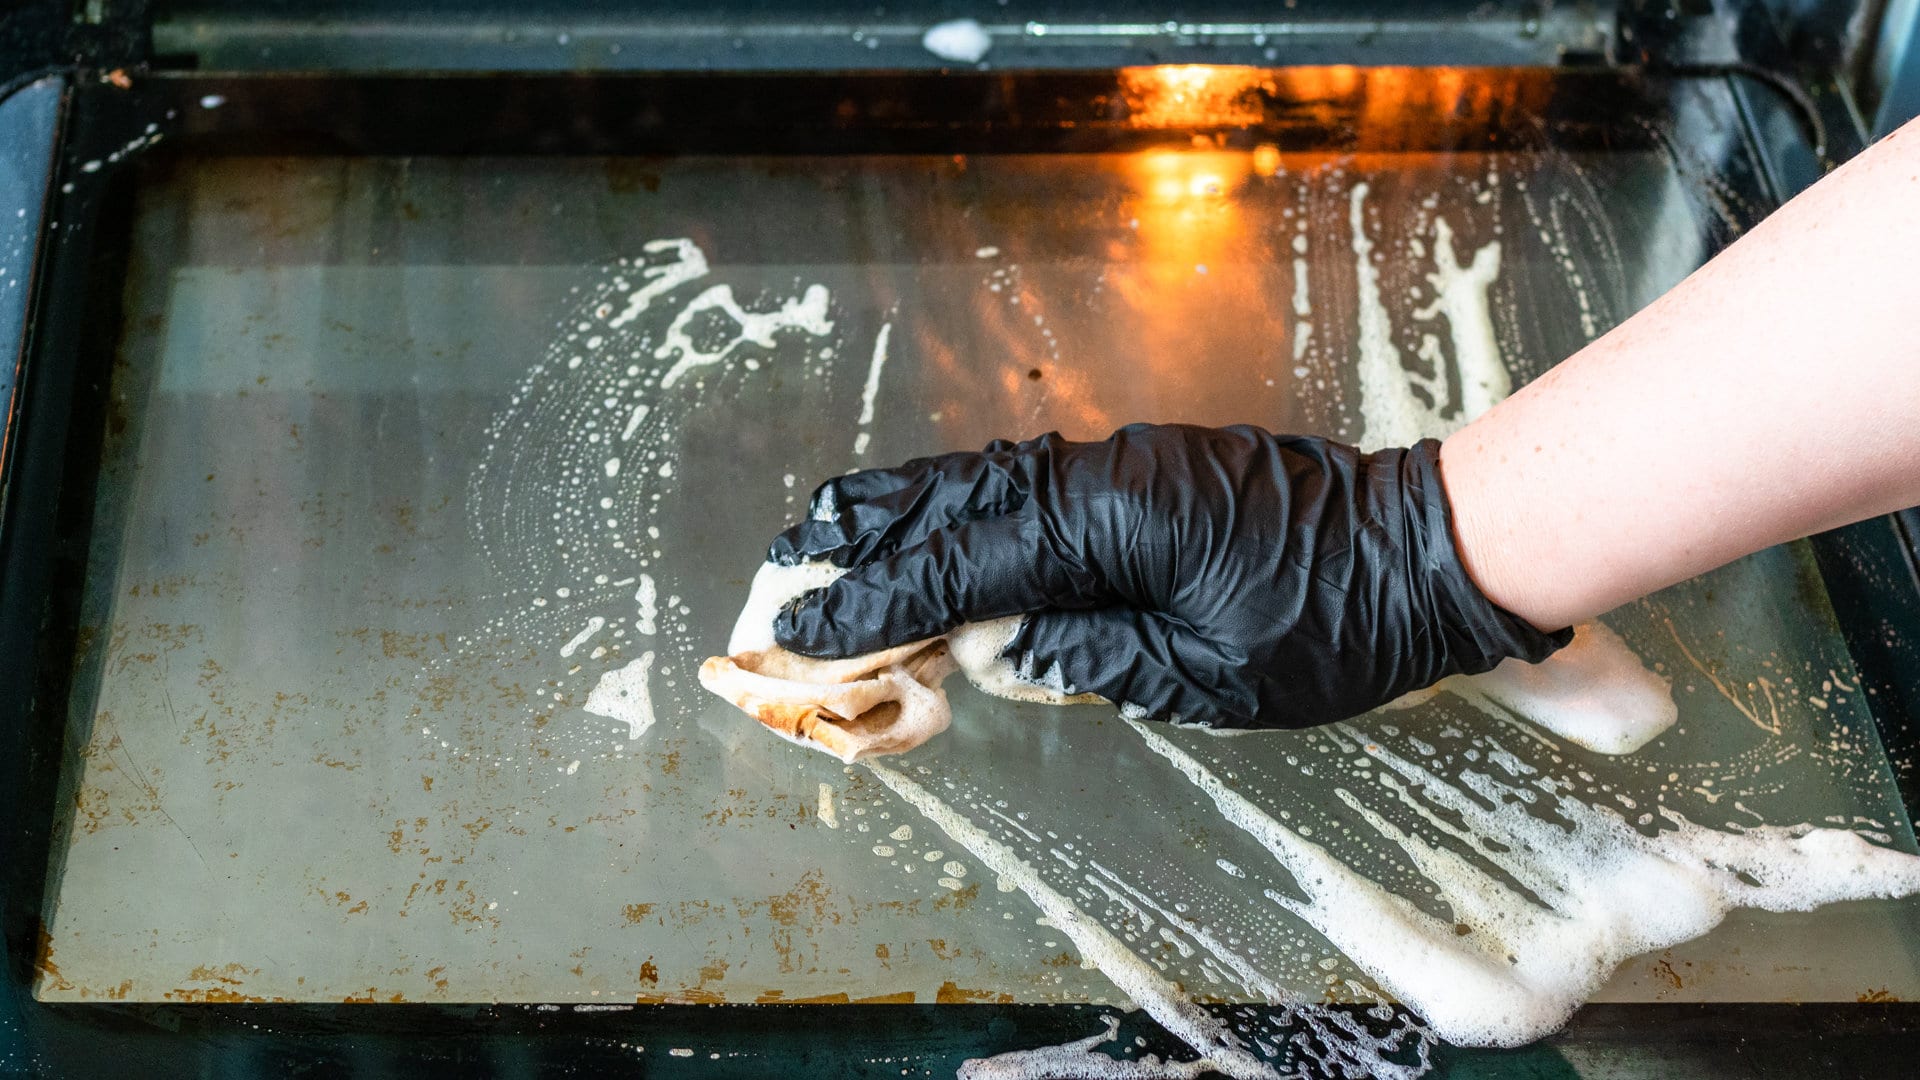
How to Clean an Oven Glass Door (3 Easy Methods)
Dec. 11, 2023
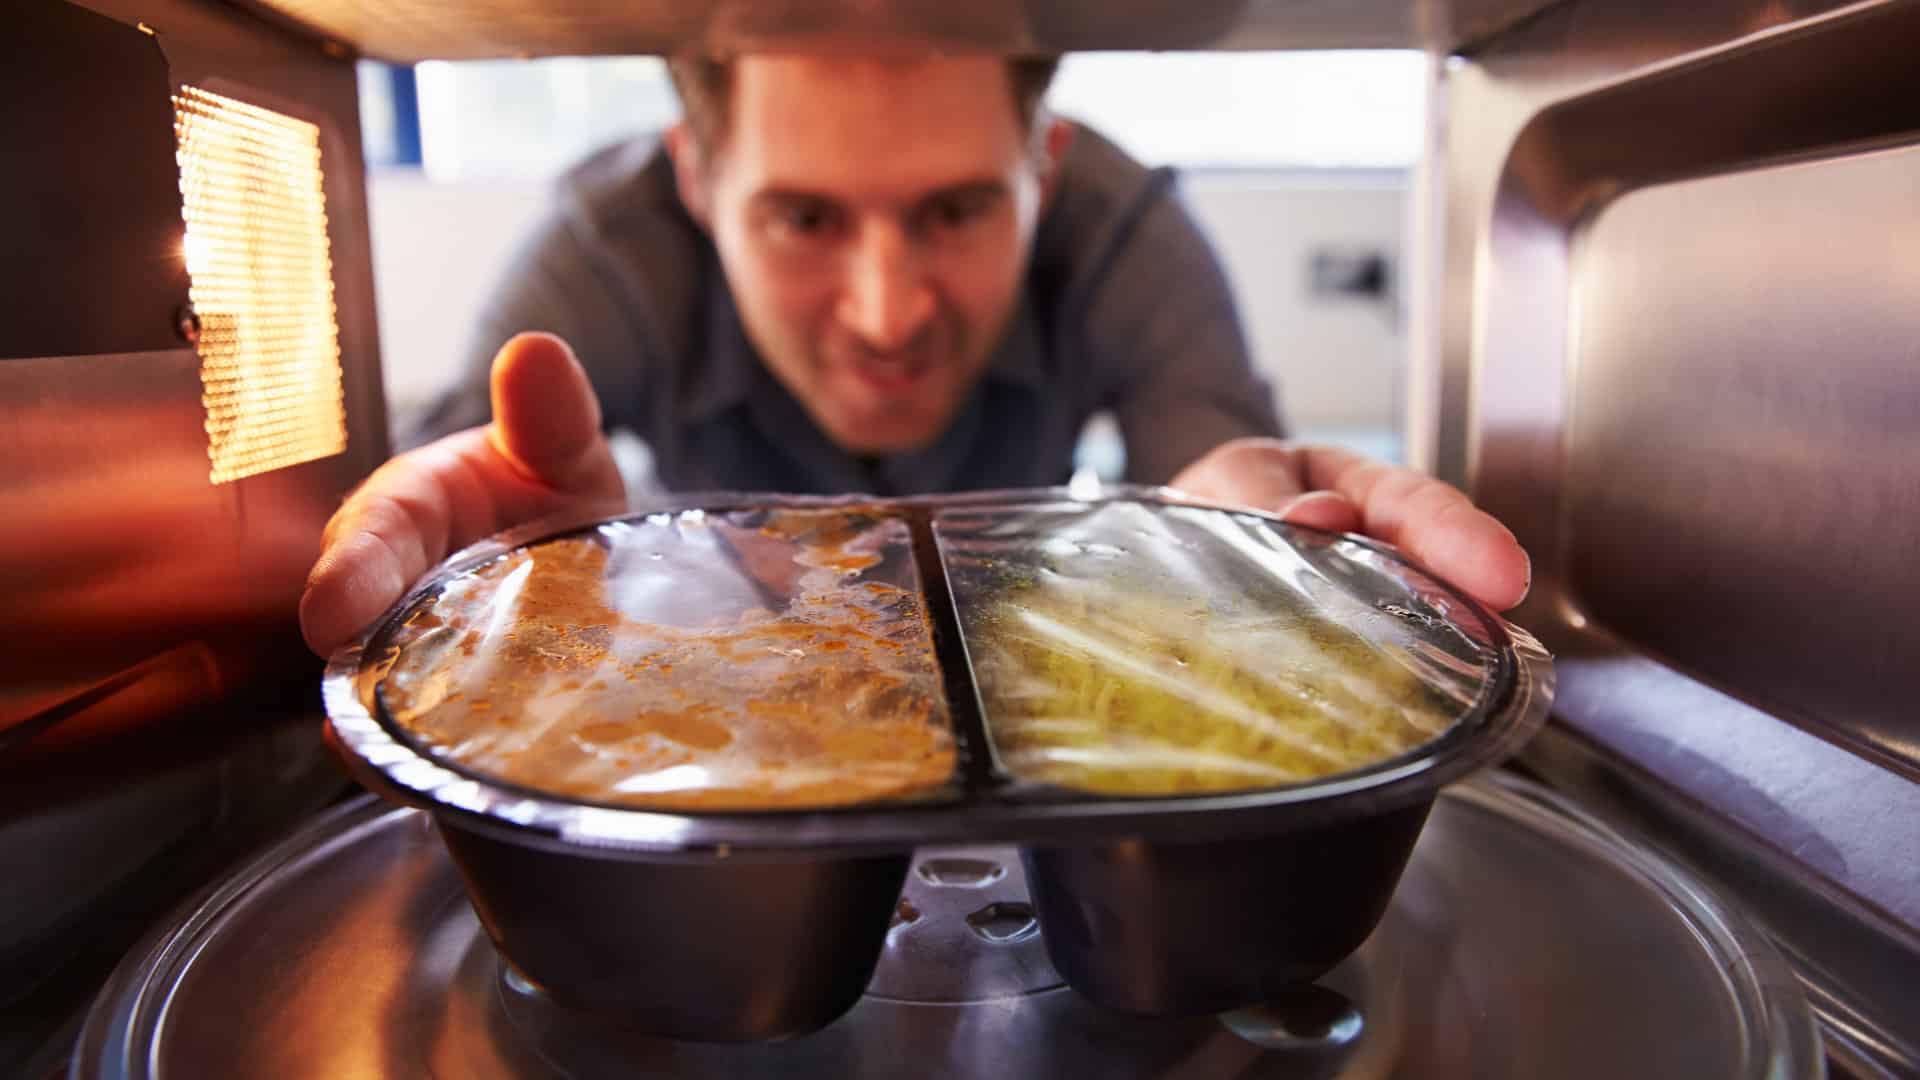
Why Your Microwave Plate Is Not Spinning
Nov. 06, 2023
Washer Spin Cycle Not Working? Here’s Why
Oct. 02, 2023
How to Fix a Slow Ice Maker
Sep. 08, 2023
Why Does My Dishwasher Smell like Sewage?
Jul. 31, 2023
What Causes a Dryer to Overheat? (and How to Fix It)

Jul. 19, 2023