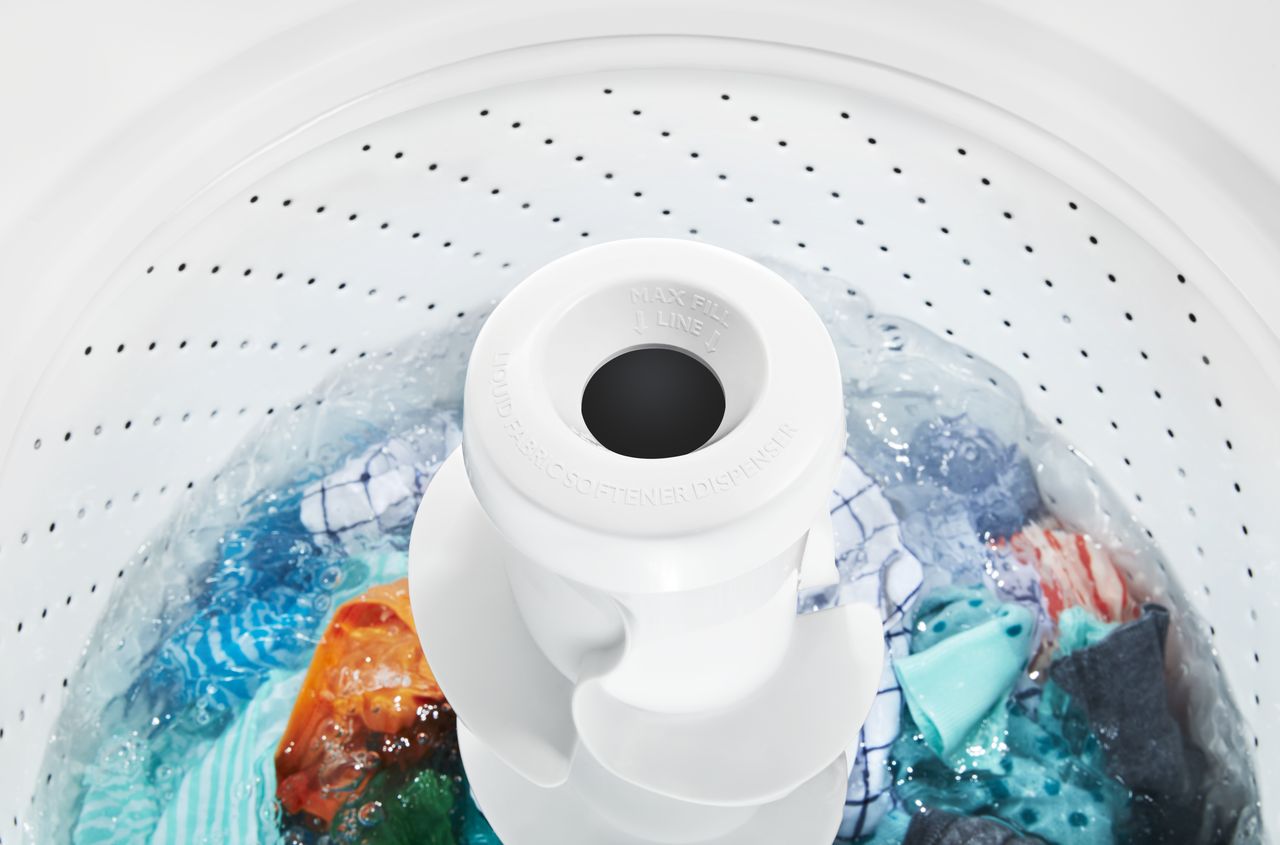
The spring mounting brackets in your Estate washer model ETW4100SQ are located on the base of your appliance’s tub. Each mounting bracket is connected to a suspension spring. When one of the brackets is damaged, the suspension spring can break loose causing your appliance to excessively shake and become unbalanced during operation. Removing the washing machine cabinet and replacing the worn mounting bracket is the only way to stop your washer’s extreme movement.
How to Replace a Spring Mounting Bracket in Your Estate Washer
To ensure you do not get electrocuted during the repair process, please unplug your appliance or switch it off at the circuit breaker. You should also turn off the water that runs to your appliance. Work gloves and safety goggles should always be worn when you repair an appliance.
- Before you can gain access to the broken spring mounting bracket, you’ll need to remove the washer cabinet. To do so, move to the back of your appliance and unthread the two screws securing the control console to your washer’s main top. Once the screws are loose enough, push the console forward to disengage the locking tabs holding it in place. Then, flip the console up and over the back of your washer.
- Underneath the control console you’ll find two large retaining clips near each corner of the washer. The clips secure the washing machine cabinet to the washer’s back wall. Insert a flat head screwdriver into the opening in the cabinet that houses one end of the clip, and push forward with the tool to pull the clip up and out of the hole. Perform the same action on the second clip.
- Locate the lid switch on the top of the main panel and disconnect it from its wire harness.
- With the cabinet and back wall separated and the lid switch wire harness detached, you can carefully tilt the washer cabinet back and lift it off the washer frame.
- Find the damaged spring mounting bracket, and remove the nut holding the bracket to the base of the tub. If the tub suspension spring has not completely broken free of the mounting bracket, unhook it, and then remove the bracket from your washer.
- Install the new spring mounting bracket by first attaching the suspension spring to the part. Next, line the bracket up with the two small openings at the base of the tub and insert the small tab on the mounting bracket into the first opening. Then rethread the nut you removed earlier to secure the spring mounting bracket to your washer.
- Now it’s time to reassemble your washer. Retrieve the washer cabinet and carefully lift it and line it up with the washer frame. Then, slowly lower it onto the washing machine.
- Once the cabinet is in place, reattach the retaining clips to hold the back wall of the washer to the washer cabinet. Then, reconnect the lid switch wire harness to the lid switch.
- Flip the control console back to the front of your washer and snap its locking tabs into place. Then, reattach the screws securing the console to the washer.
- Plug-in your appliance and enjoy your newly balanced washer machine.
If you’re unsatisfied with your washer’s performance and believe the appliance is malfunctioning, please contact us today, and we’ll send one of our
How to Fix the Whirlpool Washer F5 E3 Error Code
10 Steps to Clean Your Fridge Water Dispenser

How to Replace a Whirlpool Refrigerator Water Filter
How to Clean an Oven Glass Door (3 Easy Methods)

Why Your Microwave Plate Is Not Spinning

Washer Spin Cycle Not Working? Here’s Why

How to Fix a Slow Ice Maker
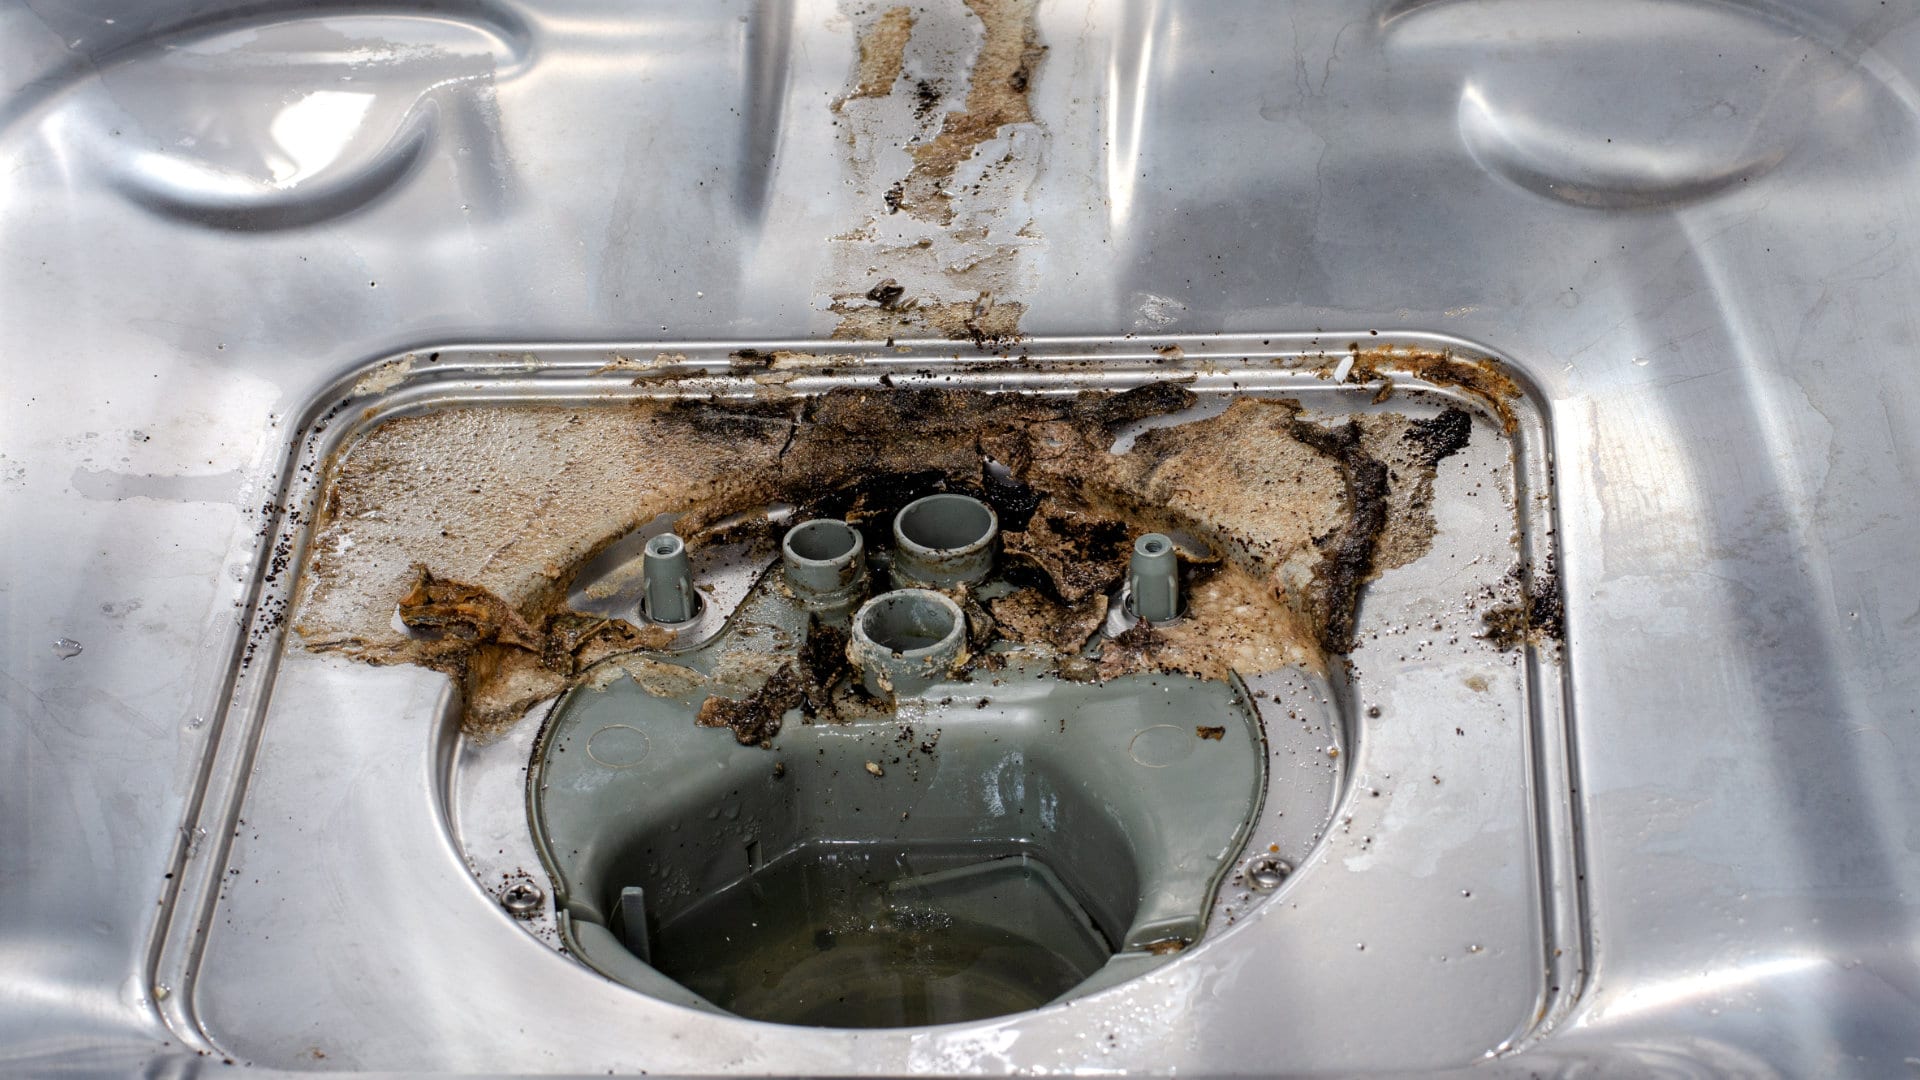
Why Does My Dishwasher Smell like Sewage?
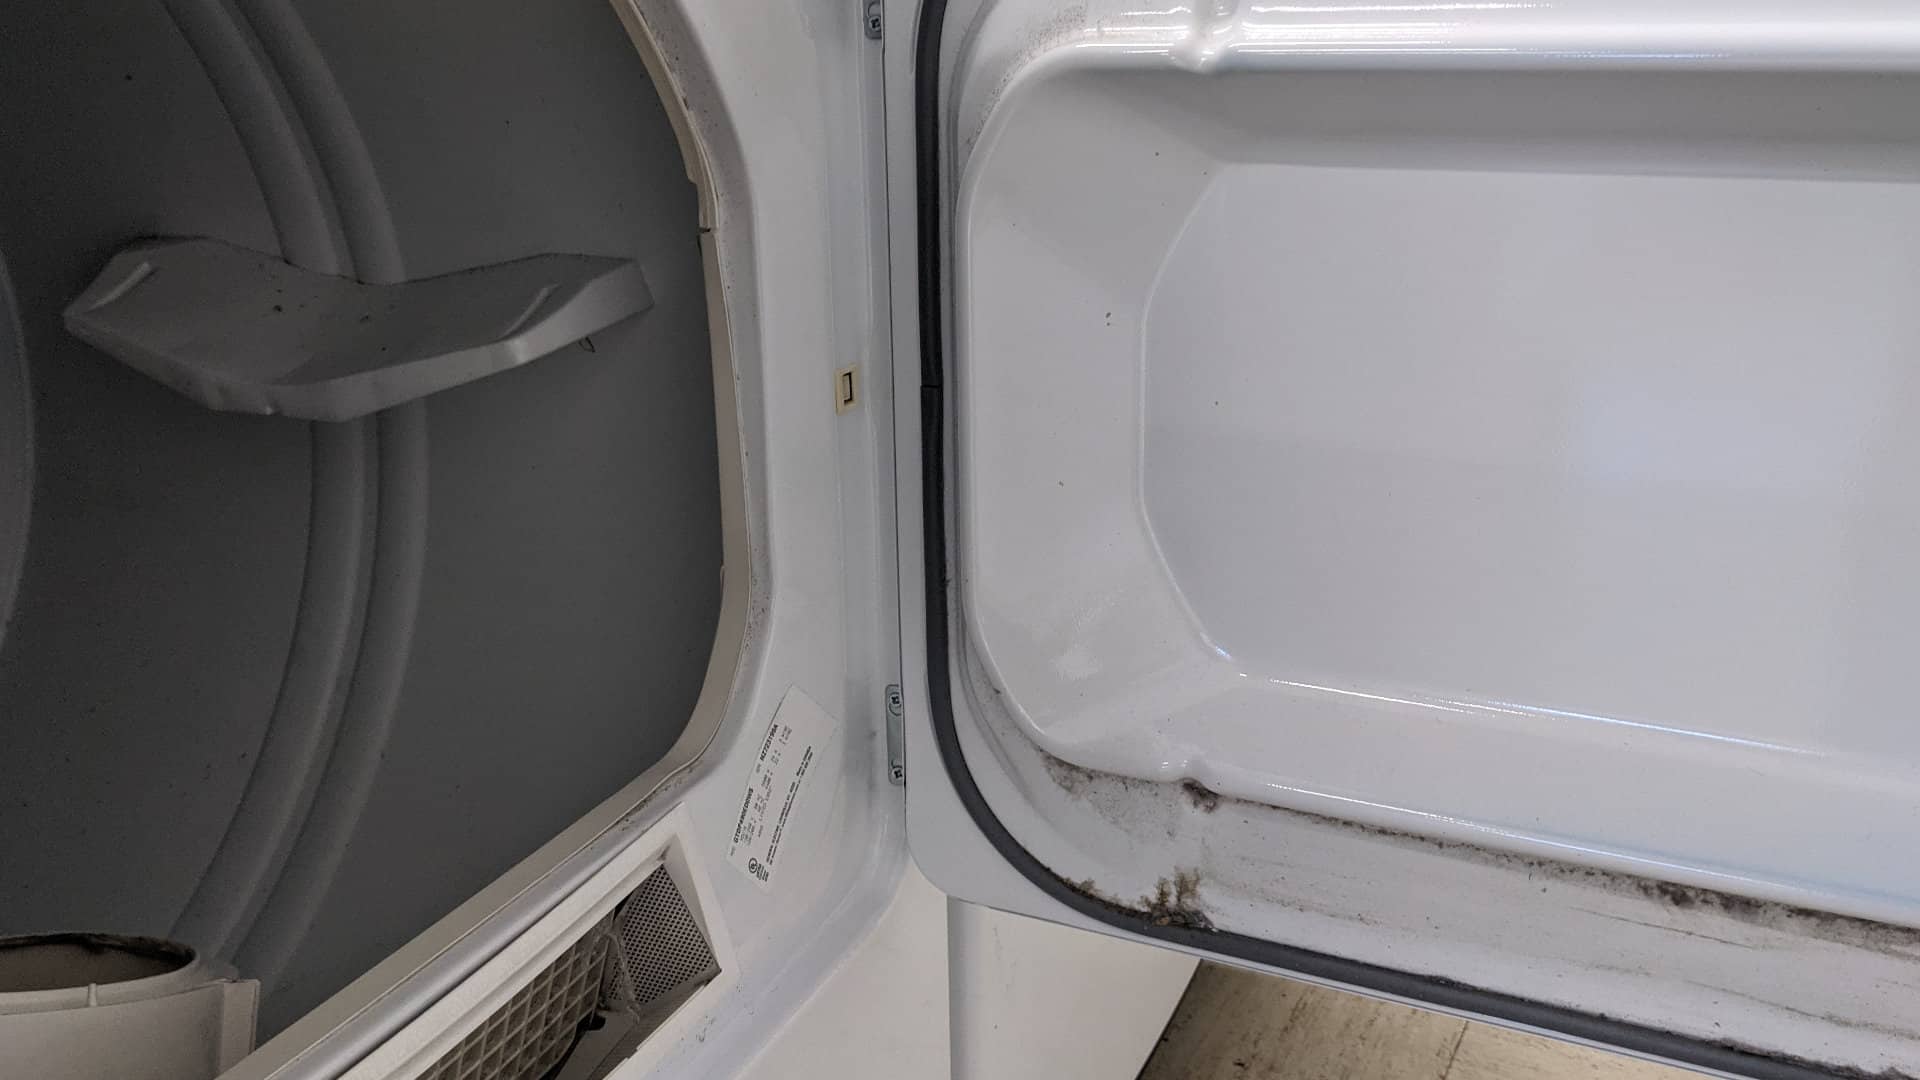
What Causes a Dryer to Overheat? (and How to Fix It)


