

April 23, 2018
Refrigerator Repair
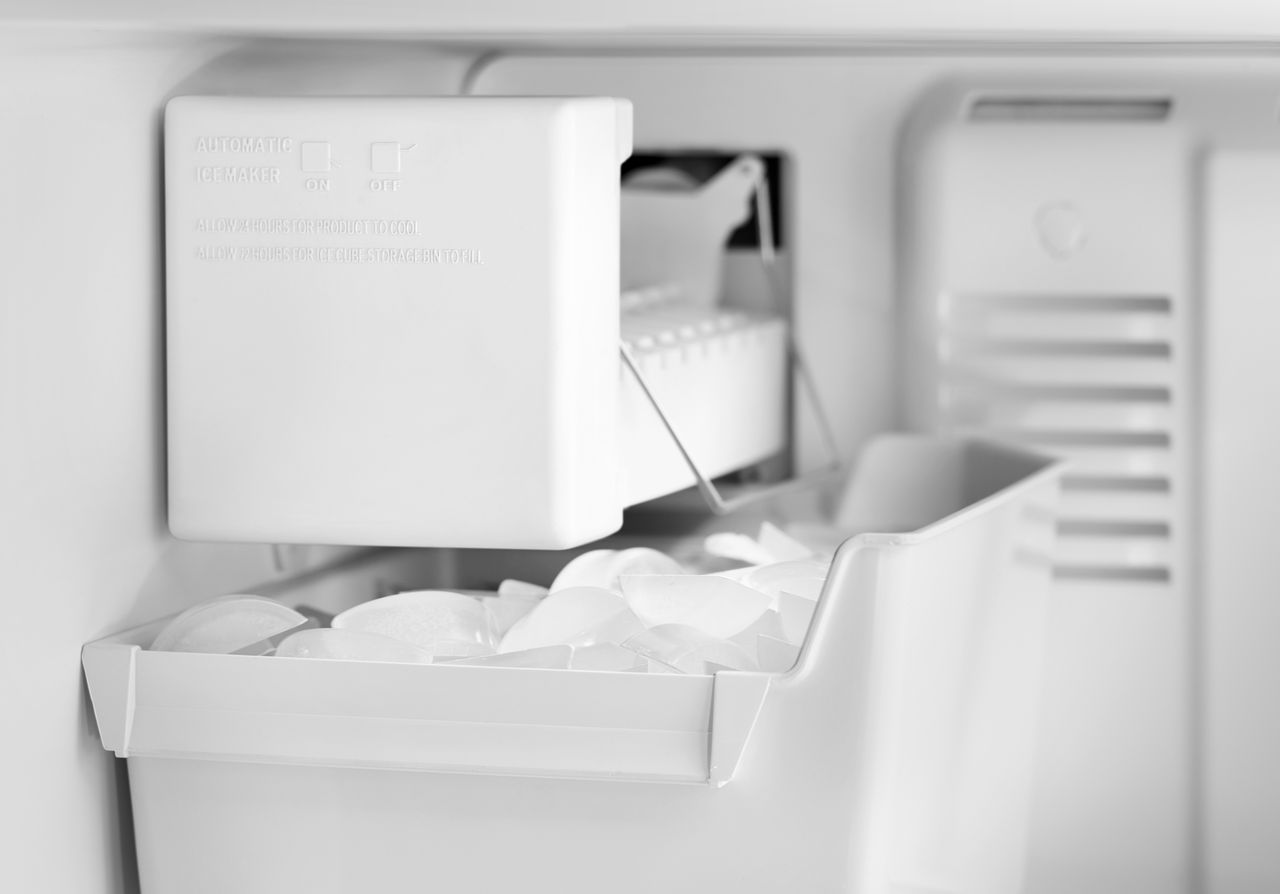
It is quite the disappointment when you head to your Whirlpool ED2KHAXVT01 refrigerator to grab ice for your warm beverage, only to find it isn’t producing or dispensing any ice. Don’t worry, though. By following the simple steps below, you can get your ice maker replaced within 20 minutes and have that ice cold drink in your hands in no time!
Preparation
Before you begin, make sure you gather the tools needed to make the repair: a flathead screwdriver, a 1/4″ nut driver, and a new ice maker assembly. Then, unplug your refrigerator.
STEP 1: Remove the Ice Maker
To remove the ice maker, you will need to begin by removing the ice maker cover. Using your 1/4″ nut driver, remove the screw located in the wiring shield. Remove the wiring shield by swinging it up and back. Then, you can slide the ice maker forward by pushing in the mounting tab and the flipper.
Before you can pull the ice maker assembly completely out, you must disconnect the wiring harness. To do this, pull the locking tab outward and gently unplug the harness.
You can now proceed to step two.
STEP 2: Remove the Inner Wiring Harness from the Broken Ice Maker Assembly
Using the flat-head screwdriver, press in the top and bottom locking tabs to release the harness. Then, push the harness through the slot and pull it into the interior of the ice maker.
Locate the three 1/4″ screws securing the mounting bracket in place. Use the 1/4″ nut driver to remove those screws. Remove the mounting bracket from the assembly.
STEP 3: Reinstall the Wiring Harness to New Ice Maker Assembly
You are now ready to reinstall the wiring harness to the new ice maker assembly. First, locate the three screw holes on the ice maker and the matching holes on the mounting bracket. Screw the pieces together using the 1/4″ nut driver, putting them all in loosely, starting with the far left, before tightening them all.
Turn over the ice maker and find the wiring harness. Feed the harness through the corresponding slot. Pull it through from the other side and make sure the tabs are pushed in. This will secure the harness into place.
STEP 4: Install New Ice Maker Assembly
Connect the harness in the ice maker assembly to the harness located in the freezer. Gently slide the ice maker into place. Slide the wiring shield over the wires and down into place. Use the 1/4″ nut driver to tighten the wiring shield screw.
For the final step, reinstall the ice maker cover by aligning the pins on the cover to their corresponding slots on the bracket. Insert the pin on the right in the slot on the right; then, gently slide the left slot over until the left pin can be inserted. The cover should now be securely attached.
With your new ice maker assembly successfully installed, you can plug your refrigerator back into the outlet. When the ice cycle is complete, grab that cold drink you’ve been waiting for and kick your feet up, rewarding yourself for a job well done!
To order a new ice maker assembly for your Whirlpool refrigerator, or if you have any other appliance service needs, contact us today at Twin Cities Appliance.

Apr. 09, 2024
How to Fix the Whirlpool Washer F5 E3 Error Code
Mar. 06, 2024
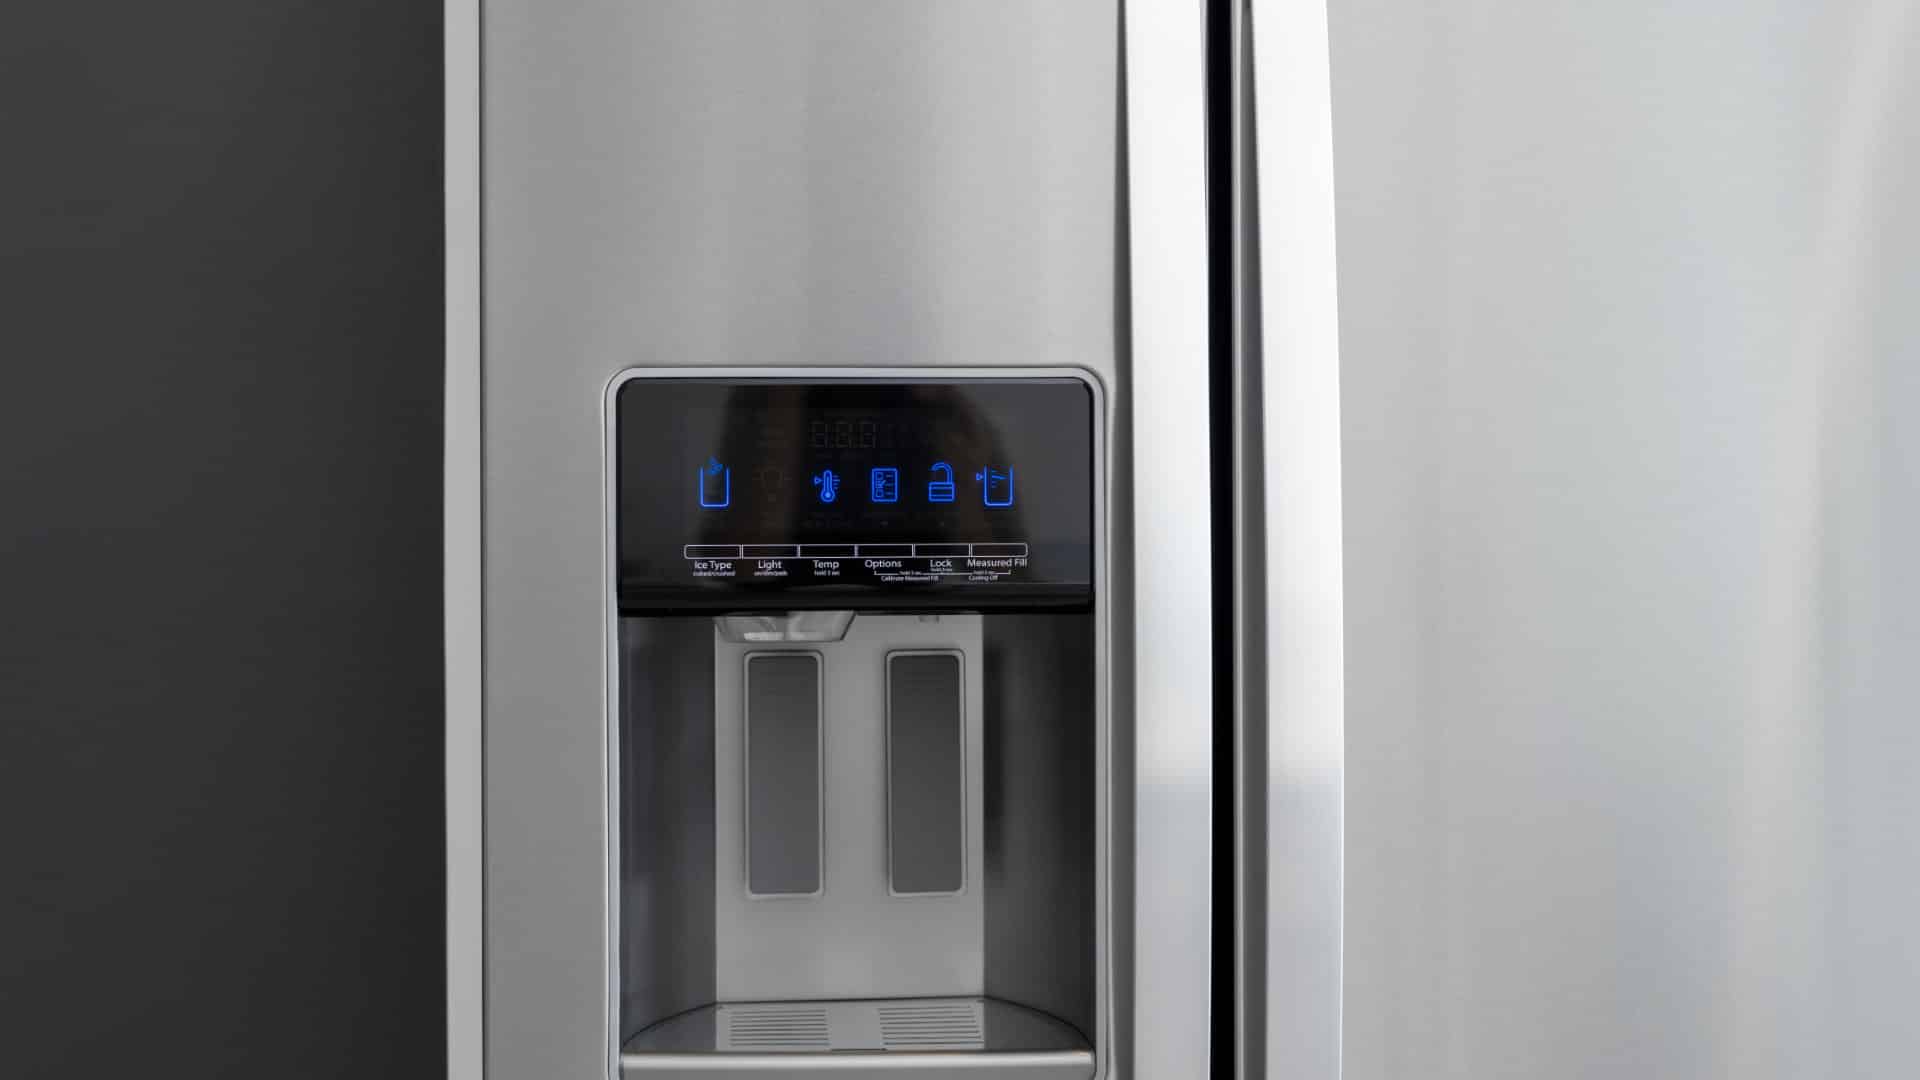
10 Steps to Clean Your Fridge Water Dispenser

Feb. 05, 2024
How to Replace a Whirlpool Refrigerator Water Filter
Jan. 03, 2024
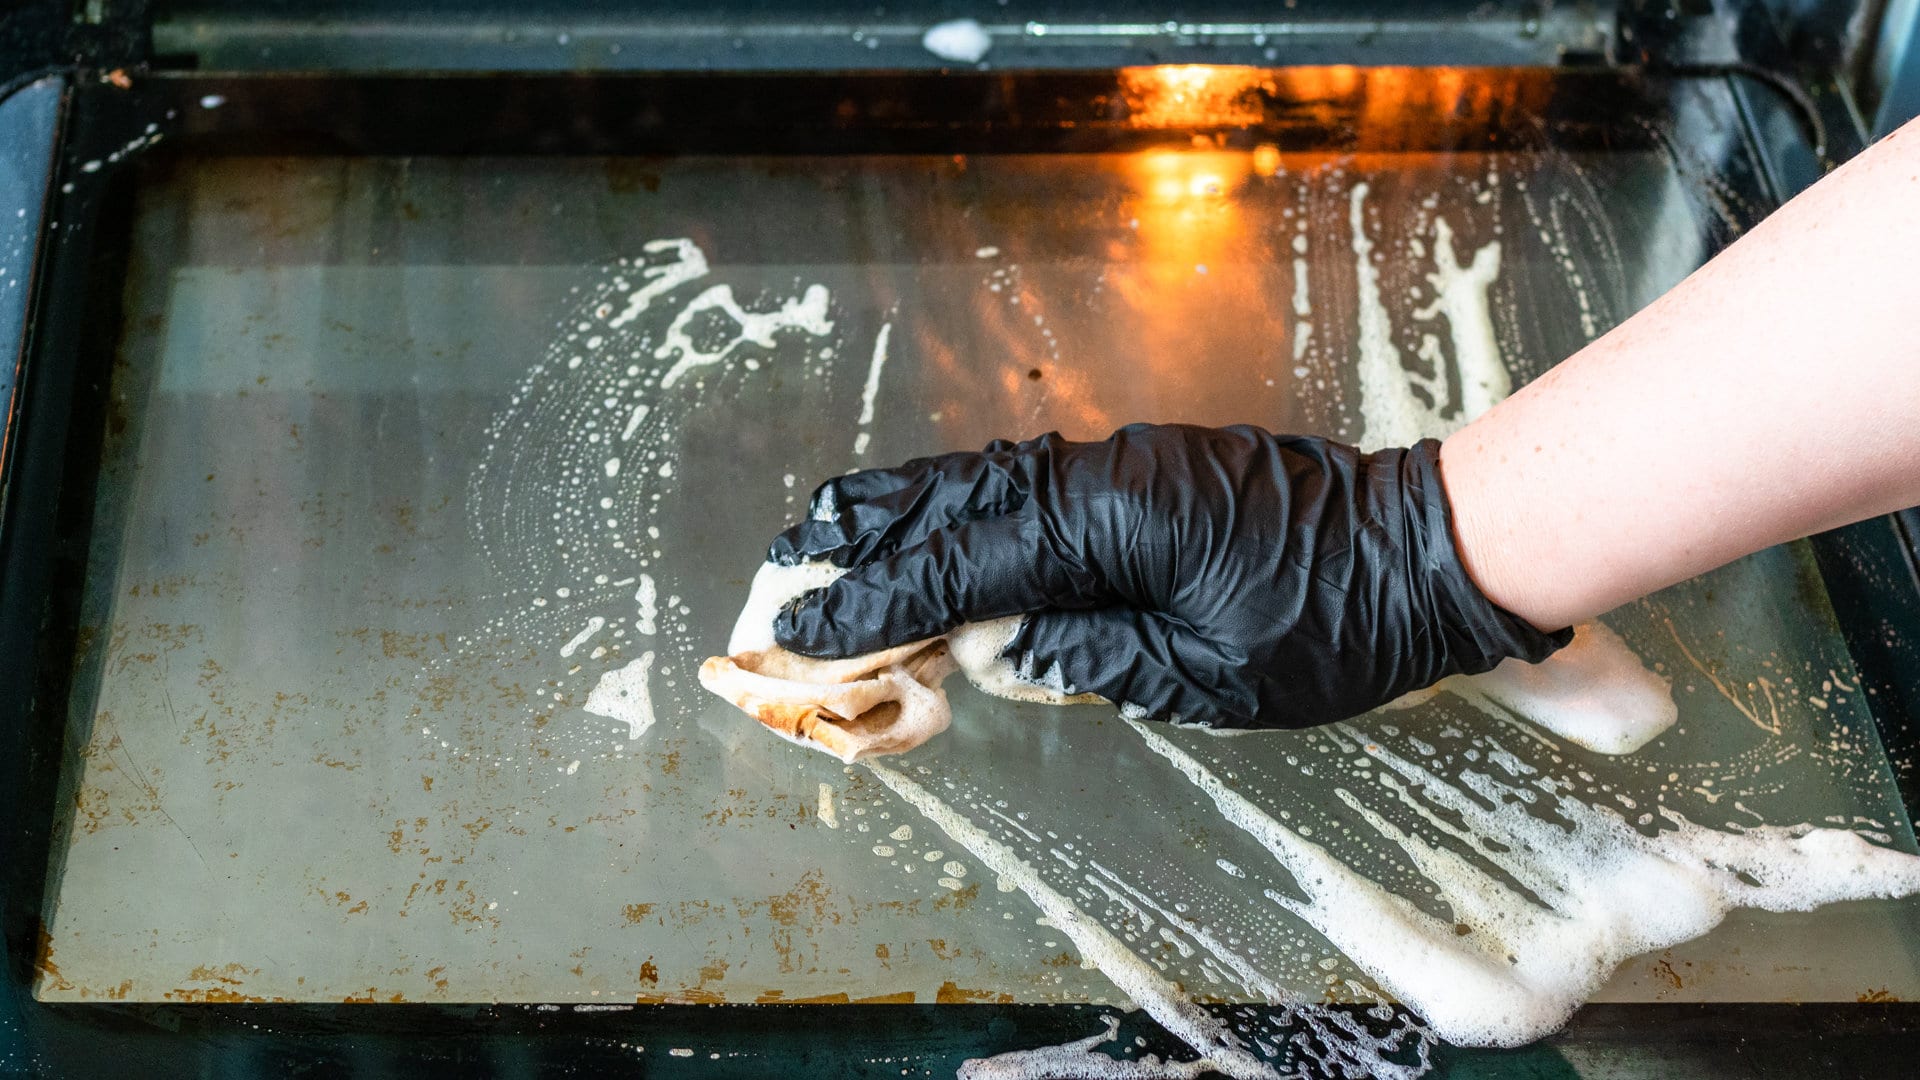
How to Clean an Oven Glass Door (3 Easy Methods)

Dec. 11, 2023
Why Your Microwave Plate Is Not Spinning
Nov. 06, 2023
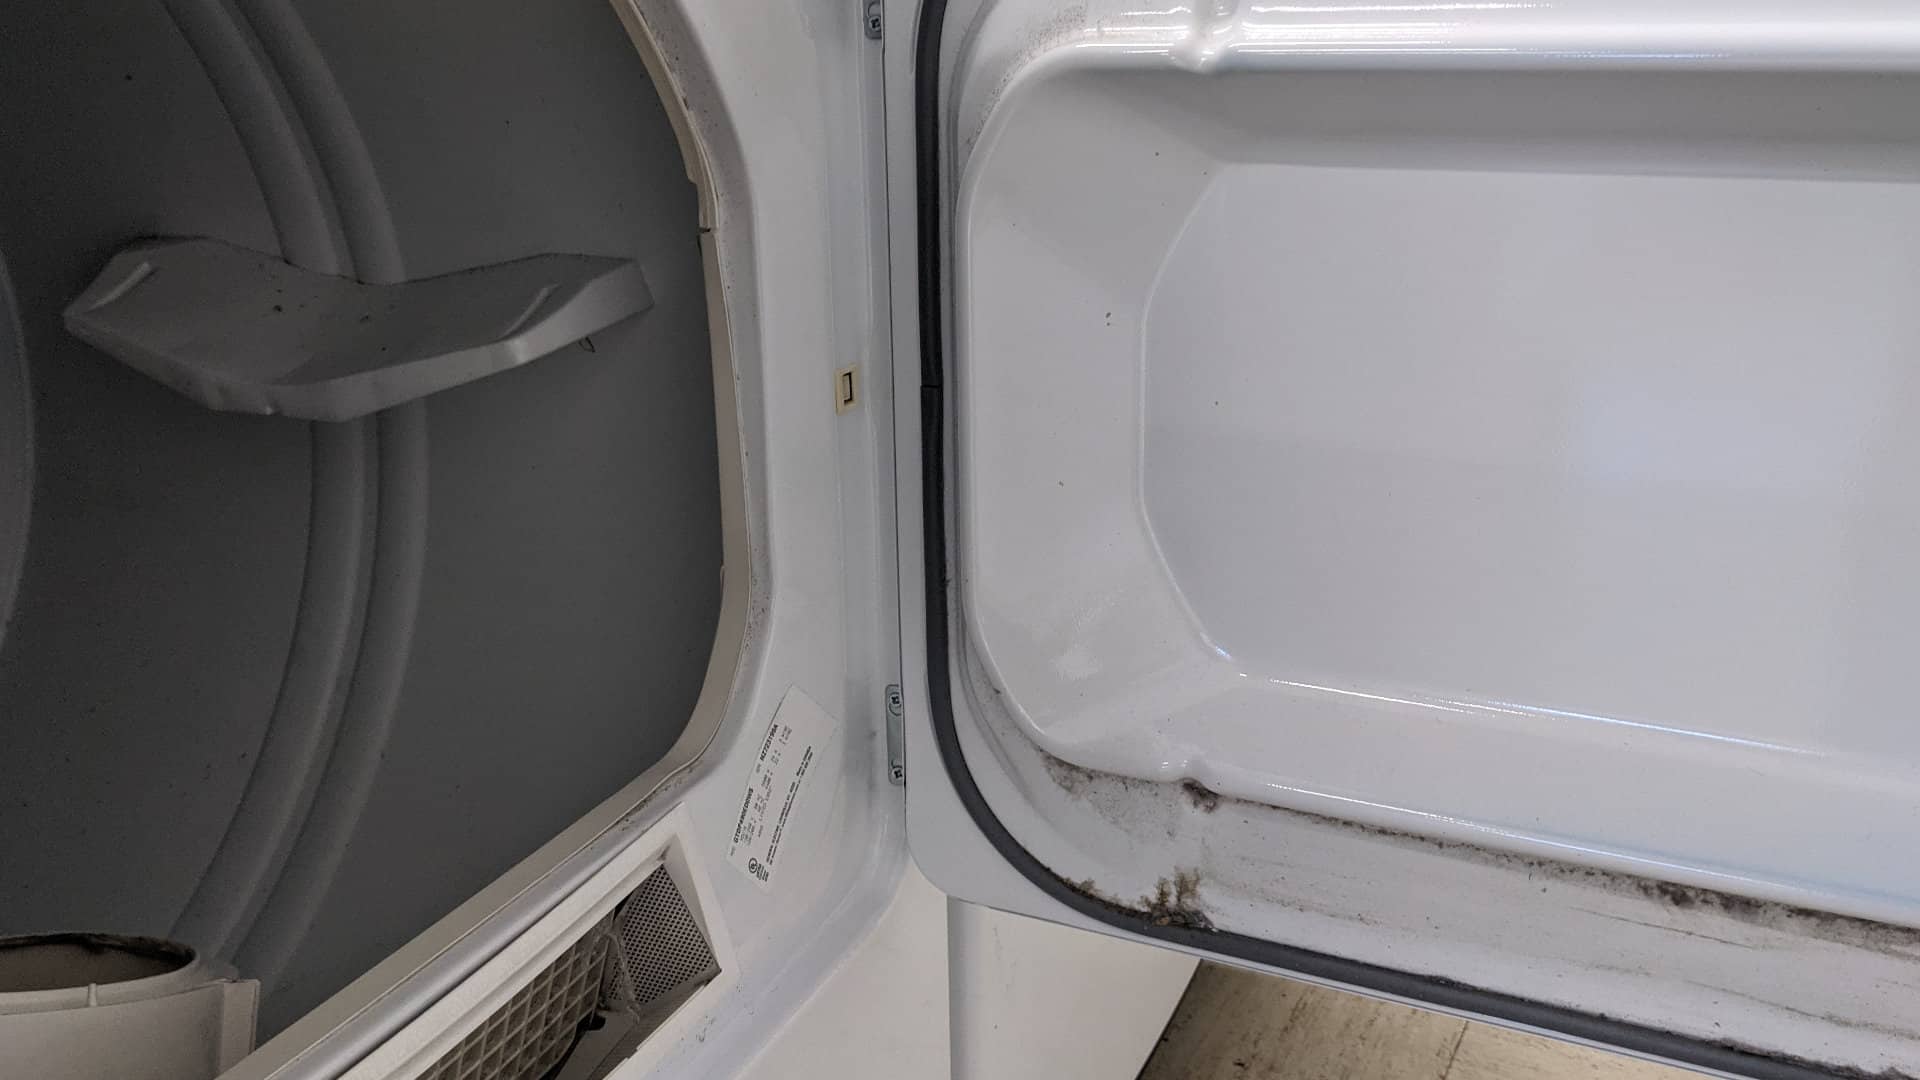
Washer Spin Cycle Not Working? Here’s Why

Oct. 02, 2023
How to Fix a Slow Ice Maker
Sep. 08, 2023
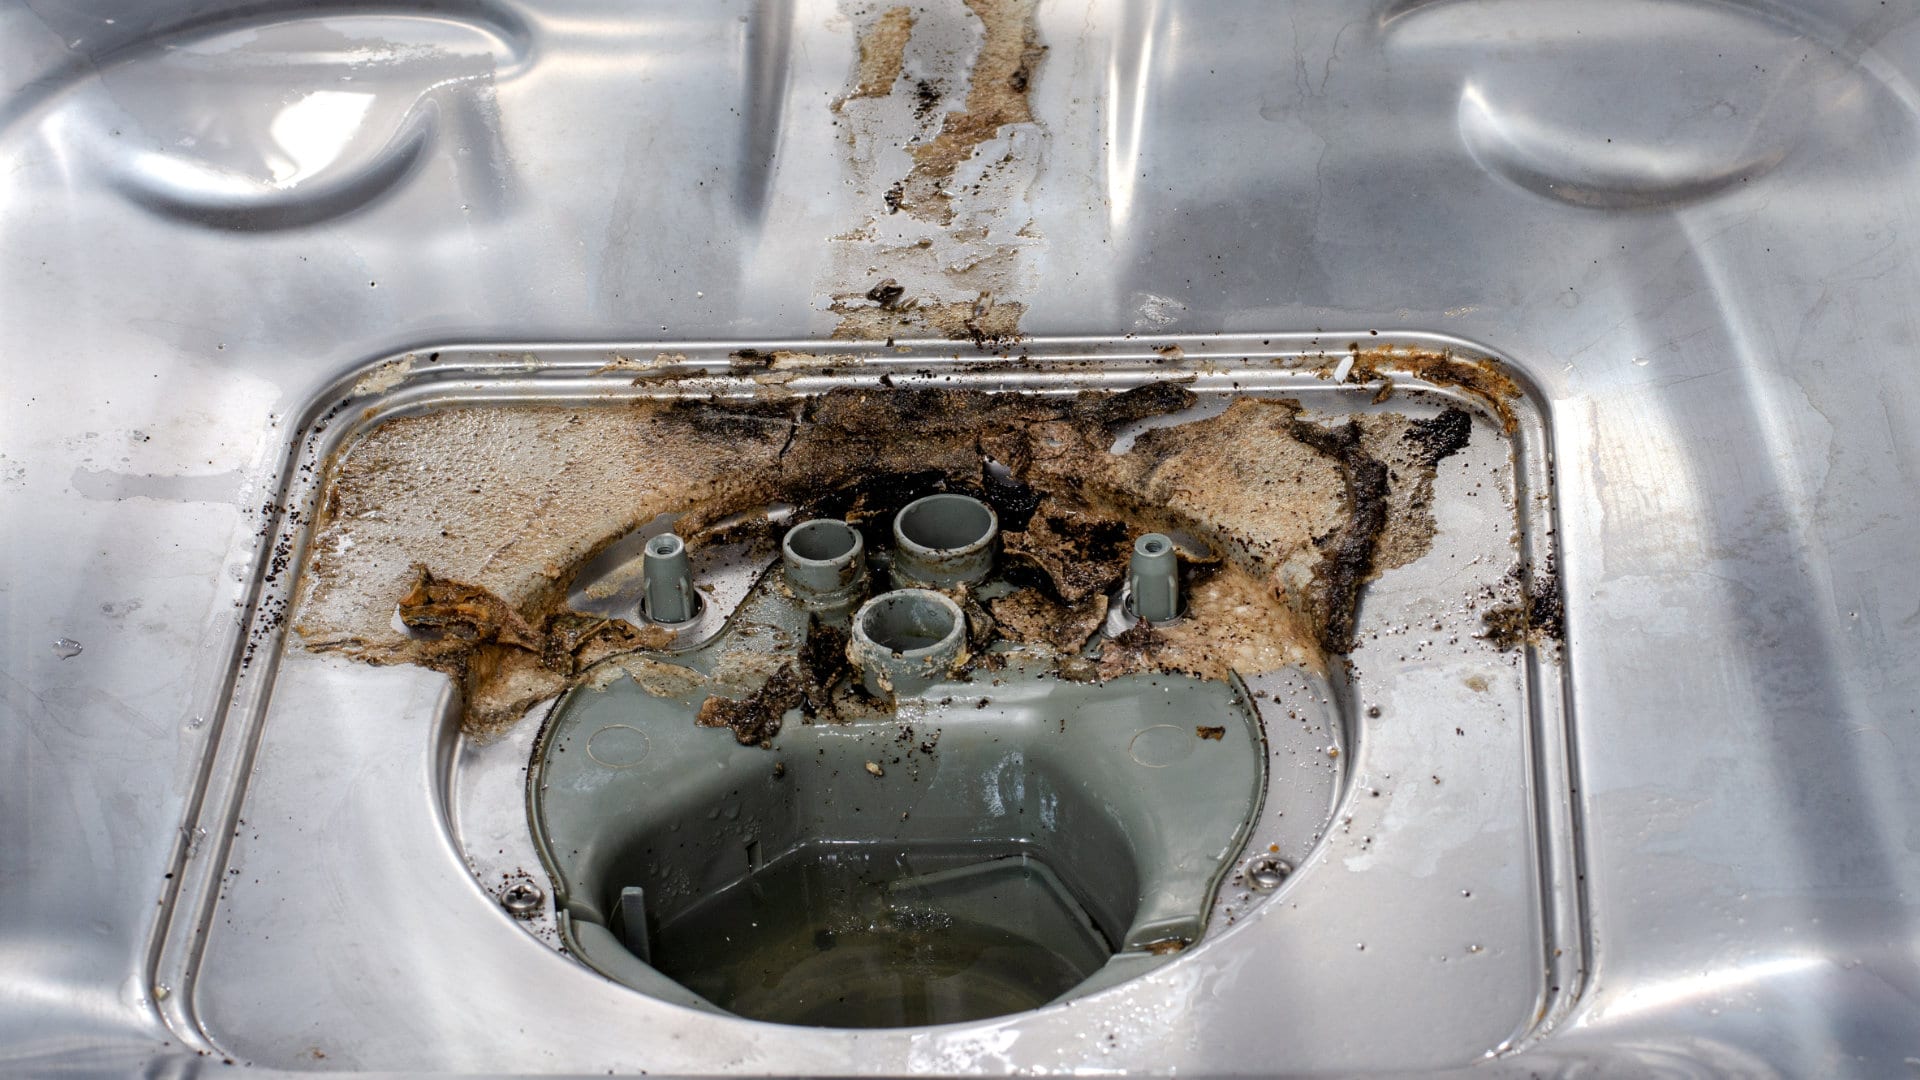
Why Does My Dishwasher Smell like Sewage?
Jul. 31, 2023
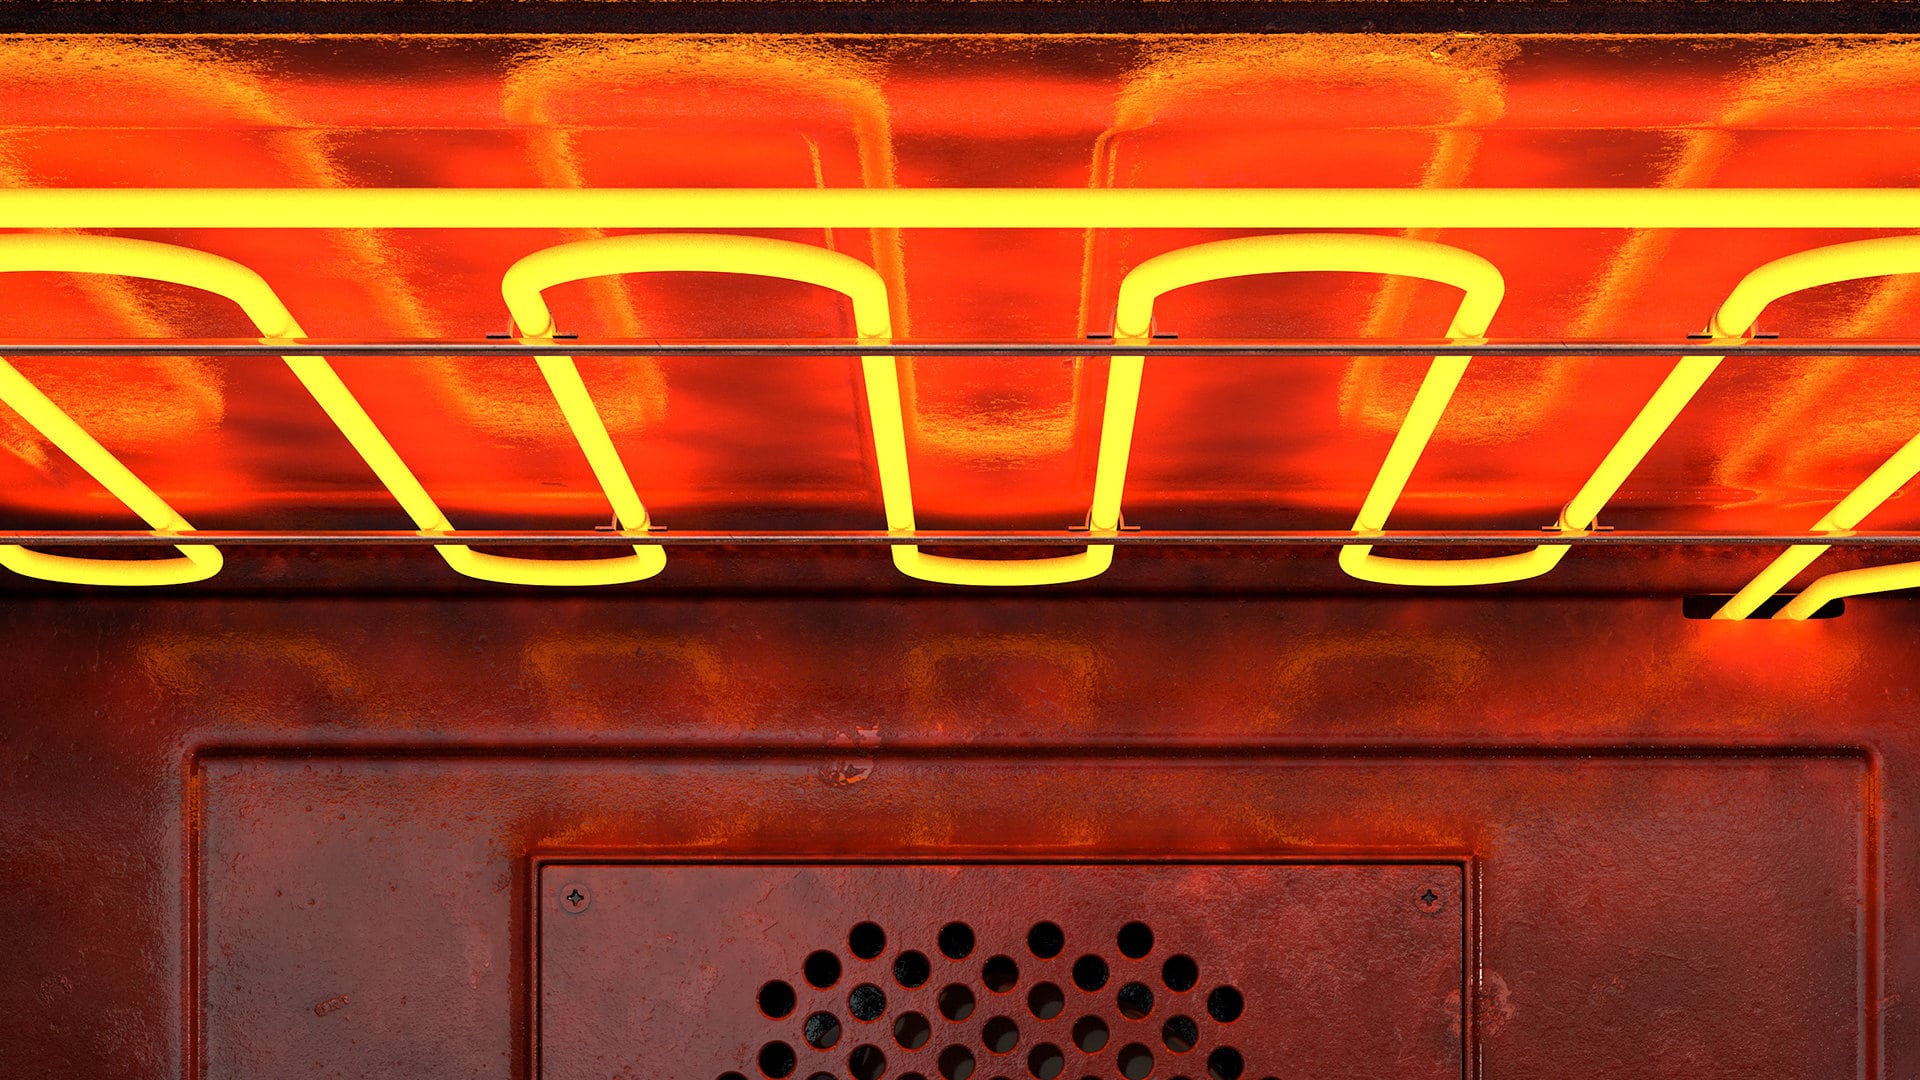
What Causes a Dryer to Overheat? (and How to Fix It)
Jul. 19, 2023