

April 6, 2020
Refrigerator Repair
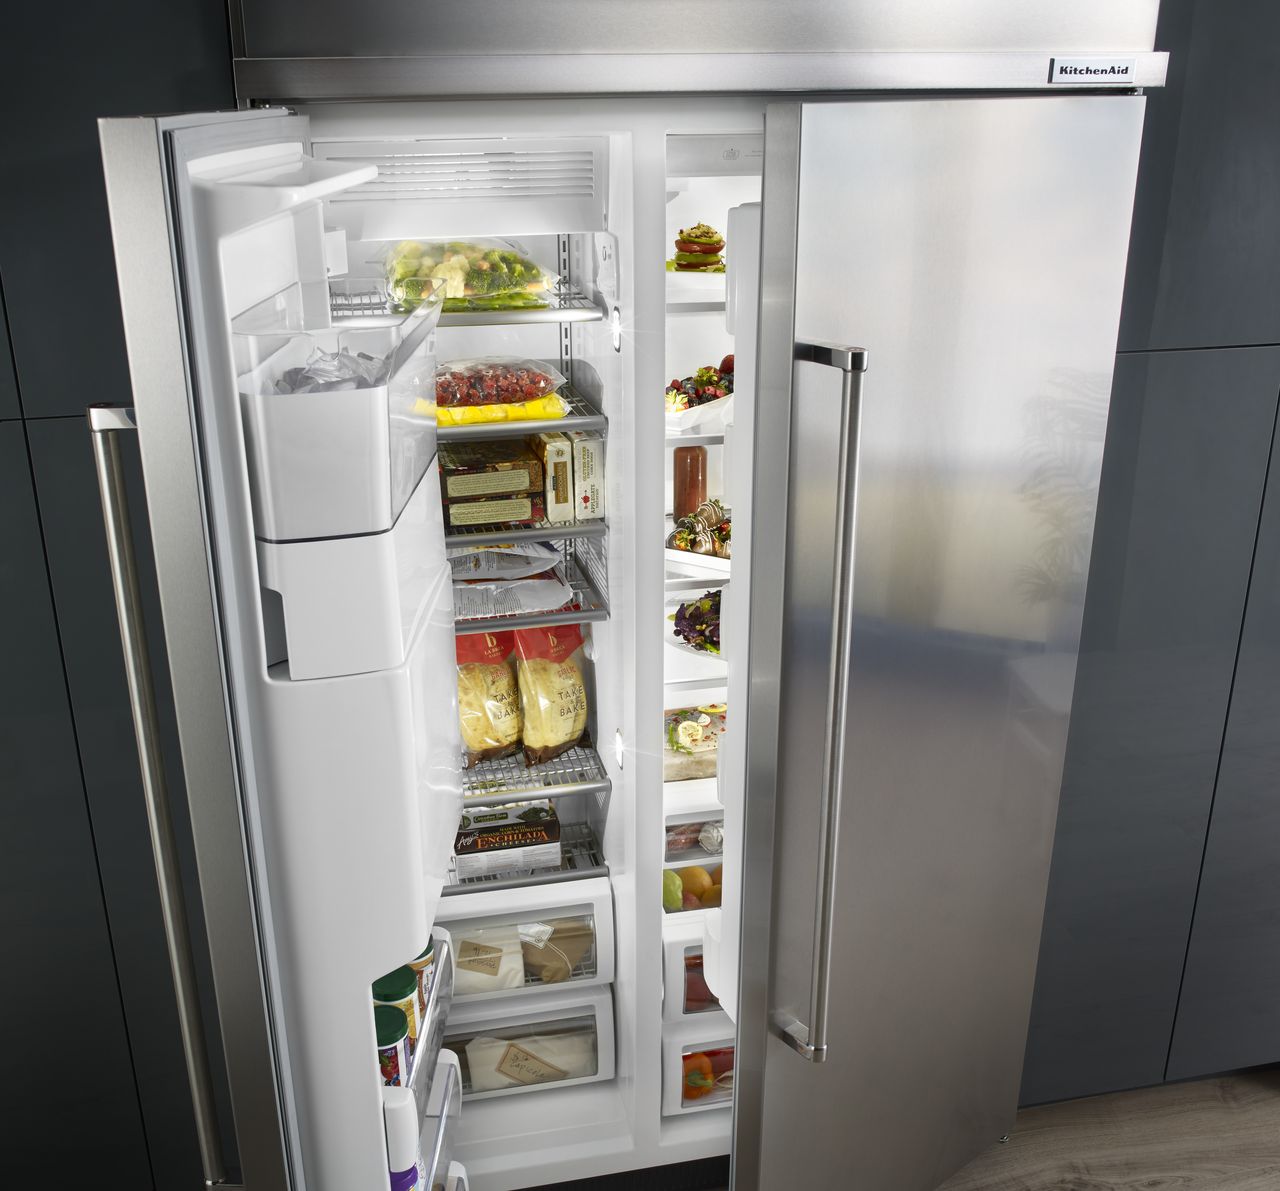
The ice maker in your KitchenAid side-by-side refrigerator model KSRS25IKSS01 is regulated by an ice level control board. The control board is equipped with an infrared beam that senses the ice level in the ice bucket. When the ice level is low, the control board sends a signal to the ice maker to produce more ice. A failing ice maker control board will not sense an empty ice bucket, meaning a signal will not be sent to the ice maker and no new ice will get made. If you believe a defective control board is causing your ice maker malfunction, continue reading to learn how to replace the faulty part.
Appliance Repair Safety Tips
- Before starting your repair, unplug your refrigerator, and turn off the appliance’s water supply.
- Always protect your hands and eyes during a repair by wearing work gloves and safety goggles.
- If, at some point during the repair, you feel as though you cannot safely or successfully complete the part replacement, please stop what you are doing and contact an appliance repair expert.
How to Replace the Ice Level Control Board in Your KitchenAid Refrigerator
- Open your freezer door and locate the two access panels on the right wall and the left wall of the freezer compartment. Then, lift up the ice maker cover and tape it open.
- Using a Phillips screwdriver, unthread the screws securing the left side access panel to the freezer wall.
- Pull the panel off the wall. On the back of the panel, you’ll find one of the ice level control boards. Using your Phillips screwdriver, undo the screws holding the control board to the access panel. Once the screws are out, remove the control board from the panel, and then disconnect the wire harness running to the board.
- Next, move to the right side access panel. Unthread the screws securing the panel to the compartment wall and take the panel off the wall.
- On the back of the panel, you’ll find the second ice level control board, use your Phillips screwdriver to unthread the screws securing the control board to the access panel. Then, take the panel off the ice maker control board.
- Once again, you’ll need to disconnect the wire harness running to the control board, however, this harness is a little bit more difficult to detach. To do get it off, you’ll need to use a flat head screwdriver to disengage the locking tab on the side of the harness. After the lock is released simply disconnect the wire harness from the control board.
- Grab the new right side ice level control board and begin installing it by connecting the part to its wire harness. While pushing the wire harness in place, make sure you hear a click, which indicates the harness is locked in place. Then, retrieve the access panel and place the control board onto the panel. Once the board is in place, rethread the screws that secure the part to the panel.
- Insert the access panel and control board back into the freezer wall and replace the panel screws to reattach the access panel to the wall.
- Next, reinstall the second ice level control board by connecting its wire harness and reattaching the board to the back of the access panel. Once the control board is secure, reinstall the access panel to the freezer wall.
- To finish up your repair, remove the tape from the ice maker cover and shut the freezer door.
If you need assistance replacing the ice level control board in your KitchenAid refrigerator or you have a question about your appliance’s performance, please contact us today and we’ll be happy to help you.

Apr. 09, 2024
How to Fix the Whirlpool Washer F5 E3 Error Code
Mar. 06, 2024
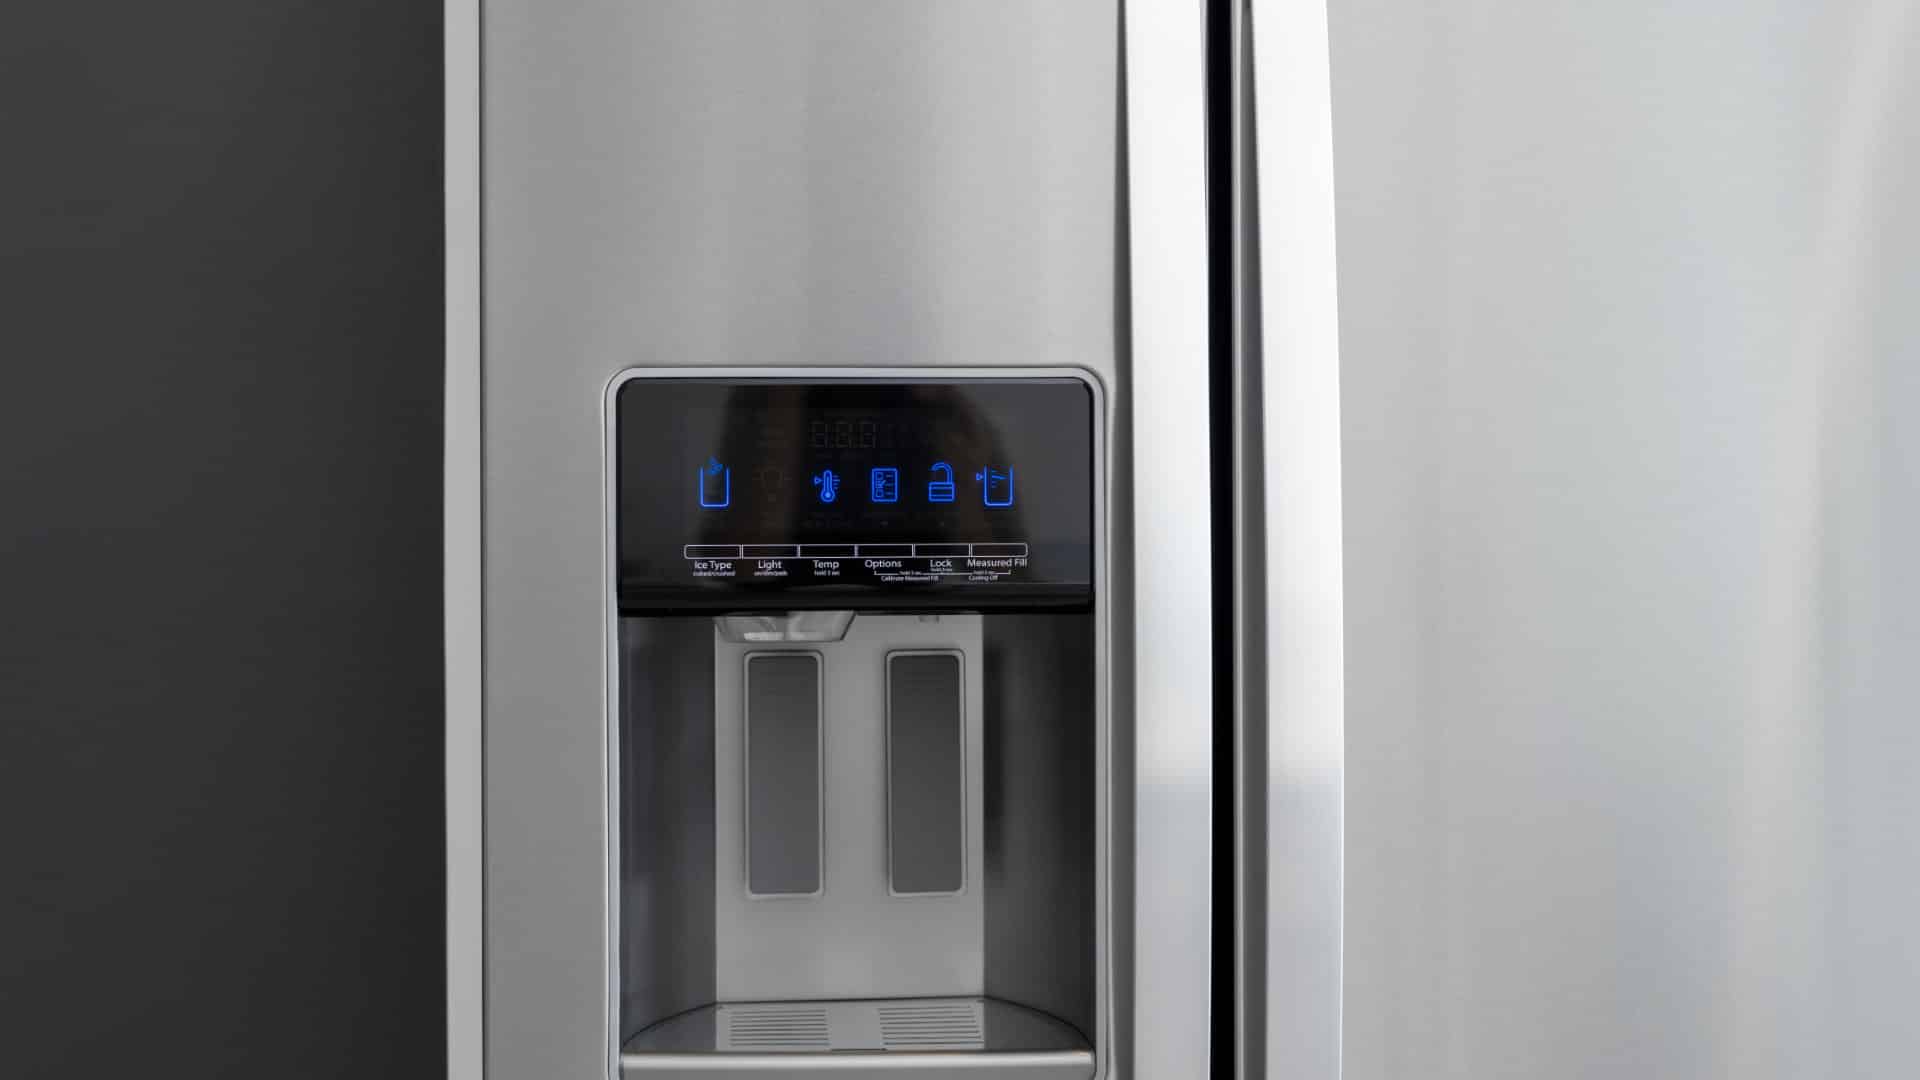
10 Steps to Clean Your Fridge Water Dispenser

Feb. 05, 2024
How to Replace a Whirlpool Refrigerator Water Filter
Jan. 03, 2024
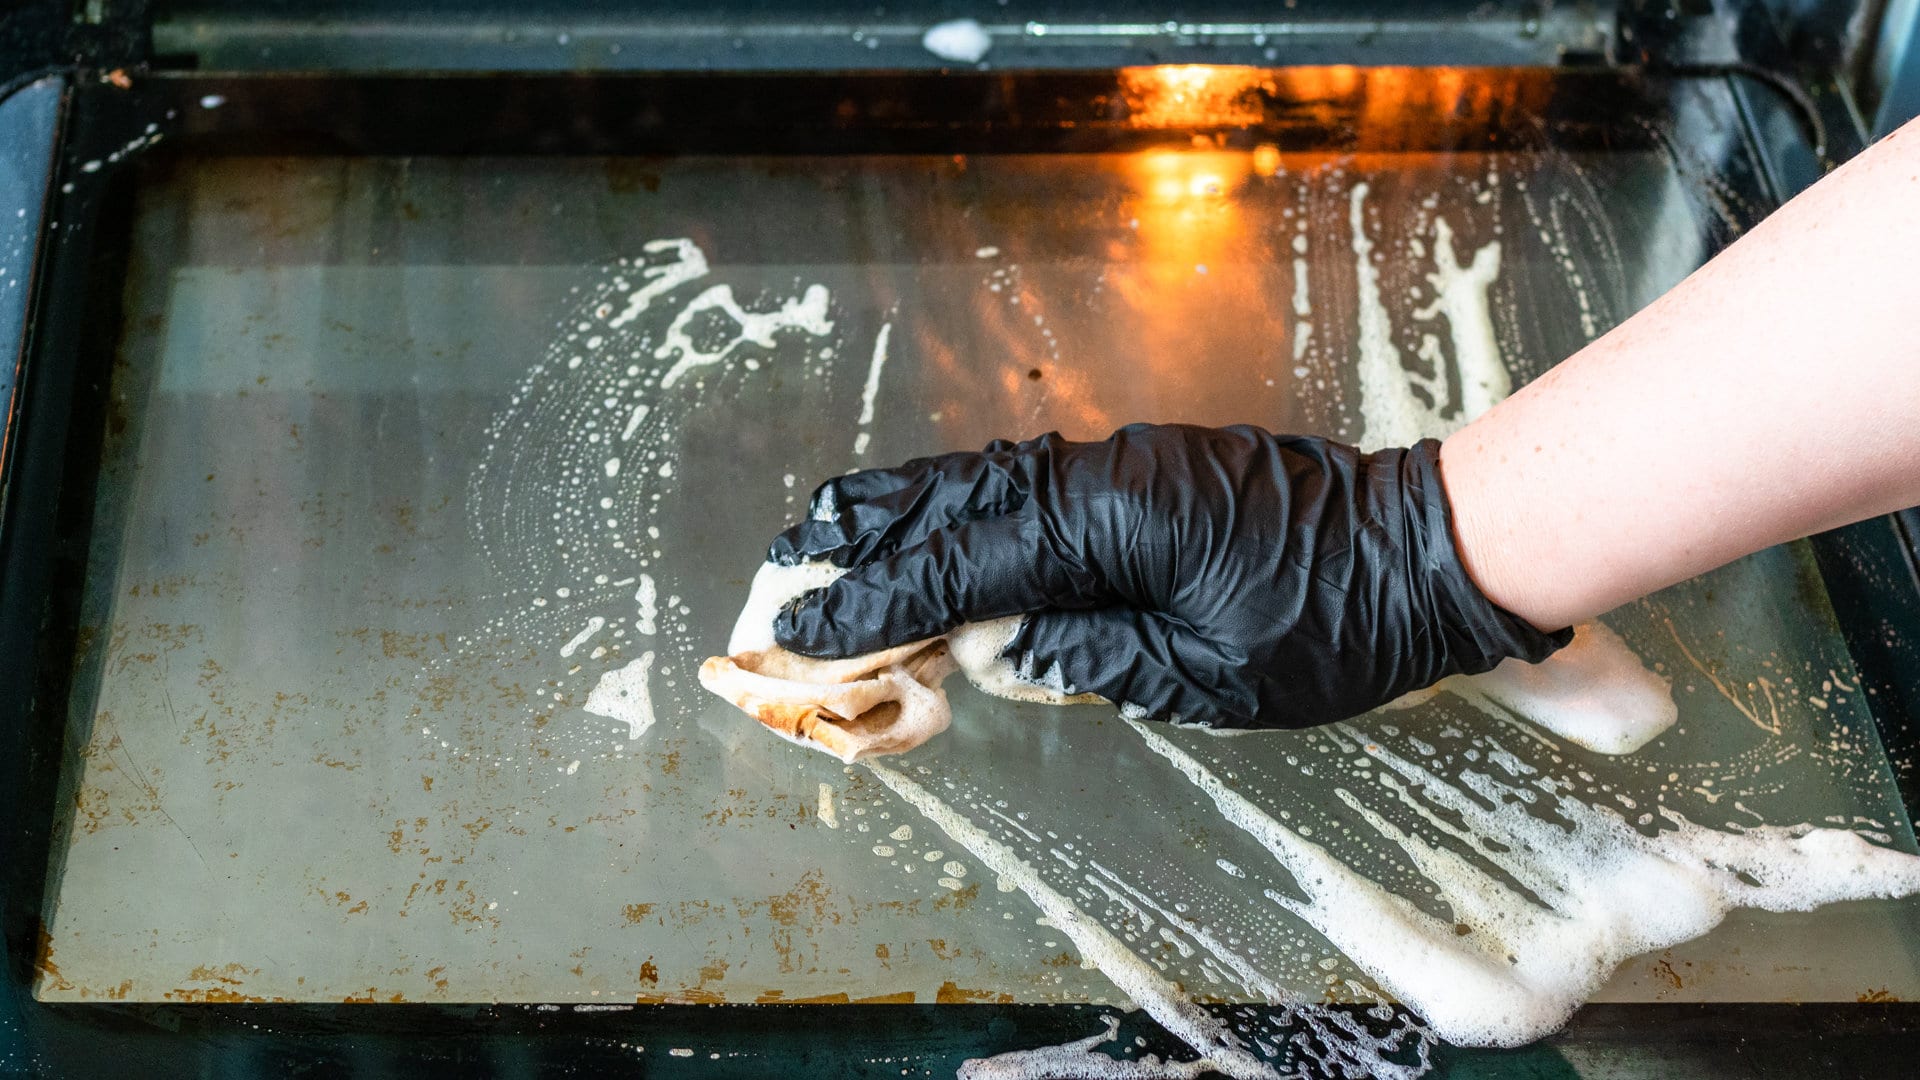
How to Clean an Oven Glass Door (3 Easy Methods)
Dec. 11, 2023
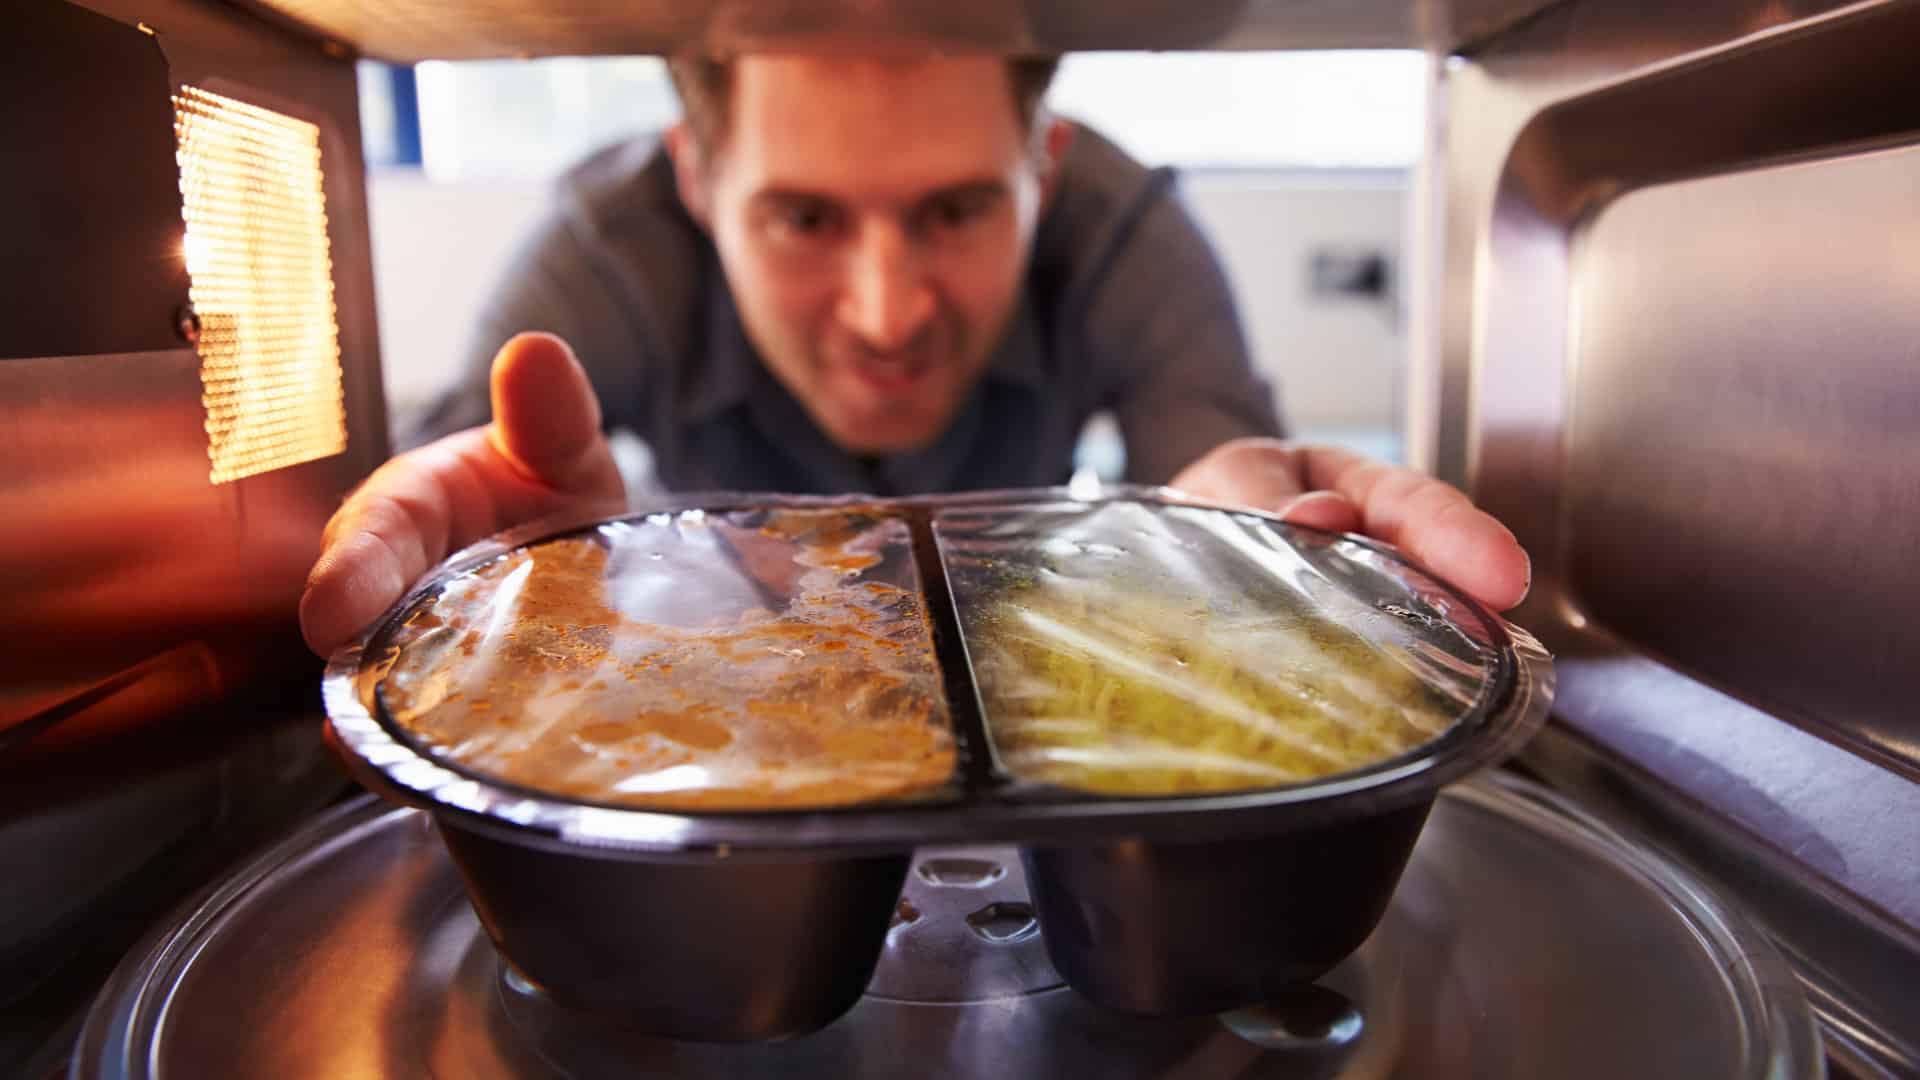
Why Your Microwave Plate Is Not Spinning
Nov. 06, 2023
Washer Spin Cycle Not Working? Here’s Why
Oct. 02, 2023
How to Fix a Slow Ice Maker
Sep. 08, 2023
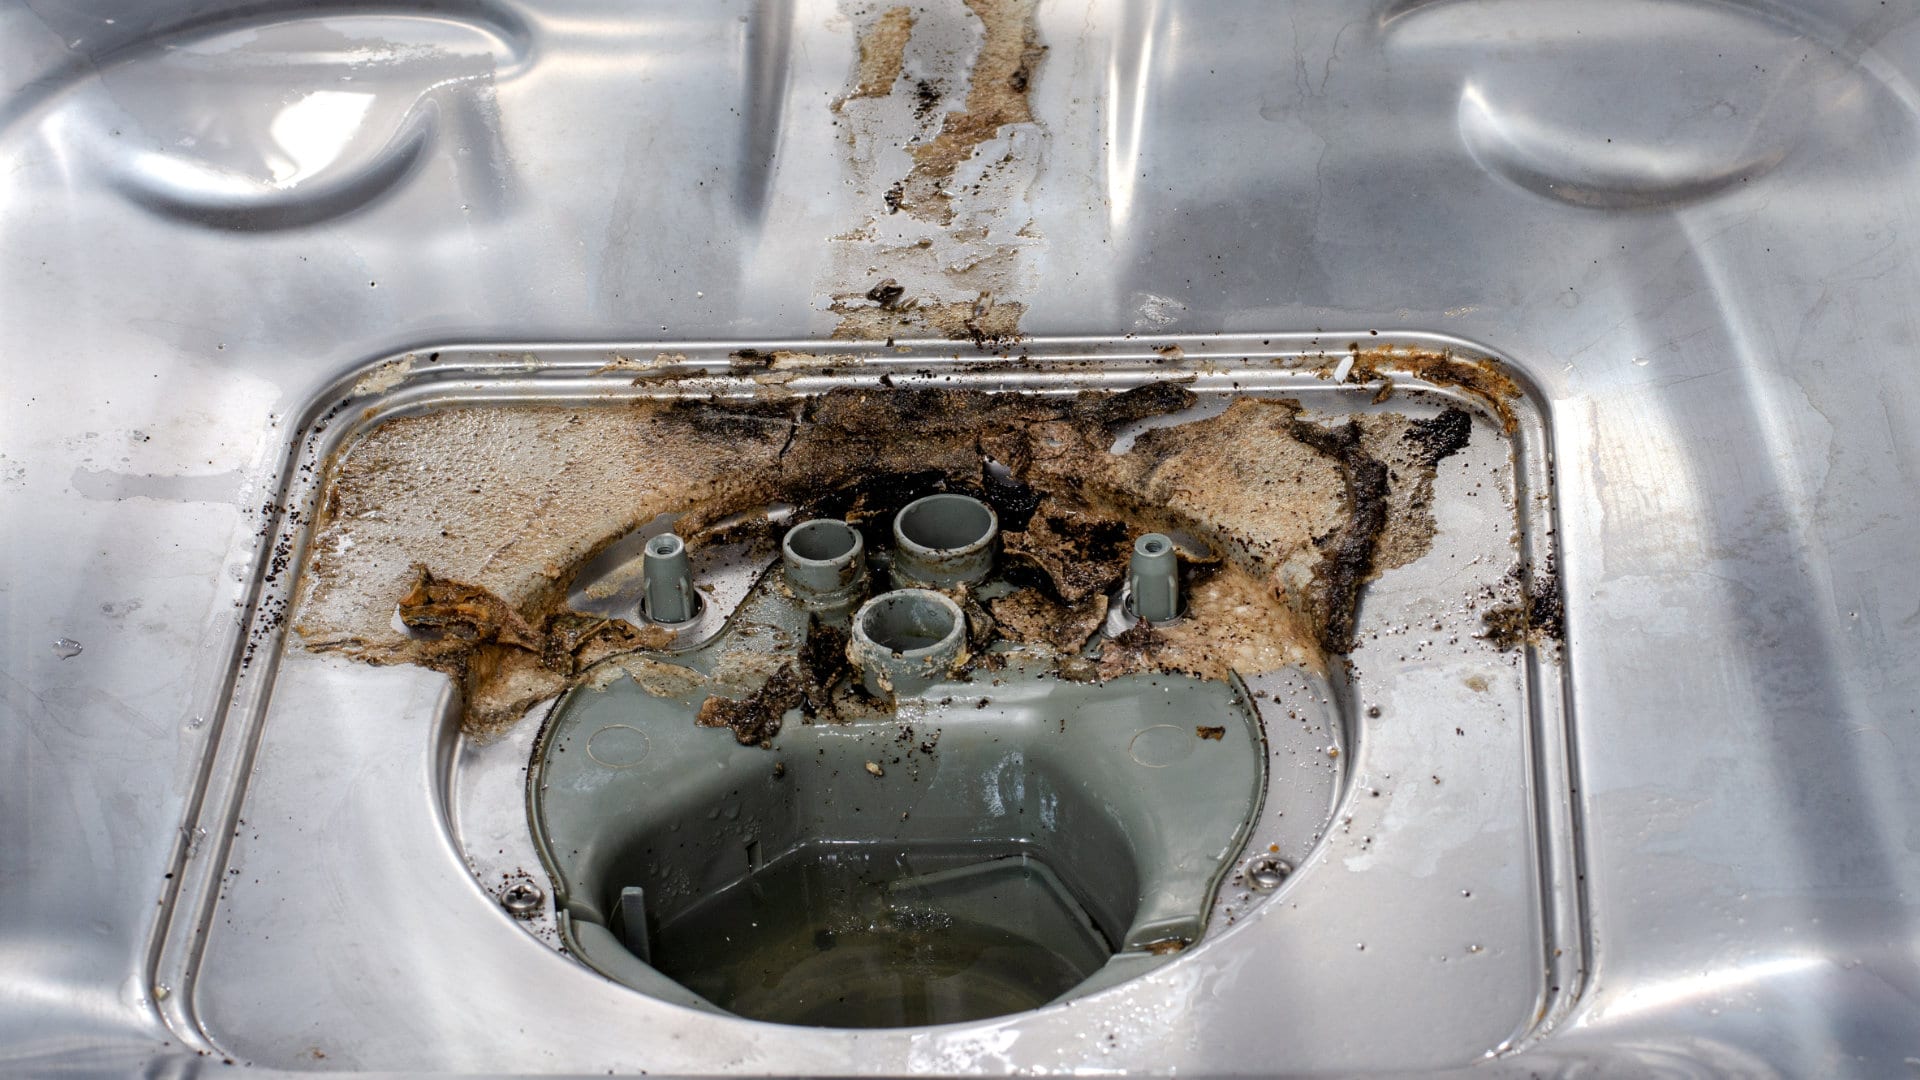
Why Does My Dishwasher Smell like Sewage?
Jul. 31, 2023
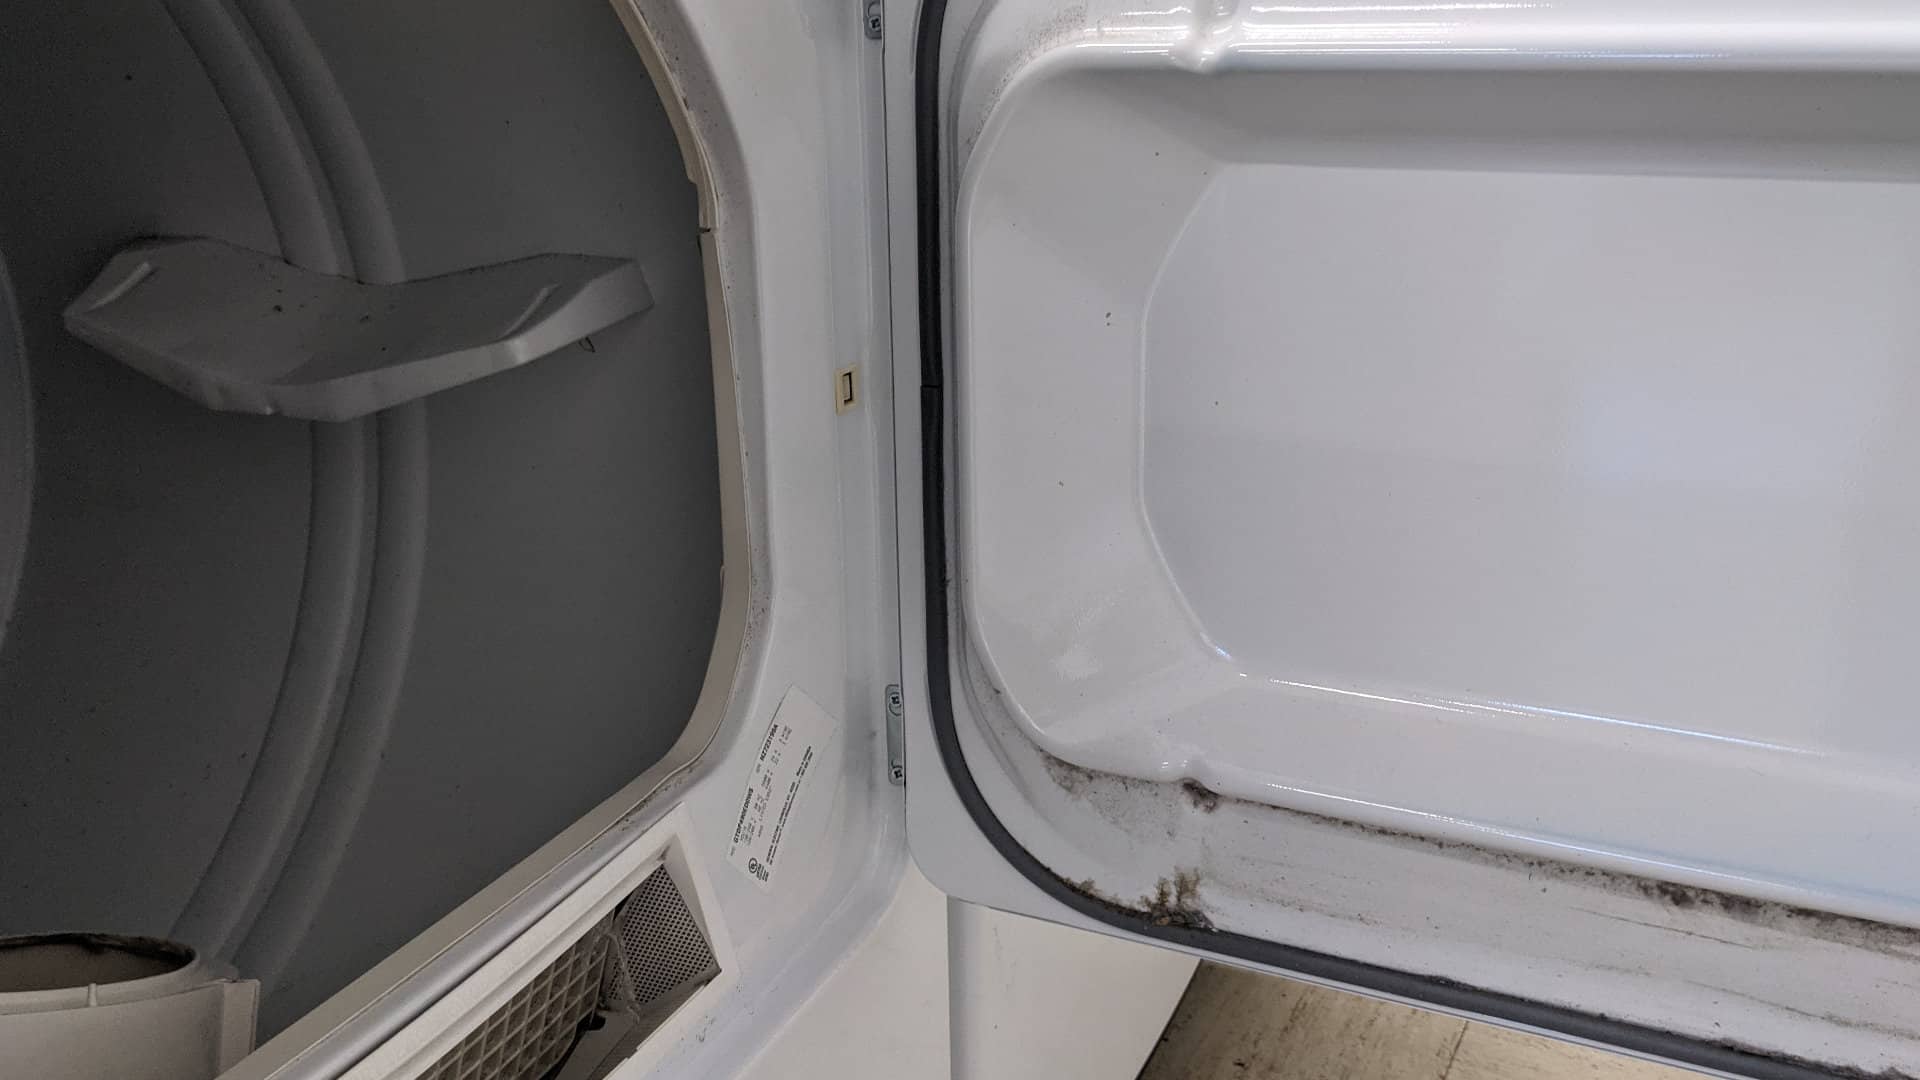
What Causes a Dryer to Overheat? (and How to Fix It)
Jul. 19, 2023