


May 3, 2021
Refrigerator Repair
What would we be without refrigerators? The must-have home appliance has been a staple in our kitchens for close to 100 years. So when your refrigerator starts making unusual noises, you will want to know what is causing it and how to fix it, preferably before the issue gets any worse. The good news is, by following this guide, you should be able to fix most issues without the need for an expensive repair service.
Simple Fixes
Before you get the screwdriver out, be sure to cross off these basic causes of refrigerator noise.
- Is the noise caused by the refrigerator bumping against a bench or cabinet? Make sure there is enough space around the refrigerator so that noise is not caused by normal refrigerator vibrations.
- Did you hear a bang or a thud noise? If your refrigerator has an auto-defrost function, it may just be the sound of ice breaking off.
- Is the noise caused by items in the refrigerator bumping together? Opening the refrigerator and taking a look should identify if this is the issue.
Most Common Causes
1. The Evaporator Fan
Evaporator fans are responsible for drawing air over the evaporator coils, which remove heat from the air, and then circulating the cool air through the refrigerator. The evaporator fan on most refrigerators is located behind a panel at the back of the freezer or fridge compartment. On most refrigerator models, the fan can be accessed from inside the refrigerator and is often visible.
Once you have determined where your refrigerator’s evaporator fan is located, try to determine if the noise is coming from that area. Evaporator noise issues can be caused by the fan blades, the fan motor, or the fan motor grommet. A defective fan motor will cause considerable noise.
To access the evaporator fan, you will need to remove items from the freezer or refrigerator, and on some models the shelves, support rails, and ice maker. Depending on the model, there may be several back panels to remove to access the evaporator fan. However, on most models, there will be one panel, which can be removed by using a Phillips-head screwdriver to remove the screws. Take care when removing back panels, as one may be connected to a thermistor. If there is a thermistor attached, detach the wiring harness to remove the panel.
To Check the Evaporator Fan:
- Disconnect the refrigerator from the power source.
- Remove the back panel(s) to access the evaporator fan.
- Check that fan blade for any damage. If the blade is damaged, remove and replace the blade.
- Rotate the fan blade. If it cannot rotate, the motor is likely damaged and will need to be replaced.
- If the blade rotates, check that the fan blade is not scraping against a panel or bracket.
- Check the fan motor grommet for wear and tear. If the grommet is worn, it should be replaced.
- If you determine the noise is caused by the fan motor, replace it.
2. The Condenser Fan
The condenser fan uses outside air to cool the condenser coils and the compressor. The condenser fan is usually accessed through the refrigerator’s rear access panel, behind the refrigerator. Like the evaporator fan, the condenser fan’s motor, blades, or grommet could be defective and causing refrigerator noise. A defective fan motor will cause excessive noise, and the refrigerator will likely not be cooling very effectively.
To Check the Condenser Fan:
- Disconnect the refrigerator from the power source.
- Move the fridge out so that you can access the rear access panel.
- If there is an ice maker in the refrigerator, the water supply line may need to be disconnected to access the rear access panel. Make sure the water supply is turned off.
- Unscrew the rear access panel and locate the condenser fan.
- Check the blade for damage. If the blade is damaged, it will need to be replaced.
- Rotate the fan blade. If it cannot turn freely, the motor is likely defective and will need to be replaced.
- If the blade rotates, check that it is not scraping against a panel or bracket.
- Check the fan motor grommet for signs of wear and tear. Replace a worn-out grommet.
- If you determine the condenser fan motor is causing the noise, replace the condenser fan motor.
3. The Compressor
The compressor is typically located at the back of the refrigerator, behind the rear access panel. The refrigerator’s compressor pumps refrigerant through the condenser and evaporator coils. A problem with the compressor may make a single loud knocking sound as it begins to pump refrigerant and then sometimes again when it shuts off. However, if the compressor is failing, you should also notice it become louder and louder when it is operating.
While a noisy compressor means it is beginning to fail, compressors can last for years after they become noisy. If you cannot tolerate the noise any longer, contact a licensed professional to replace the compressor.
4. The Water Inlet Valve
If your refrigerator has a built-in ice maker, the water inlet valve that controls the water supply to the ice maker can sometimes wear out and cause abnormal refrigerator noise. A malfunctioning water inlet valve will typically make a buzzing or strange humming sound when the ice maker is filling.
The water inlet valve is usually located behind the rear access panel behind the refrigerator. It is recommended that a faulty water inlet valve be replaced, as it is difficult to repair and will likely fail again.
To Remove and Replace the Water Inlet Valve:
- Disconnect the refrigerator from the power source.
- Turn off the water supply to the refrigerator.
- Move the fridge out so that you can access the rear access panel.
- Put a cloth down to catch any dripping water.
- On some models, you may need to remove the water supply line to remove the rear access panel.
- Take off the rear access panel by removing the screws.
- Unscrew the water inlet valve support.
- Use a wrench to loosen the nut; then pull the water supply line off the water inlet valve (usually copper or clear).
- Use a wrench to loosen the nut connecting the ice maker water supply line to the inlet valve.
- Pull the ice maker water supply line off the water inlet valve (usually blue).
- Disconnect the wiring harness from the water inlet valve.
- Replace the water inlet valve.

Apr. 09, 2024
How to Fix the Whirlpool Washer F5 E3 Error Code
Mar. 06, 2024
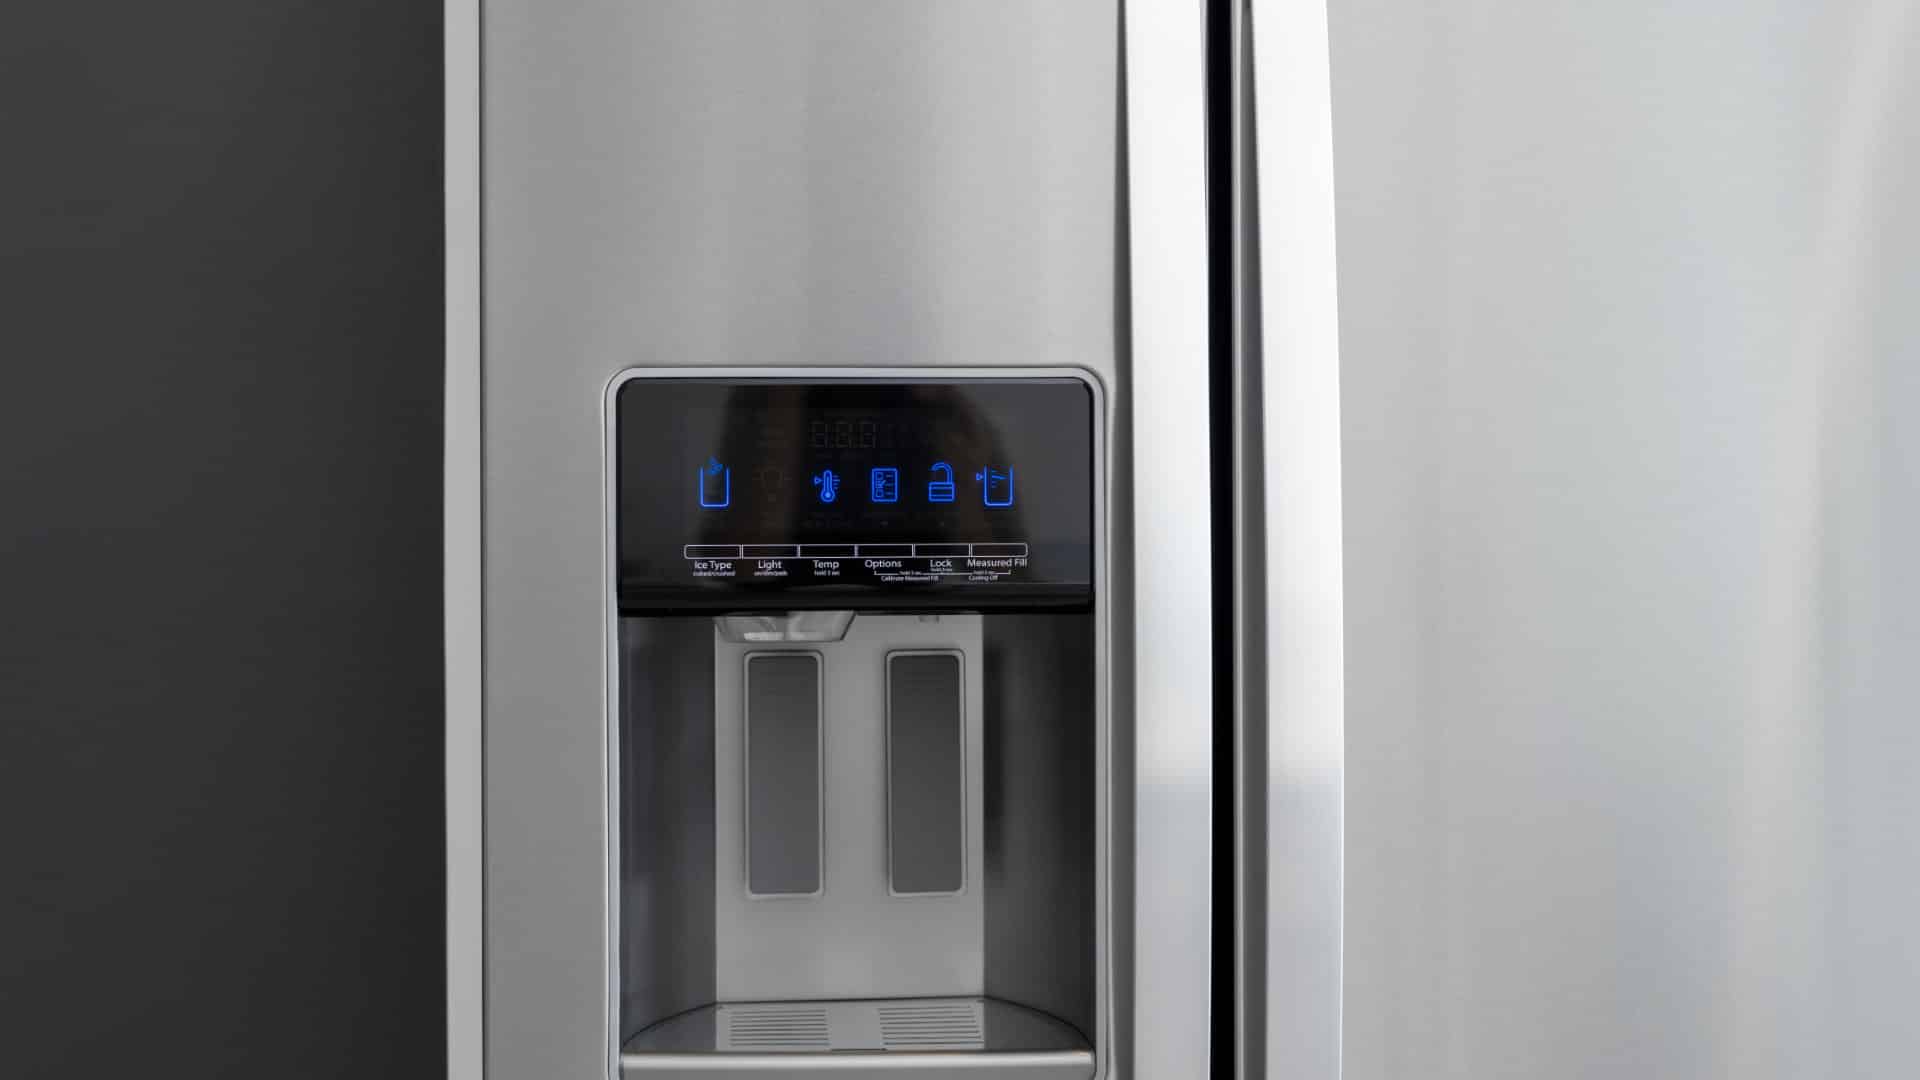
10 Steps to Clean Your Fridge Water Dispenser

Feb. 05, 2024
How to Replace a Whirlpool Refrigerator Water Filter
Jan. 03, 2024
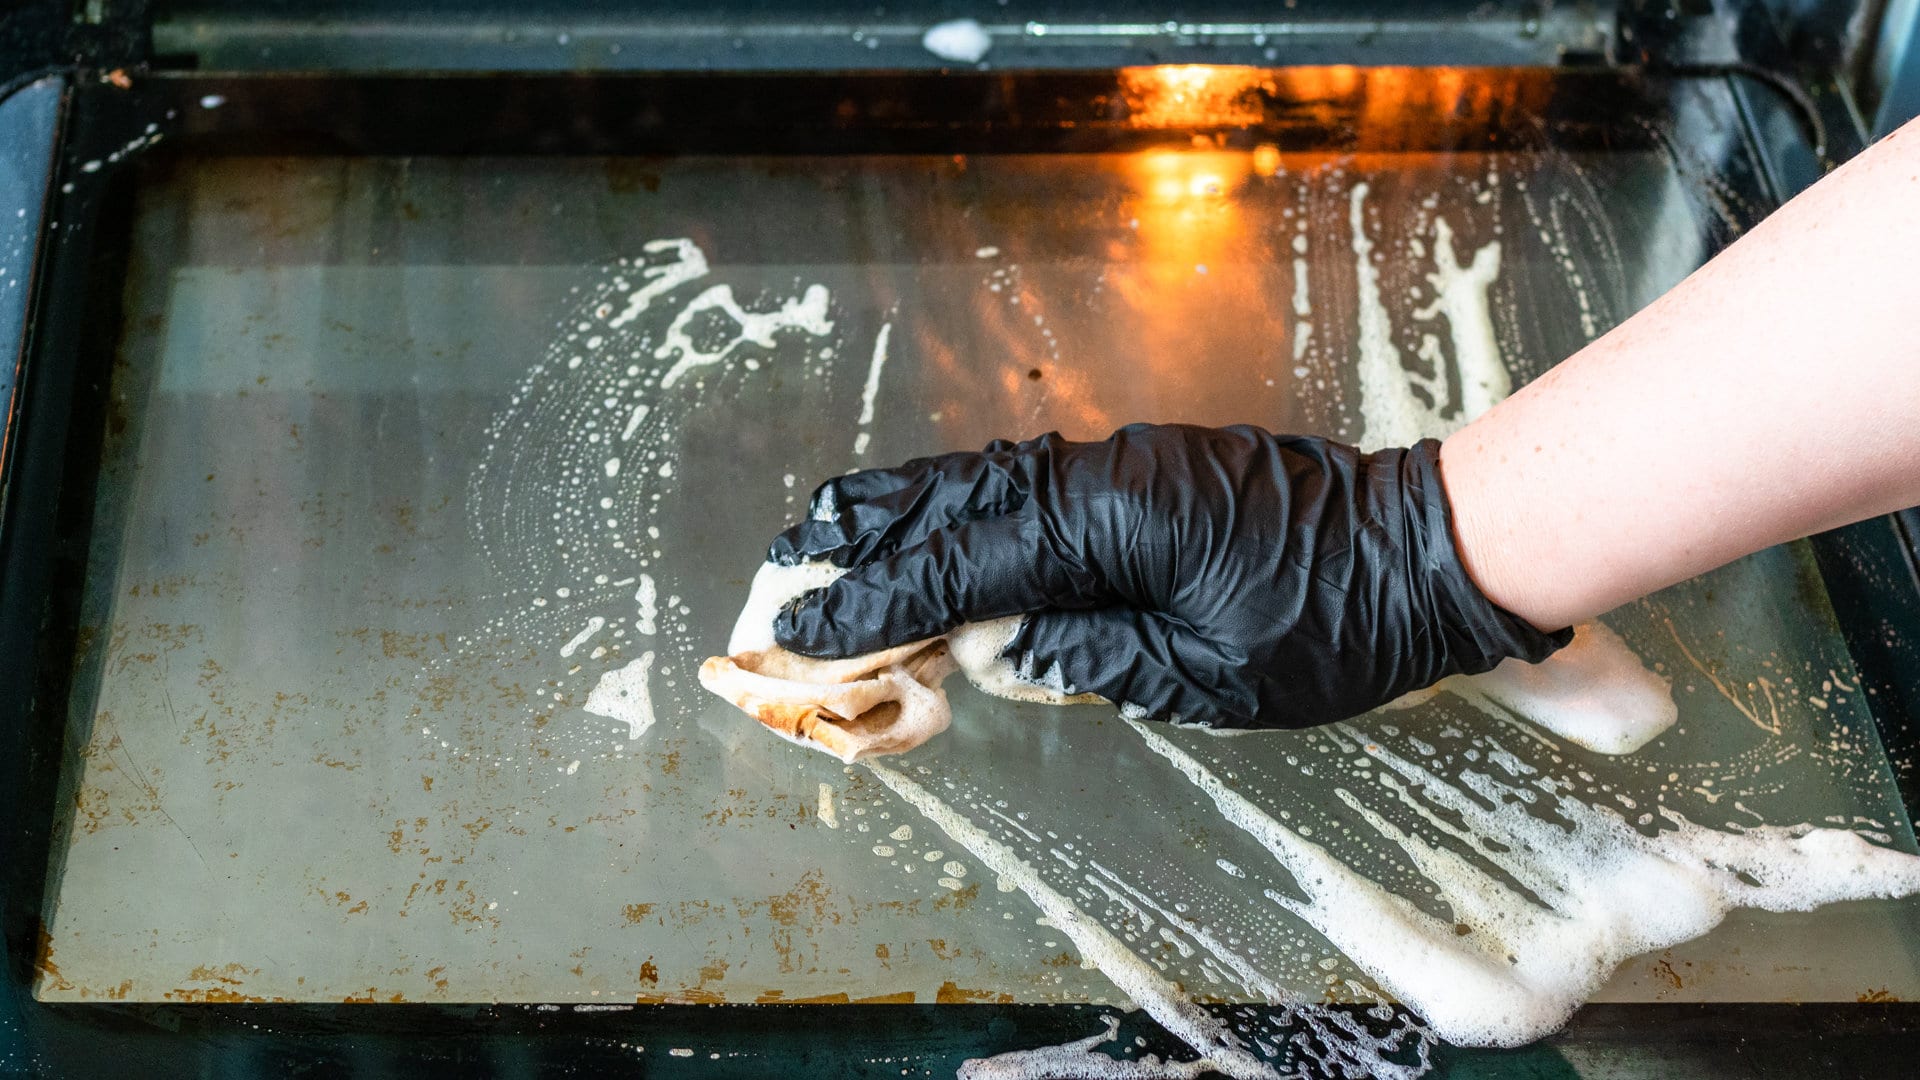
How to Clean an Oven Glass Door (3 Easy Methods)

Dec. 11, 2023
Why Your Microwave Plate Is Not Spinning
Nov. 06, 2023
Washer Spin Cycle Not Working? Here’s Why

Oct. 02, 2023
How to Fix a Slow Ice Maker
Sep. 08, 2023
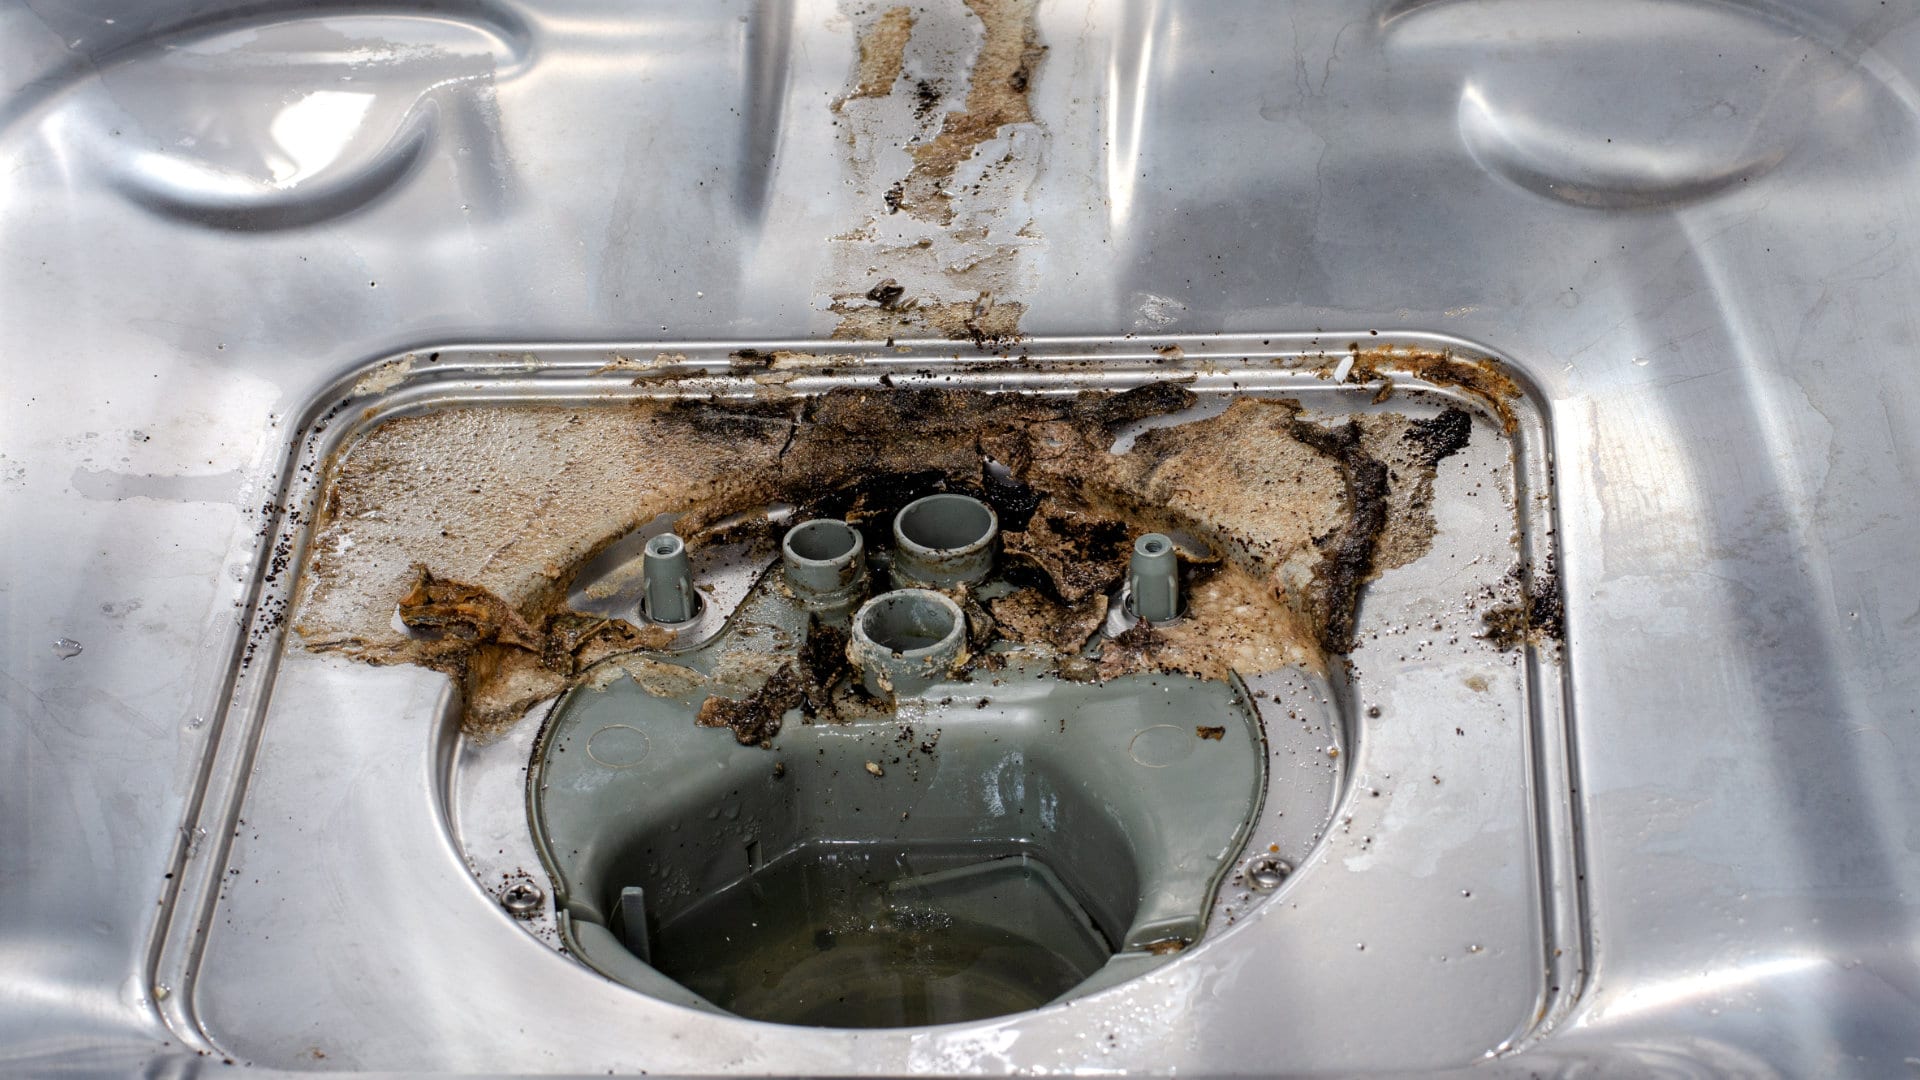
Why Does My Dishwasher Smell like Sewage?
Jul. 31, 2023
What Causes a Dryer to Overheat? (and How to Fix It)
Jul. 19, 2023