

November 8, 2018
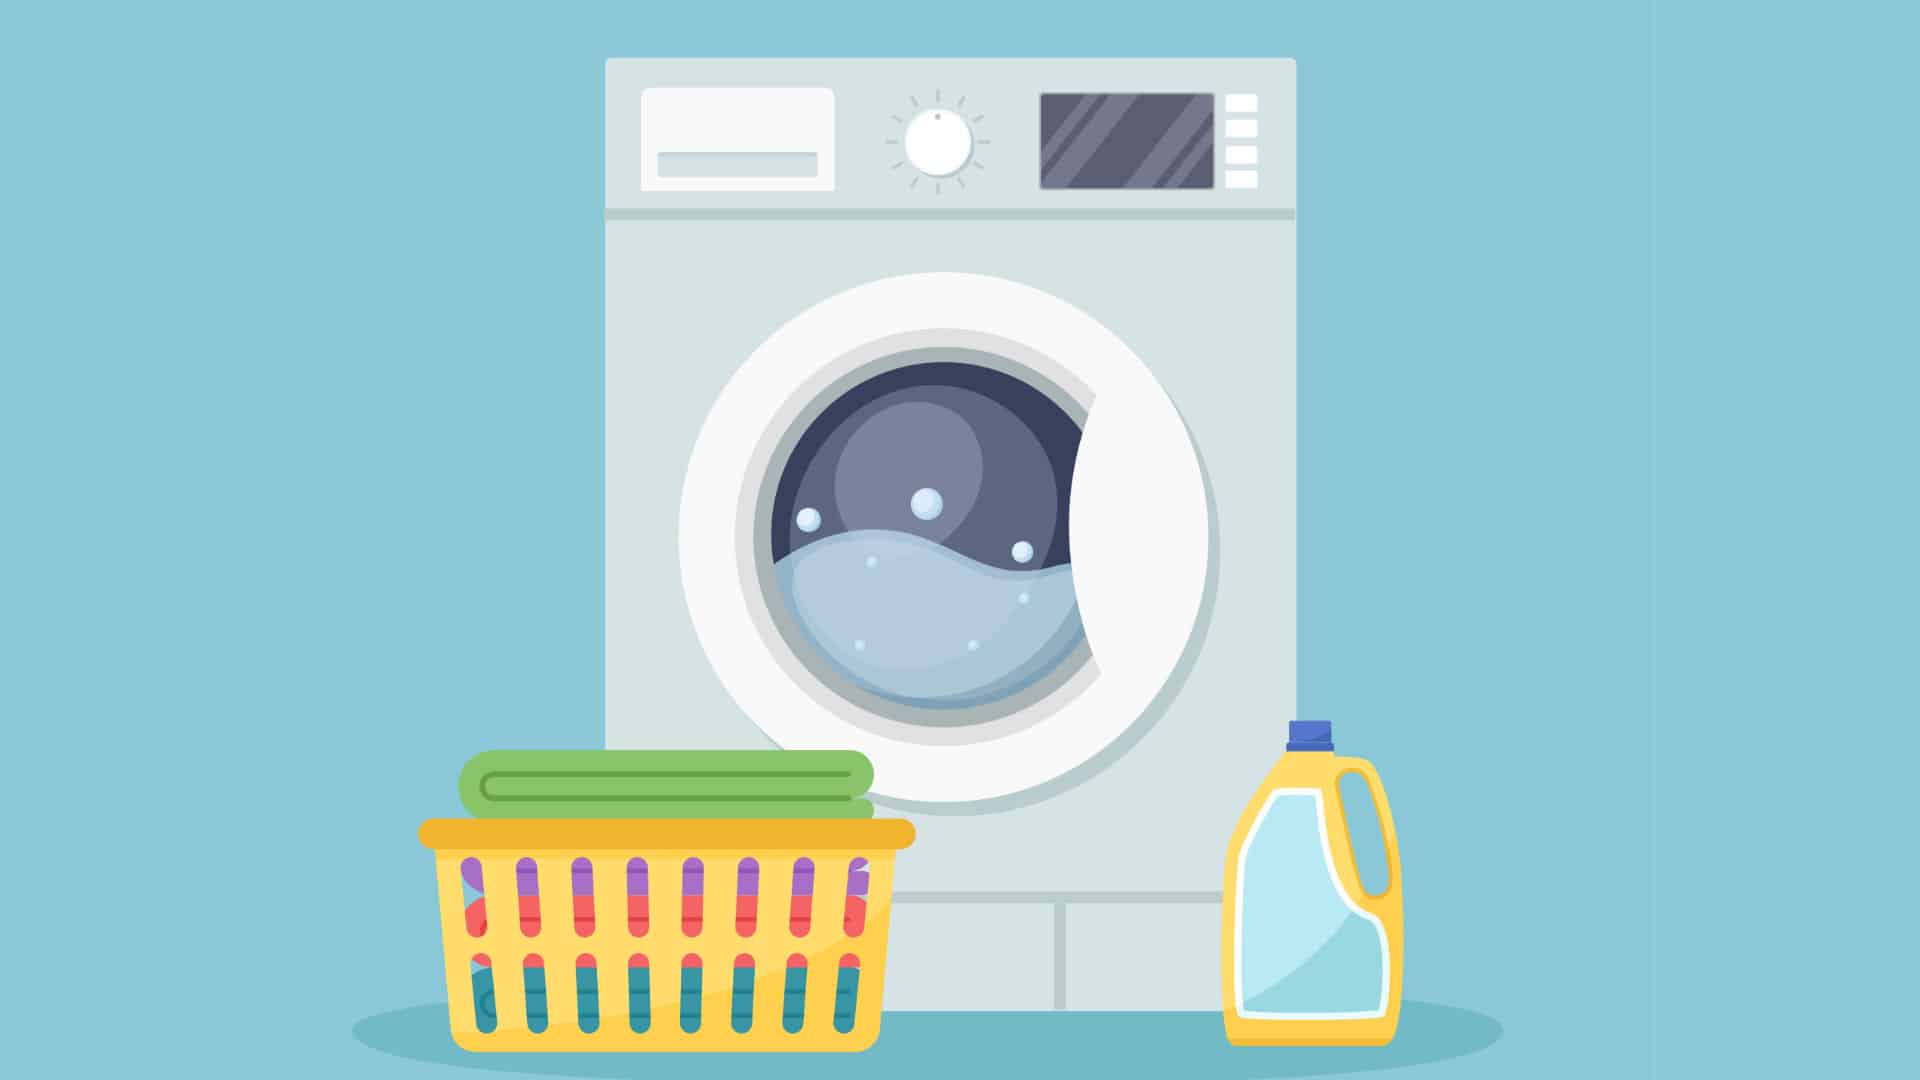
Oven Repair
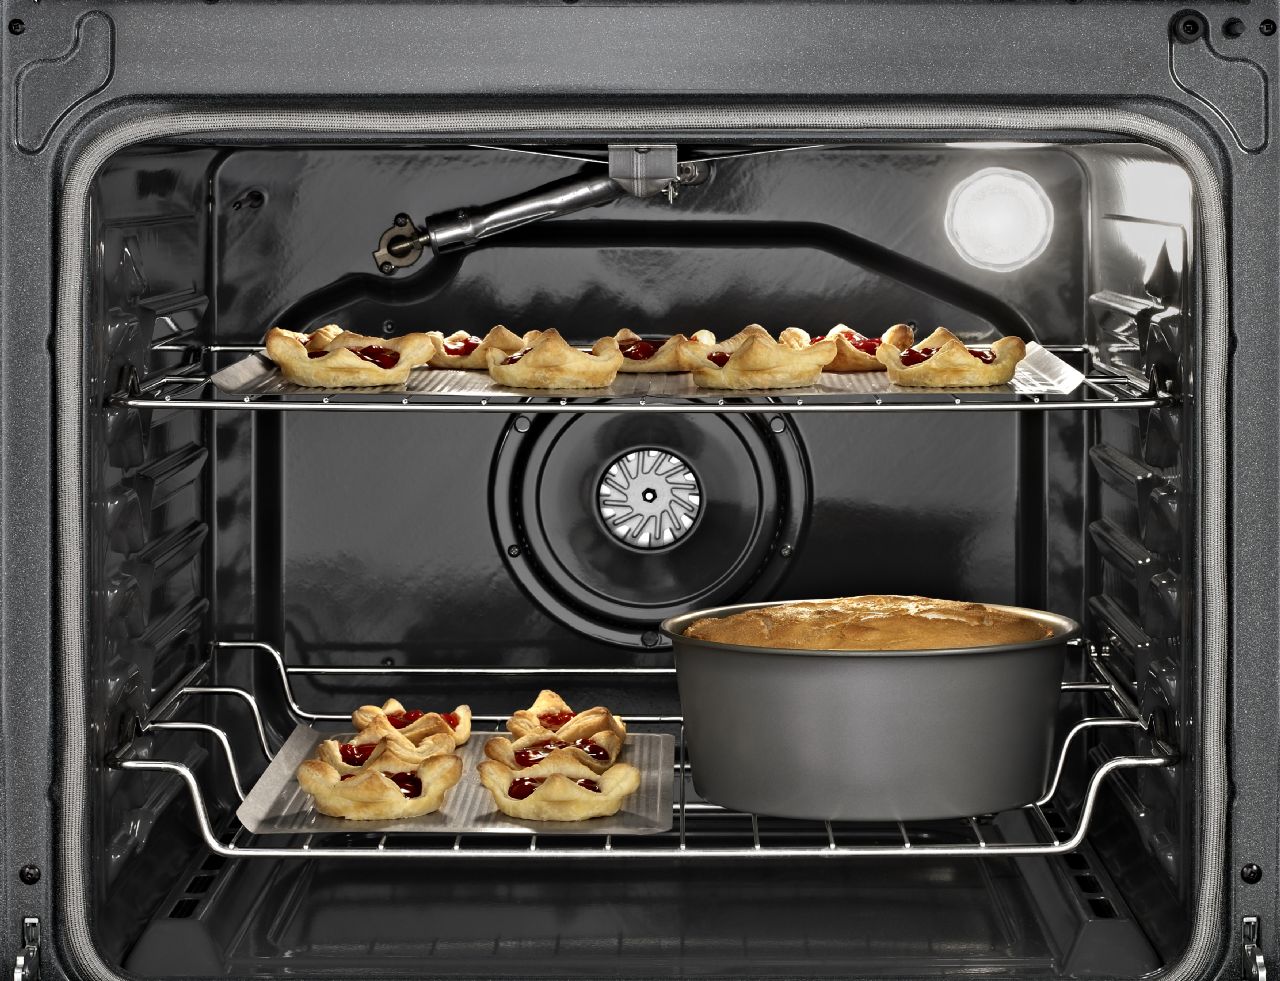
Over time, the light bulb socket in the rear of your oven can become damaged and fail to work safely. The most common types of damage include the socket or the terminals shorting out and the casing developing a crack. Replace it in just a few easy steps. Order a new socket with the replacement part number W10856866 for Kenmore models, and then:
1. Unplug your oven and turn off the gas.
Always disconnect an appliance from its power source before you get started. During this repair, you will be disconnecting wires so this safety step is even more important. If you have a gas oven, also turn off the gas connection.
2. Uninstall the oven.
First, open the oven door. Then unscrew the light bulb and set aside. Pull the oven completely out from against the wall.
3. Remove the old light bulb socket.
First, remove the rear cover that covers the back of the socket. Next, disconnect the two wires (one black and one white) from the rear terminals at the back of the machine.
Next, press down the socket tabs with a flathead screwdriver to loosen the socket. Then push it in until it falls loose into the oven cavity.
Remove the old socket.
4. Install the new light bulb socket.
Press the new socket into place inside the oven cavity by lining the tabs ups with the two rectangular cutouts on either side of the circular hole. Push it into place until you hear the clicks.
Next, go to the rear of the machine and reconnect the wires. The black wire goes on top and the white wire goes on the bottom. Most models also have terminal connections with different sizes to ensure the wires connect at the right points.
Then put the cover in place and retighten the screws to secure it.
Push the oven back into place and screw the light bulb back into the socket.
If you have more appliances that you need to fix, go to Twin Cities Appliance for help.

Apr. 09, 2024
How to Fix the Whirlpool Washer F5 E3 Error Code
Mar. 06, 2024
10 Steps to Clean Your Fridge Water Dispenser

Feb. 05, 2024
How to Replace a Whirlpool Refrigerator Water Filter
Jan. 03, 2024
How to Clean an Oven Glass Door (3 Easy Methods)
Dec. 11, 2023
Why Your Microwave Plate Is Not Spinning
Nov. 06, 2023
Washer Spin Cycle Not Working? Here’s Why

Oct. 02, 2023
How to Fix a Slow Ice Maker
Sep. 08, 2023
Why Does My Dishwasher Smell like Sewage?
Jul. 31, 2023
What Causes a Dryer to Overheat? (and How to Fix It)
Jul. 19, 2023