

October 17, 2019
Oven Repair
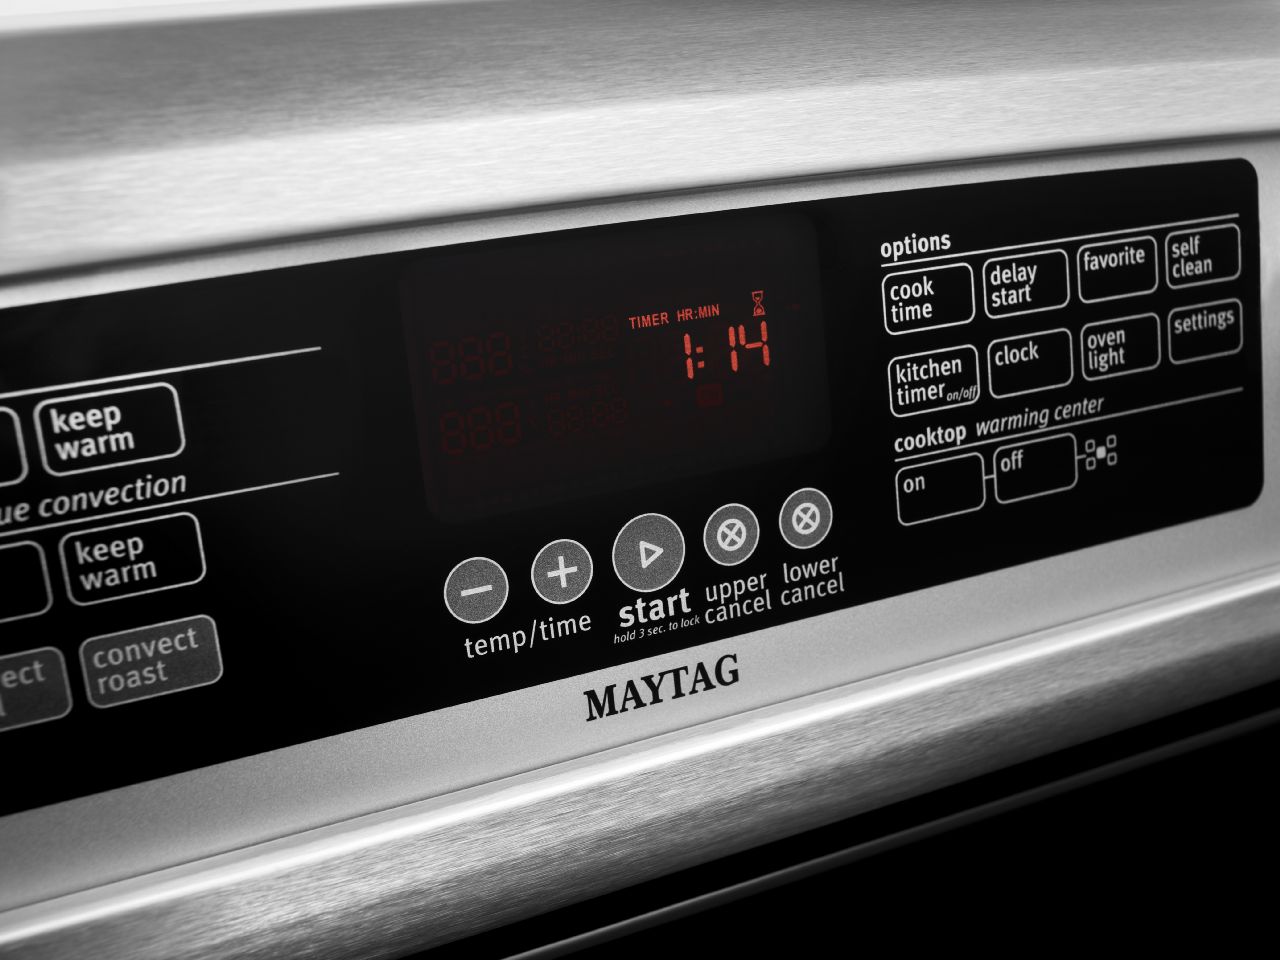
When a timer clock goes out, it is a problem that is pretty easy to diagnose. You may, at first, think the entire oven lacks power since the display is blank. However, you will soon notice that the display simply is no longer works or is dim. Furthermore, if the clock is going faulty, the buttons could lack response and you may not be able to set it.
The following instructions are generalized and specifics can vary by model or brand.
To replace the oven clock, you will need to unplug the oven or disconnect the power. This is not just for safety, but because the clock is accessed via the back panel, so you need to be able to pull your range out sufficiently enough to be able to reach that area.
Once done, you simply need to remove the screws that secure on the back panel over the control panel. Once that is removed, you will have access to the clock located in the center of the control panel.
Before removing it, you will want to take a picture of how the wiring is arranged as there are several wire harnesses that you need to attach. Once you have some sort of reference for the wires, you can start removing the wire harnesses.
Once they are free, you only need to remove the mounting screws on the old clock and pull it back out of the control panel. Now comes a somewhat tricky part. Some manufacturers will send just the clock, this means the instruction on the front of the old clock needs to be removed and stuck onto the new clock. You need to be careful not to tear it as well as not to touch the back too much to wear down the adhesive. Once removed, it can be stuck right on your new oven clock.
After re-securing the new oven clock, you simply need to reattach the wires and reassemble your appliance.

Apr. 09, 2024
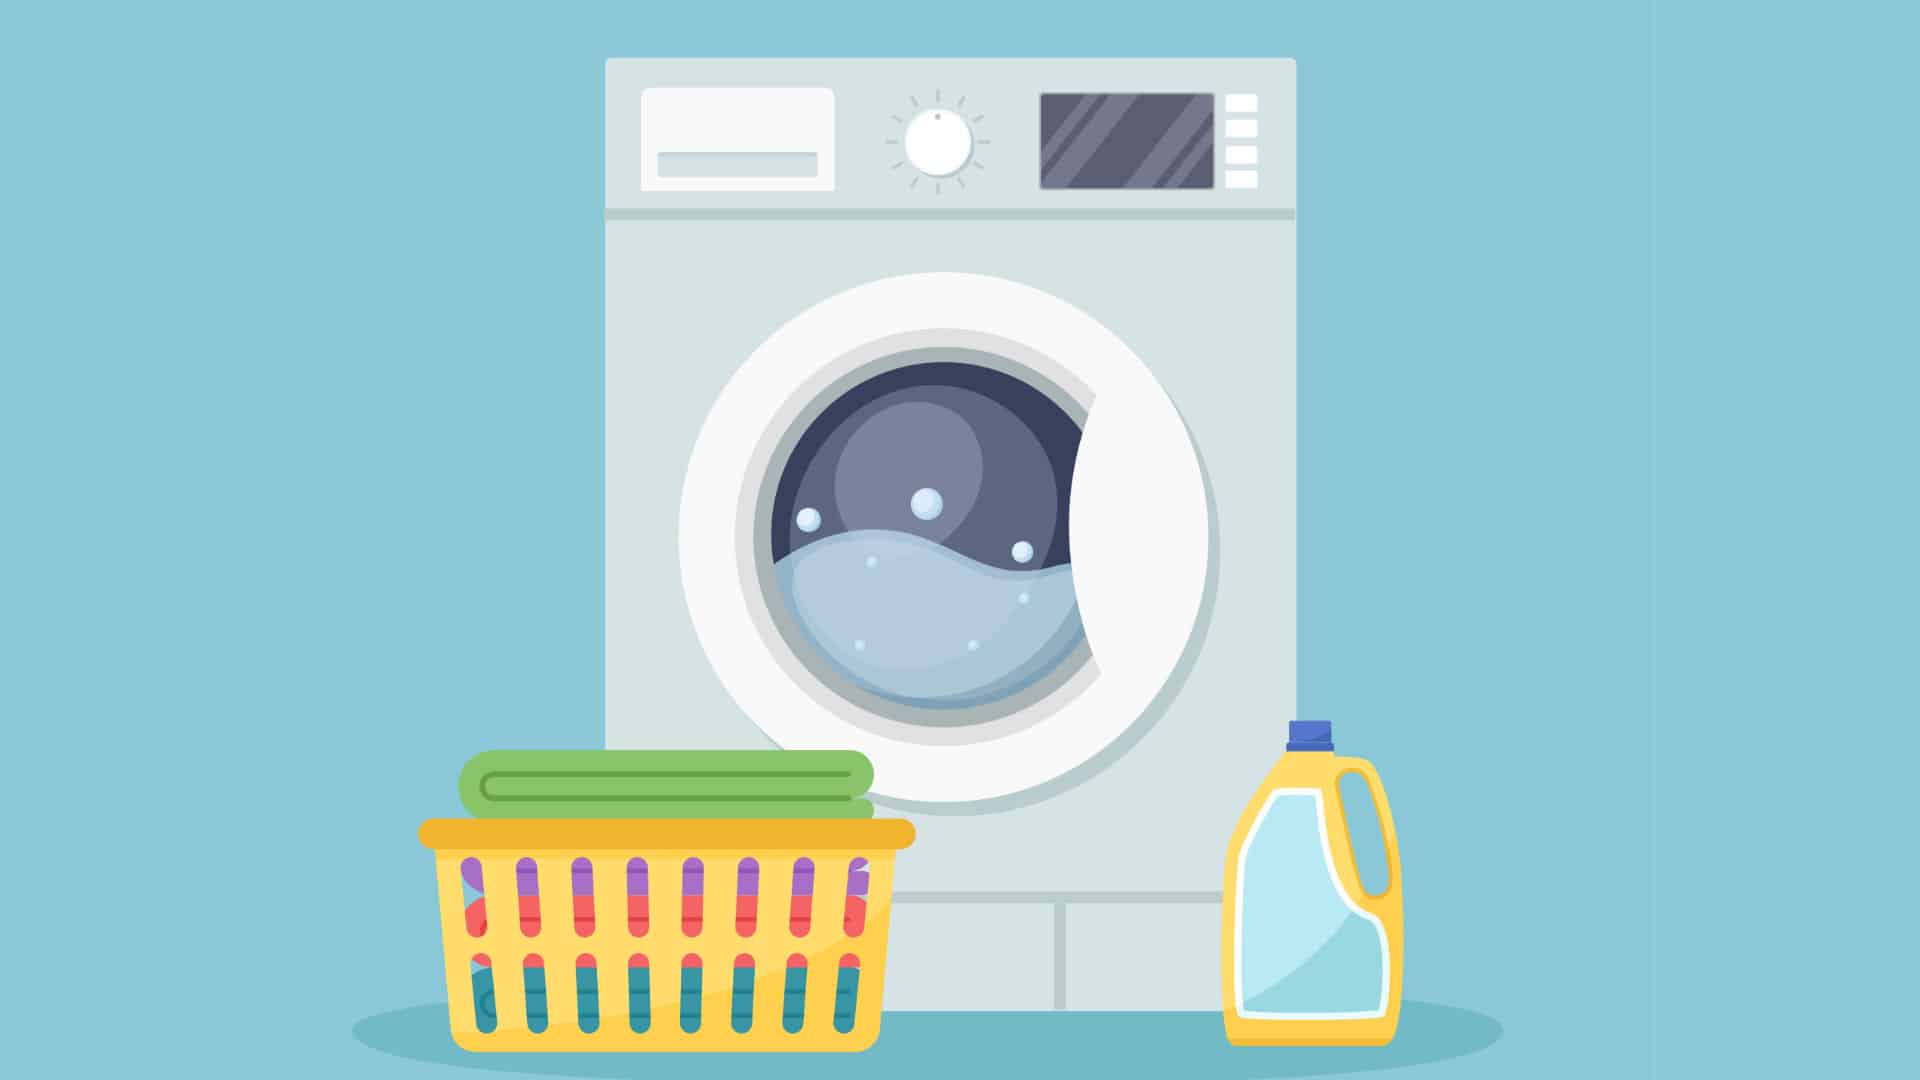
How to Fix the Whirlpool Washer F5 E3 Error Code
Mar. 06, 2024
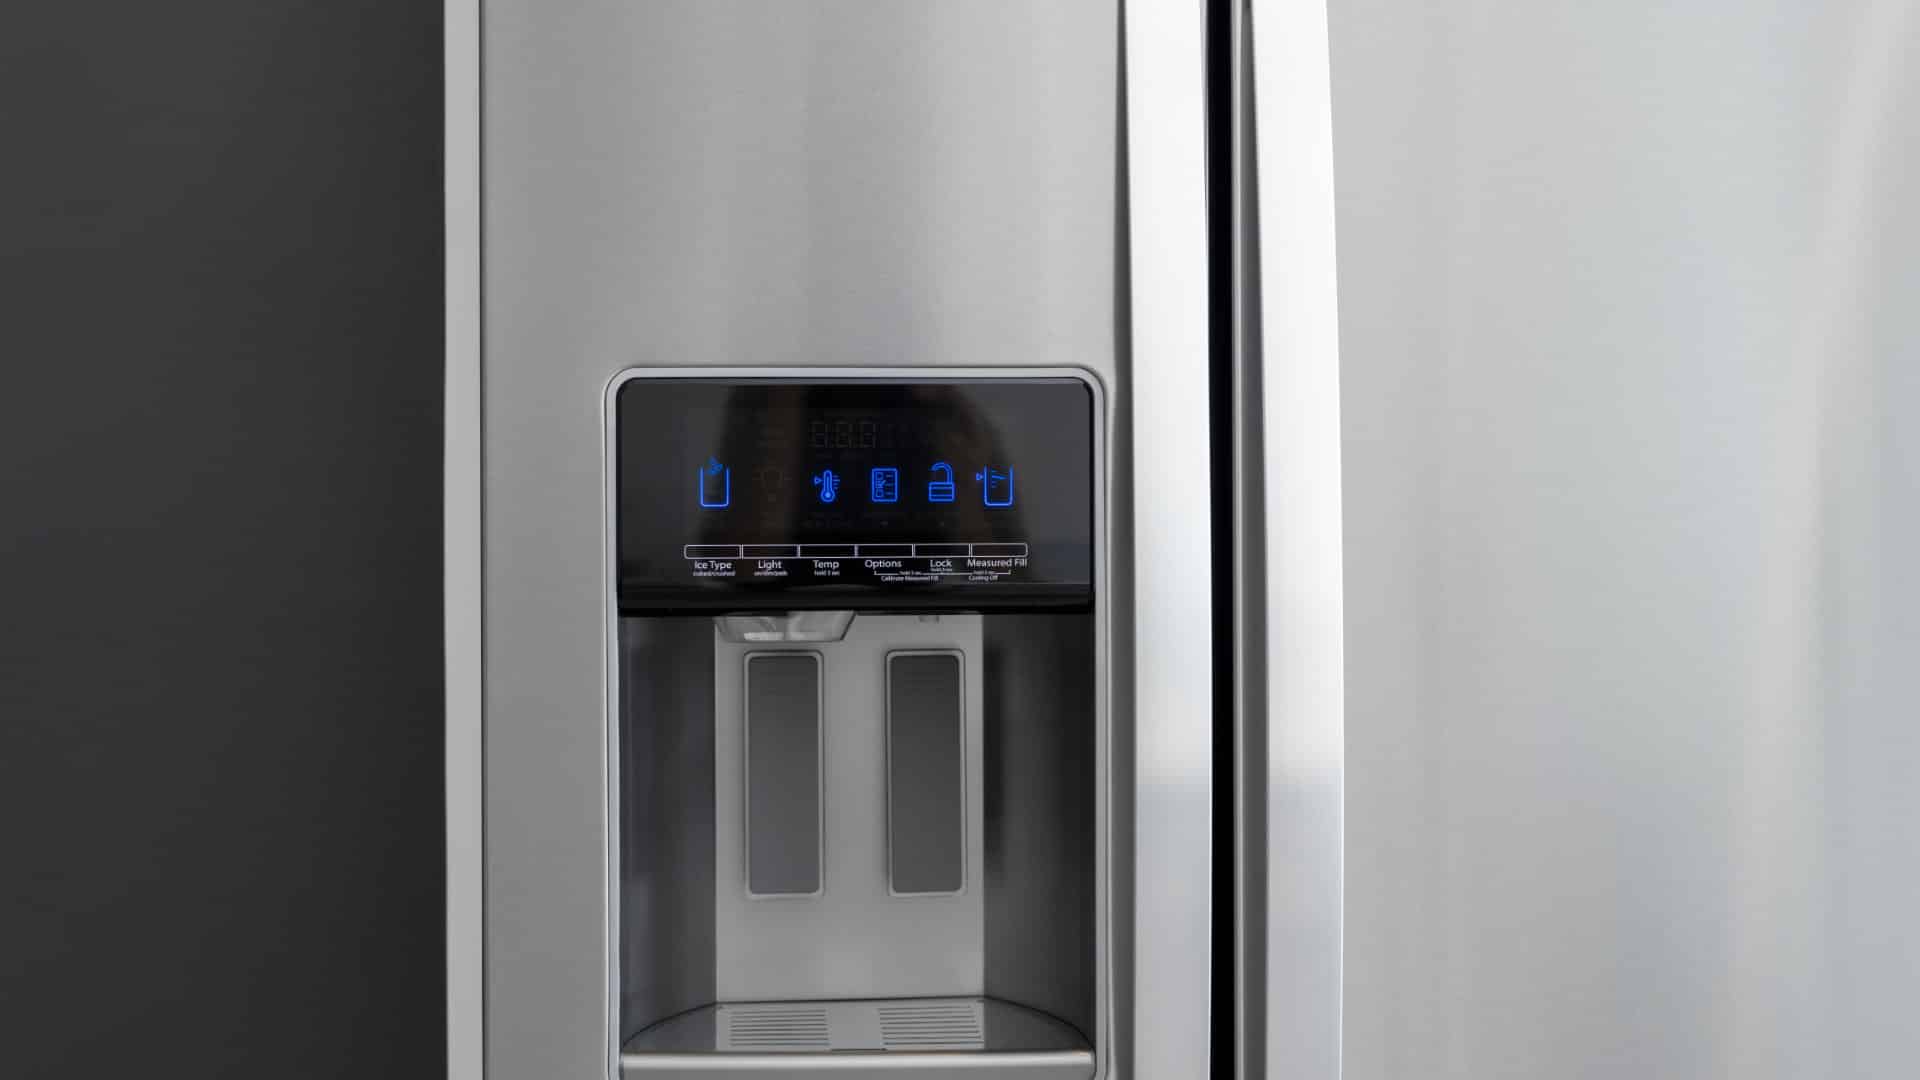
10 Steps to Clean Your Fridge Water Dispenser

Feb. 05, 2024
How to Replace a Whirlpool Refrigerator Water Filter

Jan. 03, 2024
How to Clean an Oven Glass Door (3 Easy Methods)

Dec. 11, 2023
Why Your Microwave Plate Is Not Spinning
Nov. 06, 2023
Washer Spin Cycle Not Working? Here’s Why

Oct. 02, 2023
How to Fix a Slow Ice Maker
Sep. 08, 2023
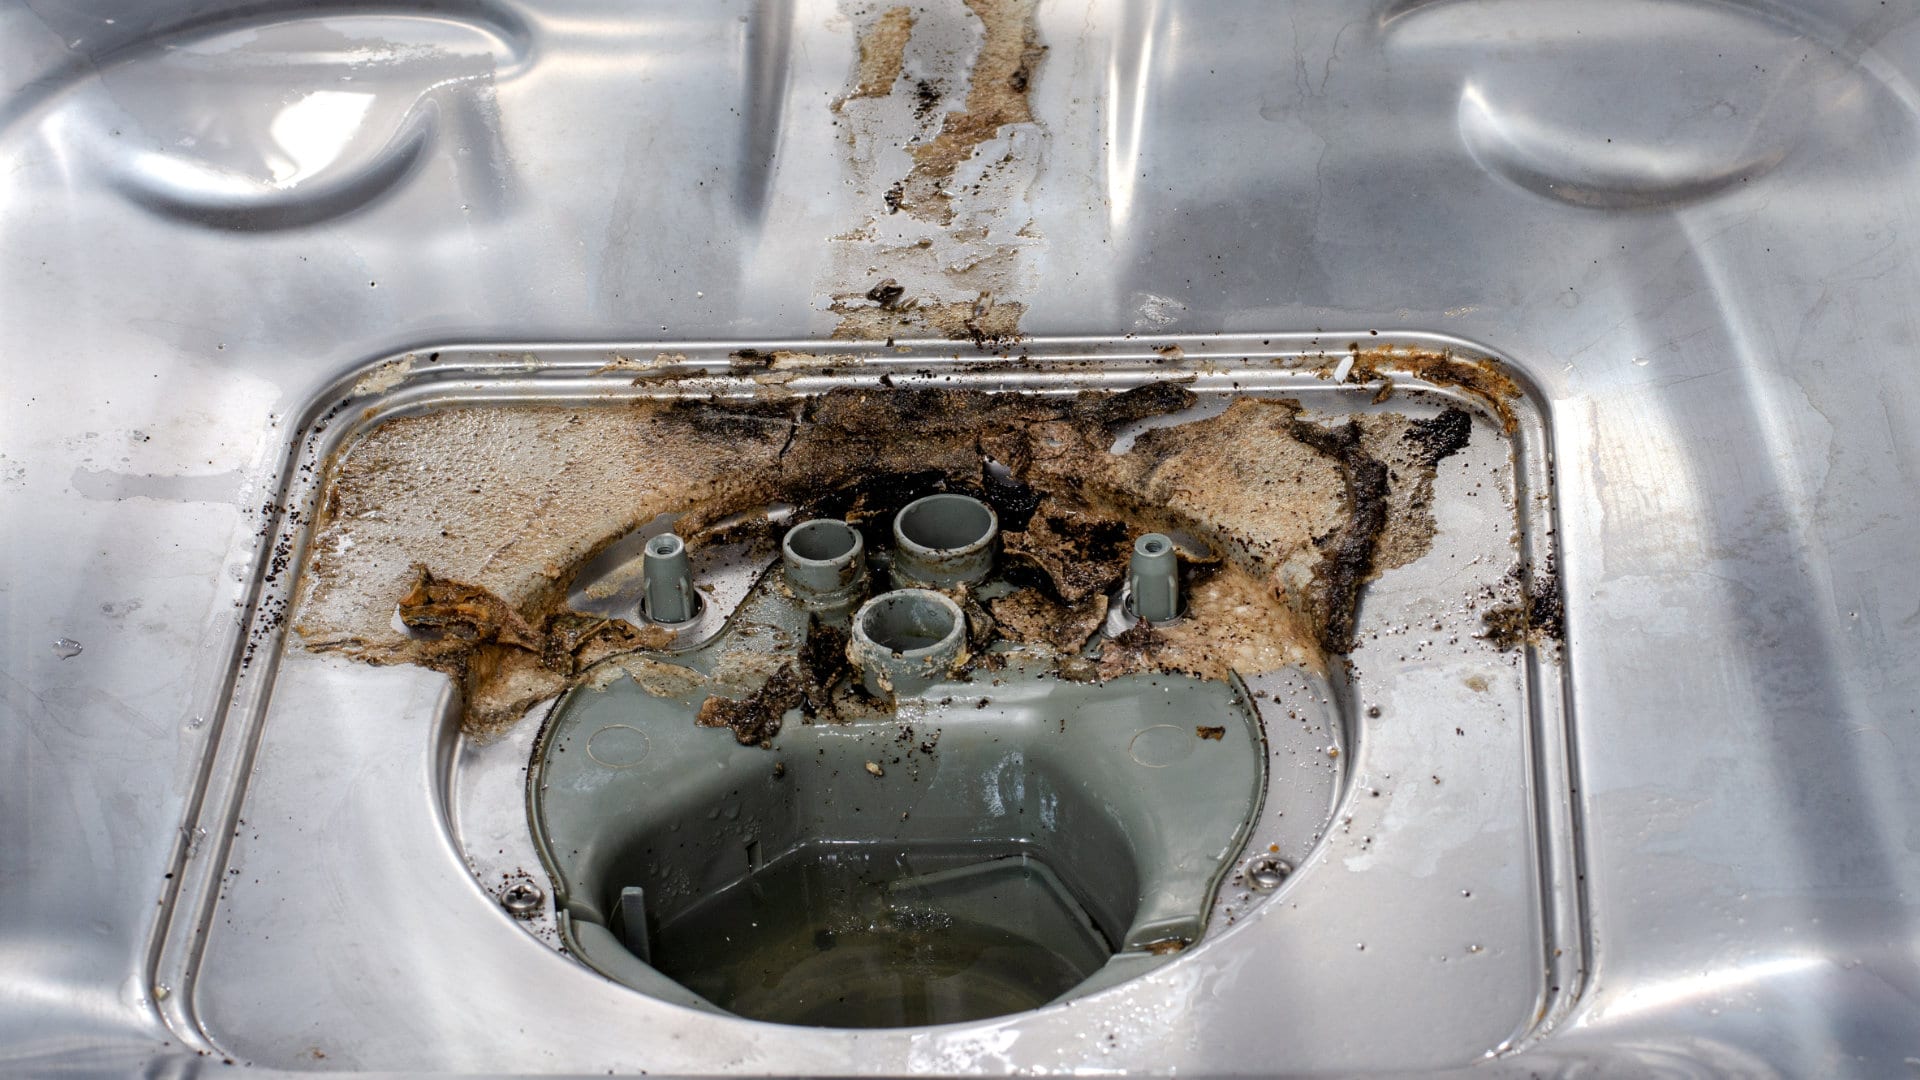
Why Does My Dishwasher Smell like Sewage?
Jul. 31, 2023
What Causes a Dryer to Overheat? (and How to Fix It)

Jul. 19, 2023