

December 6, 2021
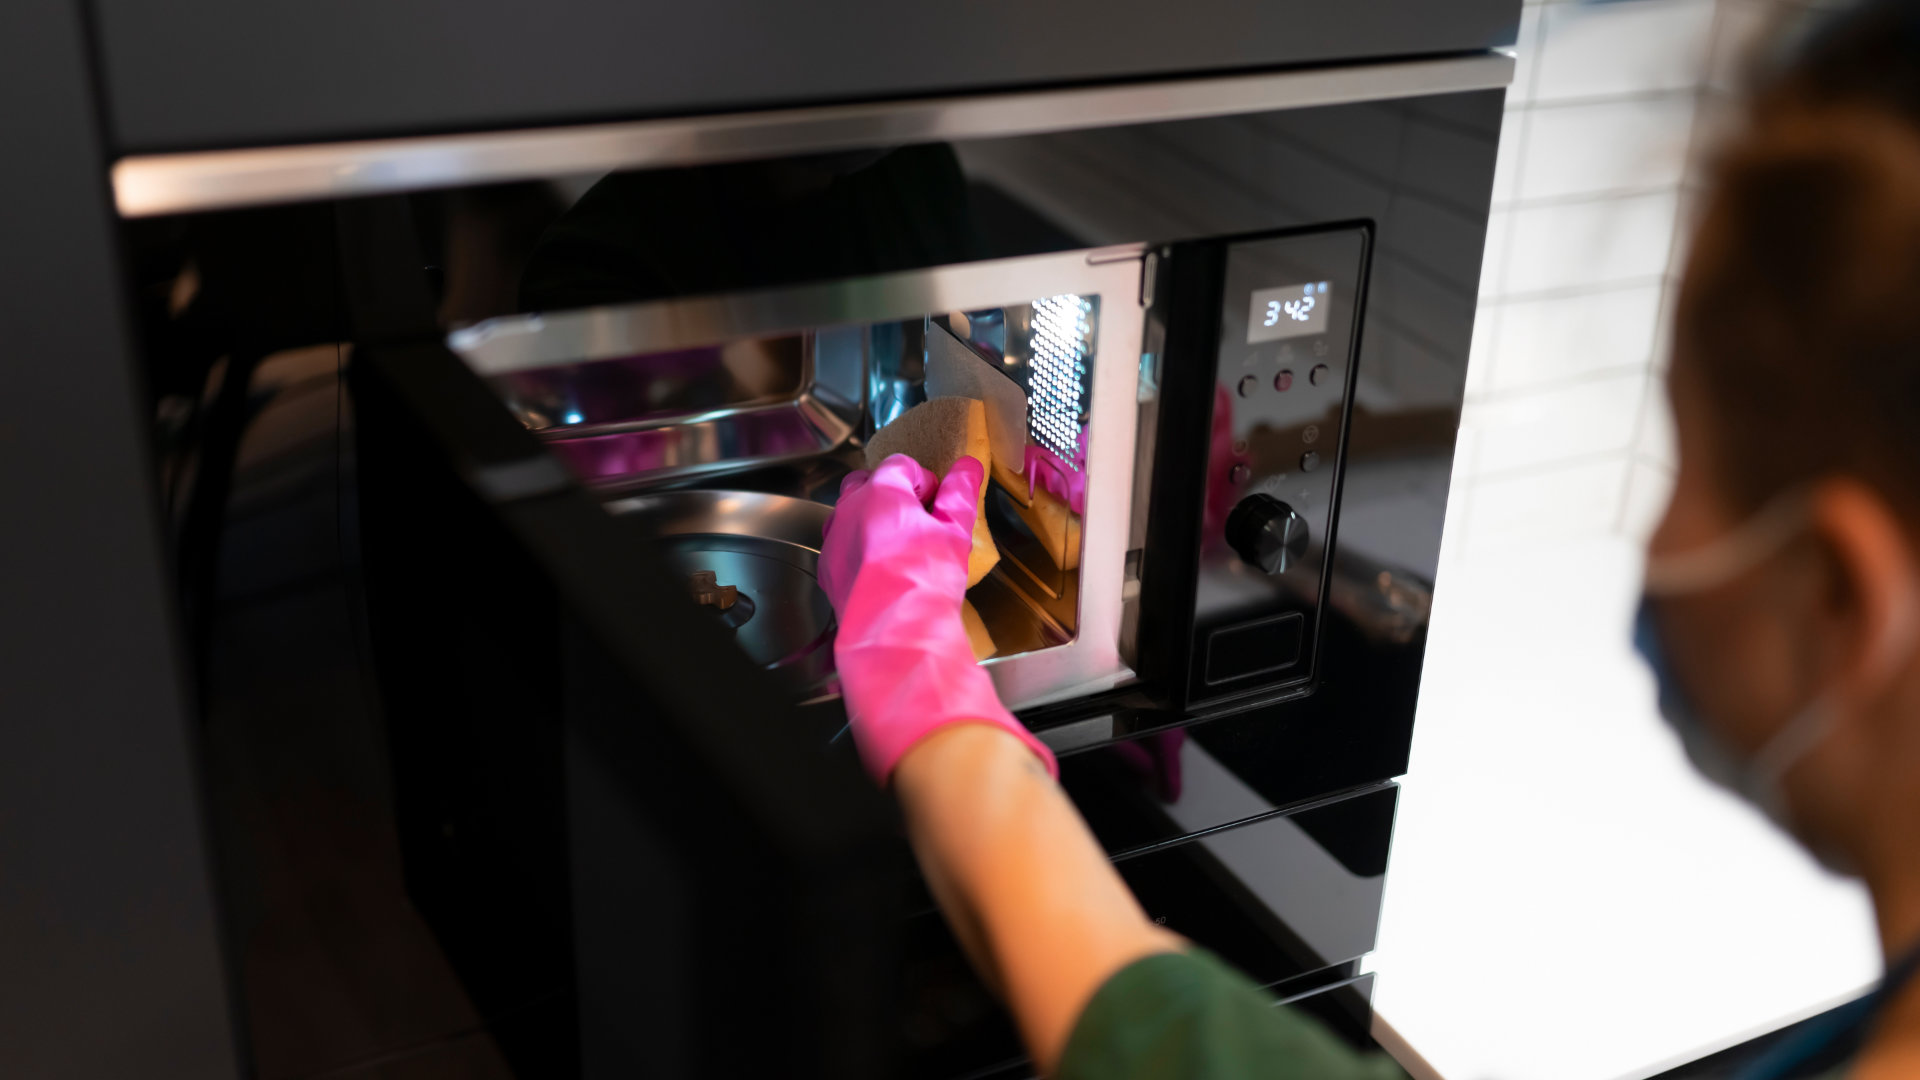
Microwave Repair
Oh no! The microwave has stopped working. Why?
Most of the time, a microwave stops working either because of a blown fuse or a defective door switch. The good news is these parts are not too expensive to replace, and with some microwave repair knowledge, testing and replacing them is relatively easy.
However, when accessing the microwave, you must be conscious of the risk posed by the high-voltage capacitor, as described in the safety warning below. Depending on where the fuses and door switches are located in your particular microwave, you may be able to avoid going near the capacitor, but the high risk remains.
Safety warning
Microwave repair is much more dangerous than repairing most other household appliances. The heightened risk is because of the high voltage capacitor inside the microwave, which can potentially store a lethal amount of electricity if touched without taking proper precautions.
Regardless of whether the microwave has been disconnected from the power supply for several months, the capacitor may still have electricity stored in it. To mitigate risk, before repairing microwave components, ensure the capacitor is discharged.
You can discharge the capacitor by touching both the positive and negative terminals with a meta screwdriver blade. It’s crucial to take precautions to insulate yourself against electrocution. Use a screwdriver with a rubber handle or needle-nose plier with rubber handles to discharge the capacitor.
If you are unfamiliar with microwave repairs, it is recommended that you contact a trained microwave technician to repair your microwave.
1. Blown fuse
A blown fuse is often the cause of a microwave that stops working.
There are several fuses inside your microwave, such as a thermal fuse and cavity fuse. These fuses are all designed to keep you safe by cutting power to the microwave if it becomes too hot and unsafe to operate.
When a fuse is tripped, it cannot be reset, so it will need to be replaced. To determine if the fuse has blown, the fuse can be tested with a multimeter for continuity (a continuous electrical path). If the fuse fails the continuity test, it will need to be replaced.
Microwave fuses can be located in several different locations depending on the make and model of the microwave. The number of fuses and their purposes can also vary depending on the microwave. To locate a fuse, refer to the microwave’s wiring diagram or service manual.
Follow these steps to check and replace a microwave fuse:
- Unplug the microwave or disconnect the power in your home’s electrical panel.
- Move the microwave to a convenient and safe work area.
- Remove the screws that secure the microwave’s cover to access its internal components. Depending on your model, you may also need to unscrew and remove the control panel. Your microwave may also have grilles that need to be removed to access the microwave’s fuses.
- Locate the specific fuse or fuses (consult the service manual if necessary).
- Unscrew or unclip the fuse to remove it from the microwave.
- With the fuse removed, test it with a multimeter for continuity. With the probes touching one fuse terminal each, the multimeter should show zero ohms of resistance. However, if the digital display does not change significantly or the needle does not move, the fuse does not have continuity and will need to be replaced.
- If defective, replace the fuse with a new one that matches the fuse you removed. If you install the wrong fuse, it will likely blow again as soon as you try to use the microwave.
2. Defective door switch
The second most likely cause of a microwave that stops working is a defective door switch. Microwave ovens usually come with 3-4 door switches that only allow the microwave to operate if the door is securely closed. The door switches are a safety feature designed to stop harmful microwaves from escaping the microwave while it is operating.
If a door switch is defective, the microwave will not operate. Door switches usually become defective due to wear and tear. However, the door switch can also stop working if the switch is not securely held in place. If your microwave has recently been moved, a door switch may have become loose, and thus the microwave will not work.
Door switches are activated when the prongs on the door connect with them. If a door switch has moved or is not secure, the prongs on the microwave door may be unaligned and not able to activate the door switch.
Like the fuses, a multimeter is needed to check the door switches for continuity. The door switches must be removed from the microwave for testing. Also, the door switch needs to be activated when you test it to get the correct multimeter reading.
Depending on the model, microwave door switches can be located on the inside panel on the microwave door or behind the control panel where the microwave door prongs connect when the door is closed. Consult the owner’s manual, service manual, or wiring diagram for the location of the switches. If the door switches are located on the inner door frame, you will need to use a putty knife to remove the panel that covers the door switches.
Follow these steps to check microwave door switches:
- Unplug the microwave or disconnect the power in your home’s electrical panel.
- Move the microwave to a convenient and safe work area.
- Depending on the type of microwave, you will need to remove either the inside door panel, the control panel, or the microwave cover.
- Once you have accessed the door switches, check that they are in place and secured. If one is loose, you may have found the problem.
- Remove the door switches from the microwave.
- Test the door switches for continuity (a consistent electrical path) using a multimeter.
- Lastly, replace the defective door switch.
Door switches may have two or three terminals. A two-terminal switch can be tested with each multimeter lead touching one of the terminals. If there are three terminals, one should be labelled NC for normally closed, one NO for normally open, and the third COM for common terminal.
When testing a three-terminal door switch, touch one multimeter lead to the common terminal and one to the normally open terminal. Then, activate the switch by pressing down on the switch activator. Next, repeat the test with the normally closed terminal instead of the normally open terminal. If there is no continuity, the switch will need to be replaced.

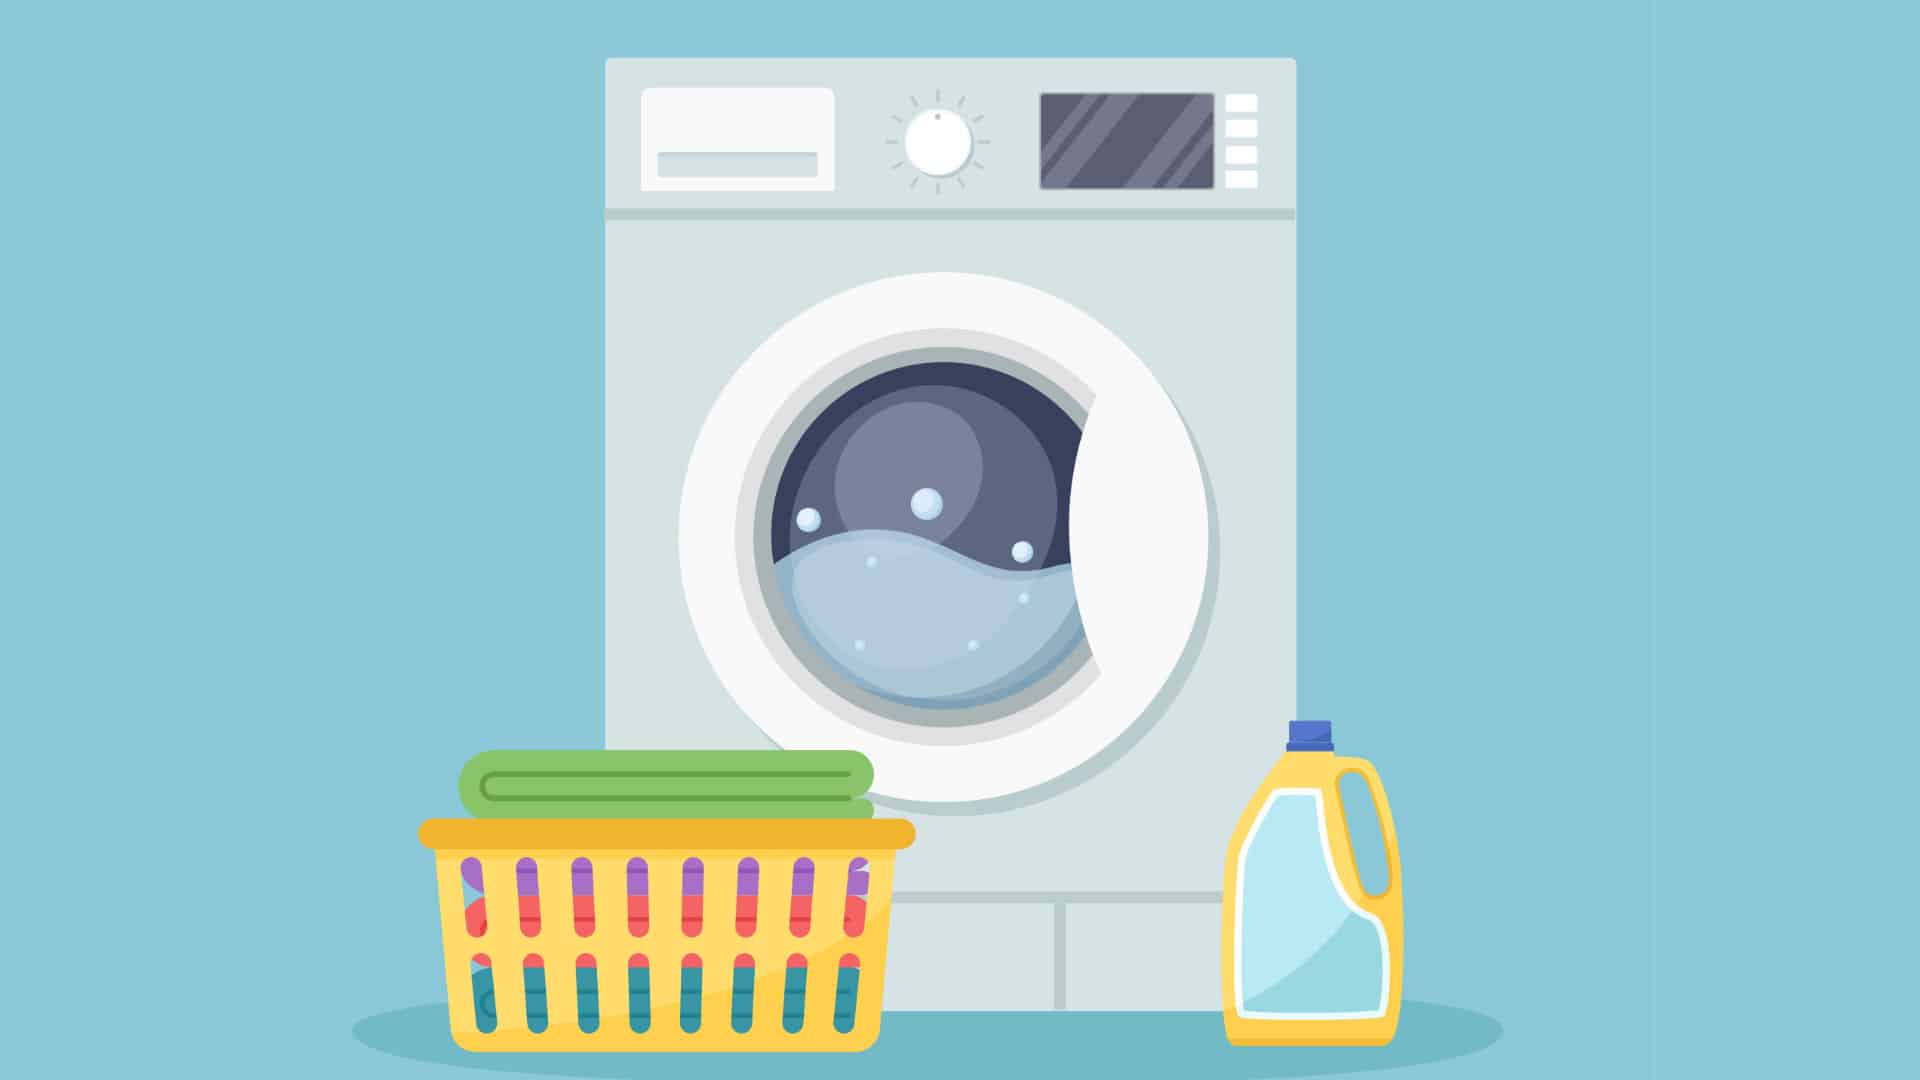
Apr. 09, 2024
How to Fix the Whirlpool Washer F5 E3 Error Code
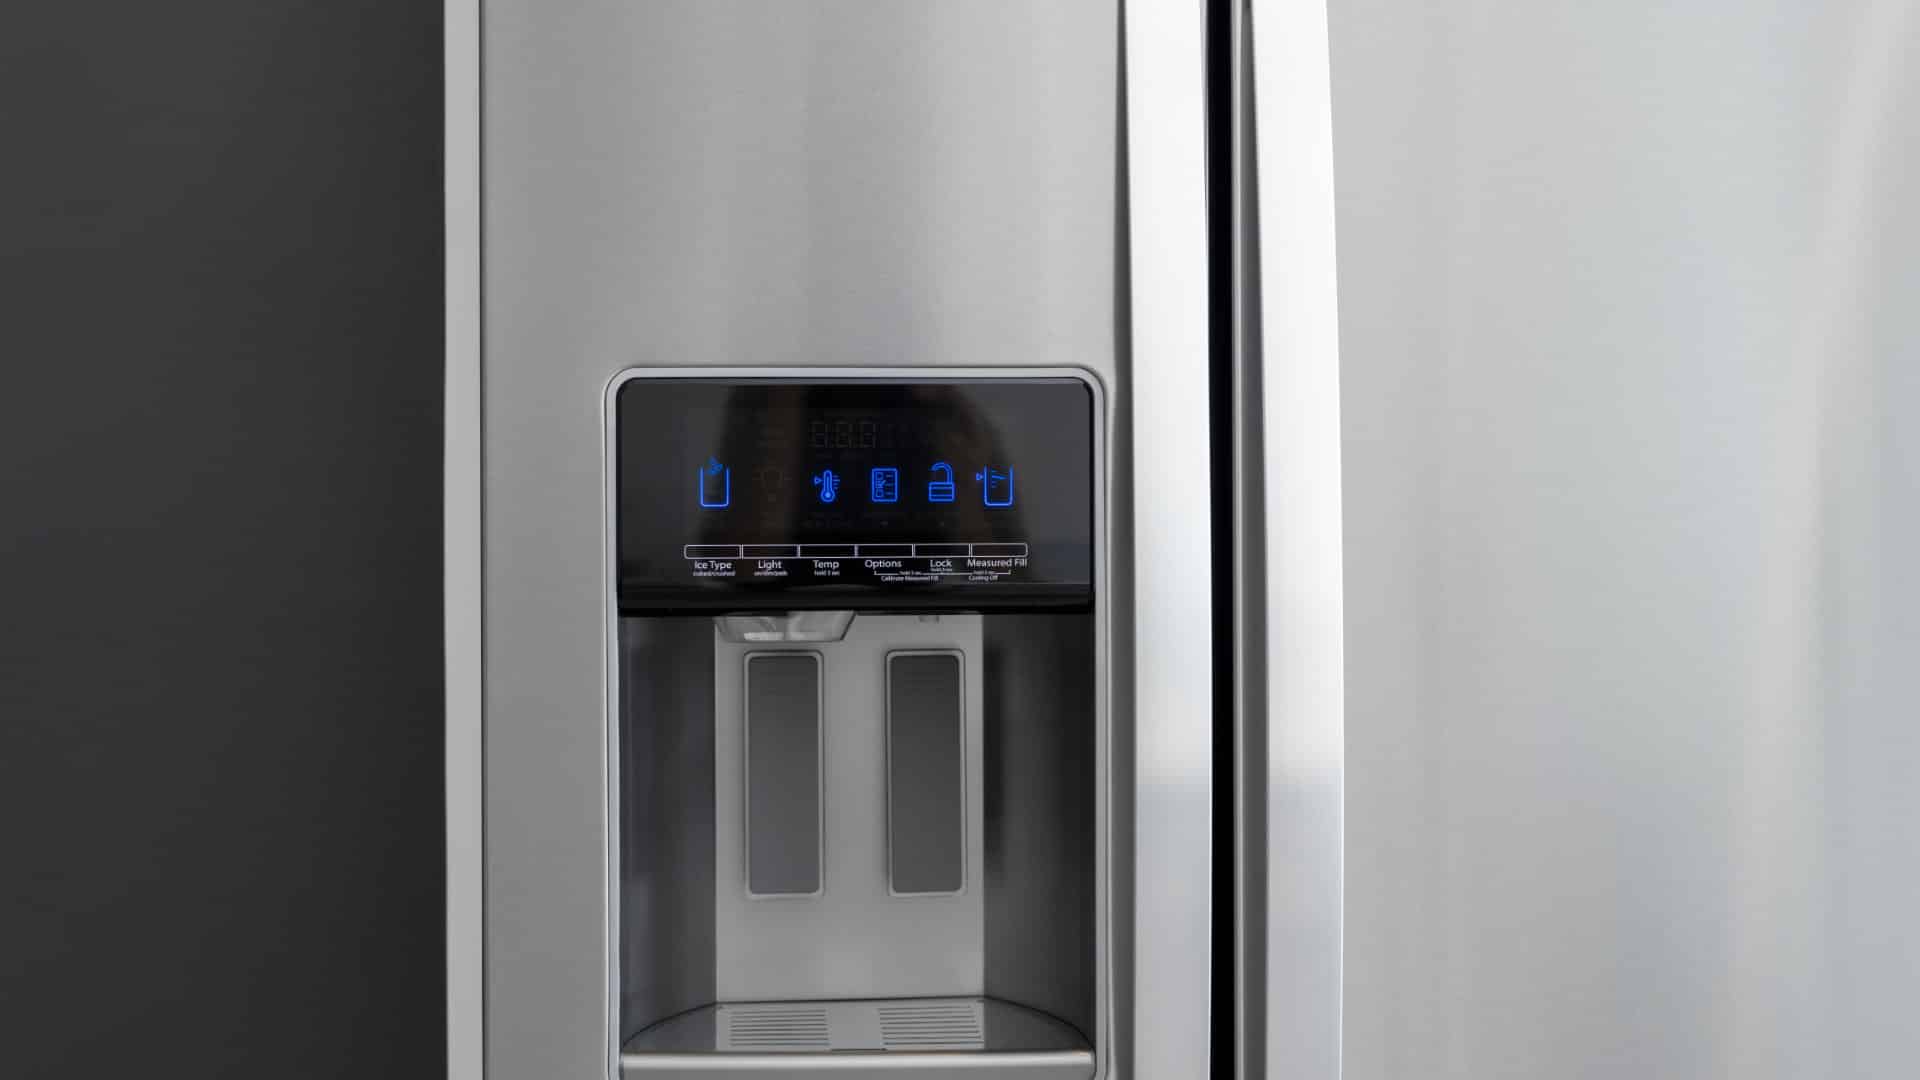
Mar. 06, 2024
10 Steps to Clean Your Fridge Water Dispenser

Feb. 05, 2024
How to Replace a Whirlpool Refrigerator Water Filter
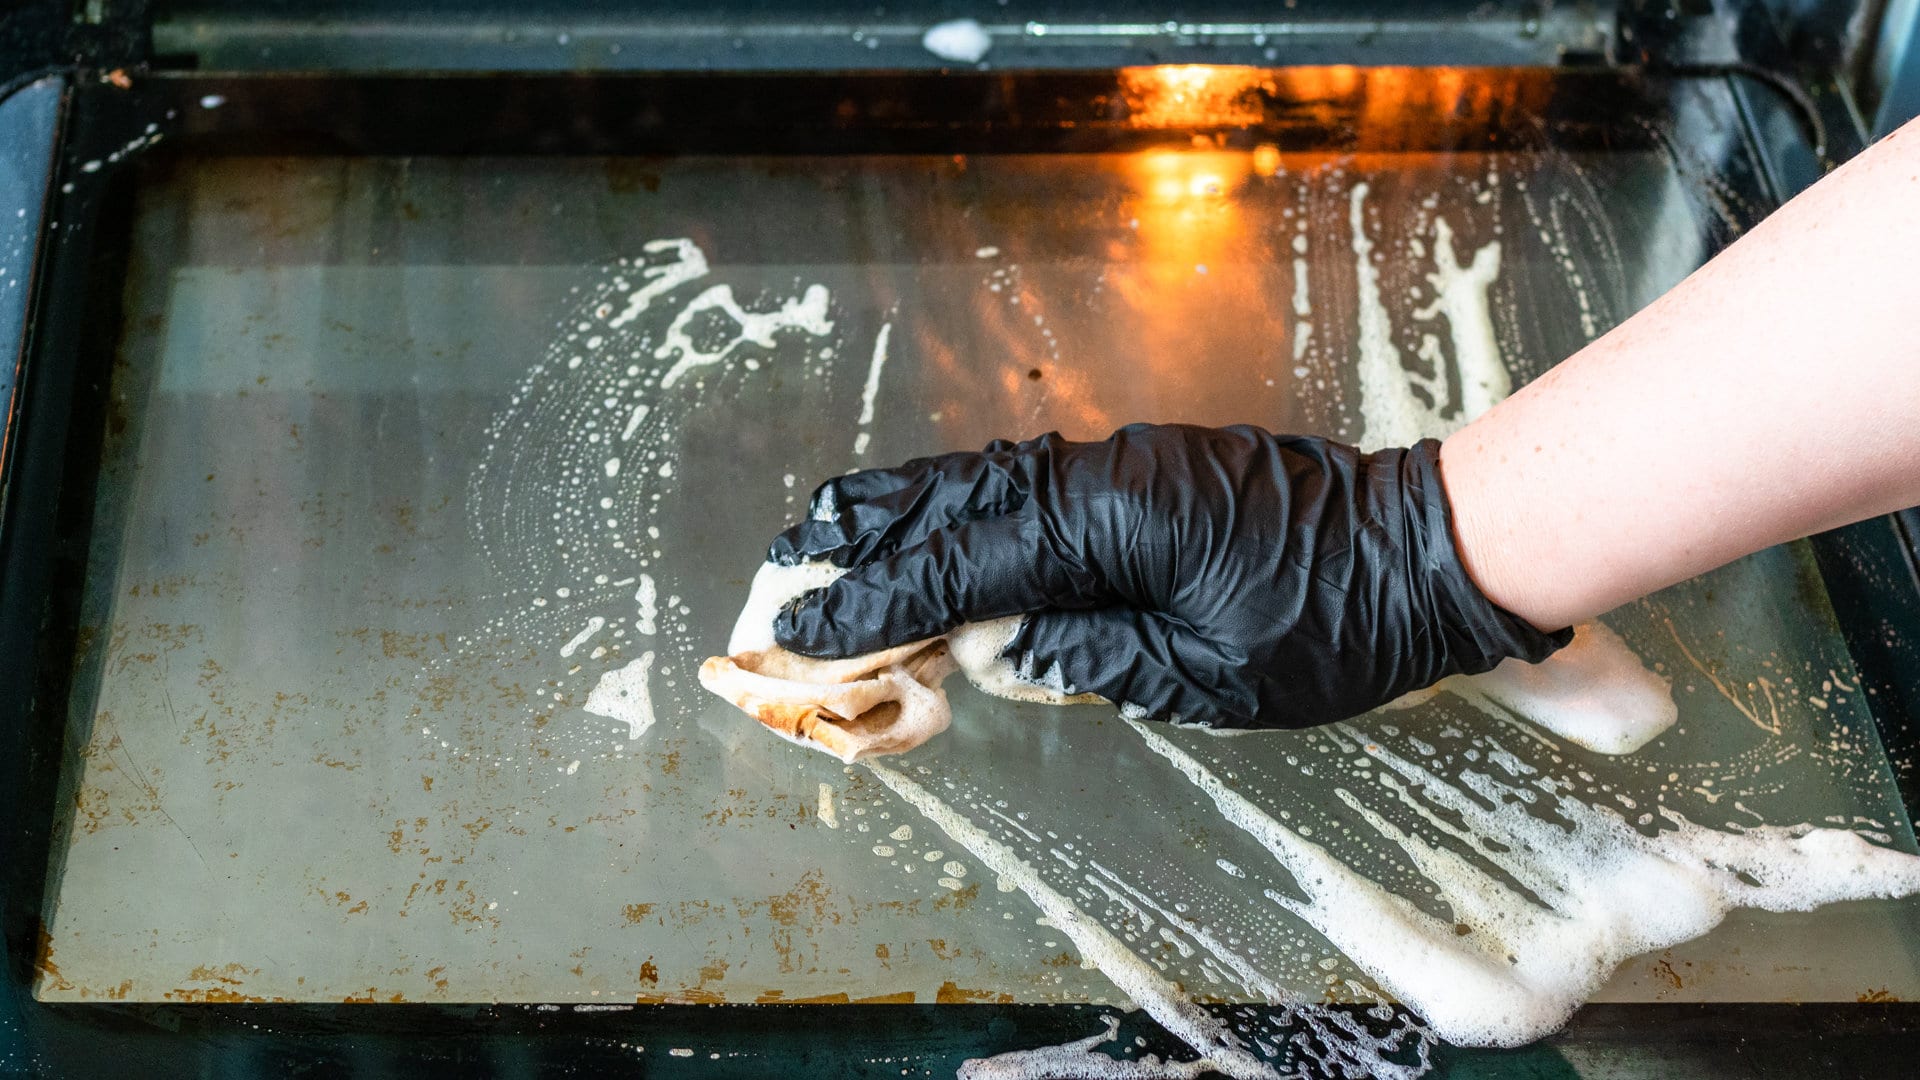
Jan. 03, 2024
How to Clean an Oven Glass Door (3 Easy Methods)

Dec. 11, 2023
Why Your Microwave Plate Is Not Spinning
Nov. 06, 2023
Washer Spin Cycle Not Working? Here’s Why

Oct. 02, 2023
How to Fix a Slow Ice Maker
Sep. 08, 2023
Why Does My Dishwasher Smell like Sewage?
Jul. 31, 2023
What Causes a Dryer to Overheat? (and How to Fix It)
Jul. 19, 2023